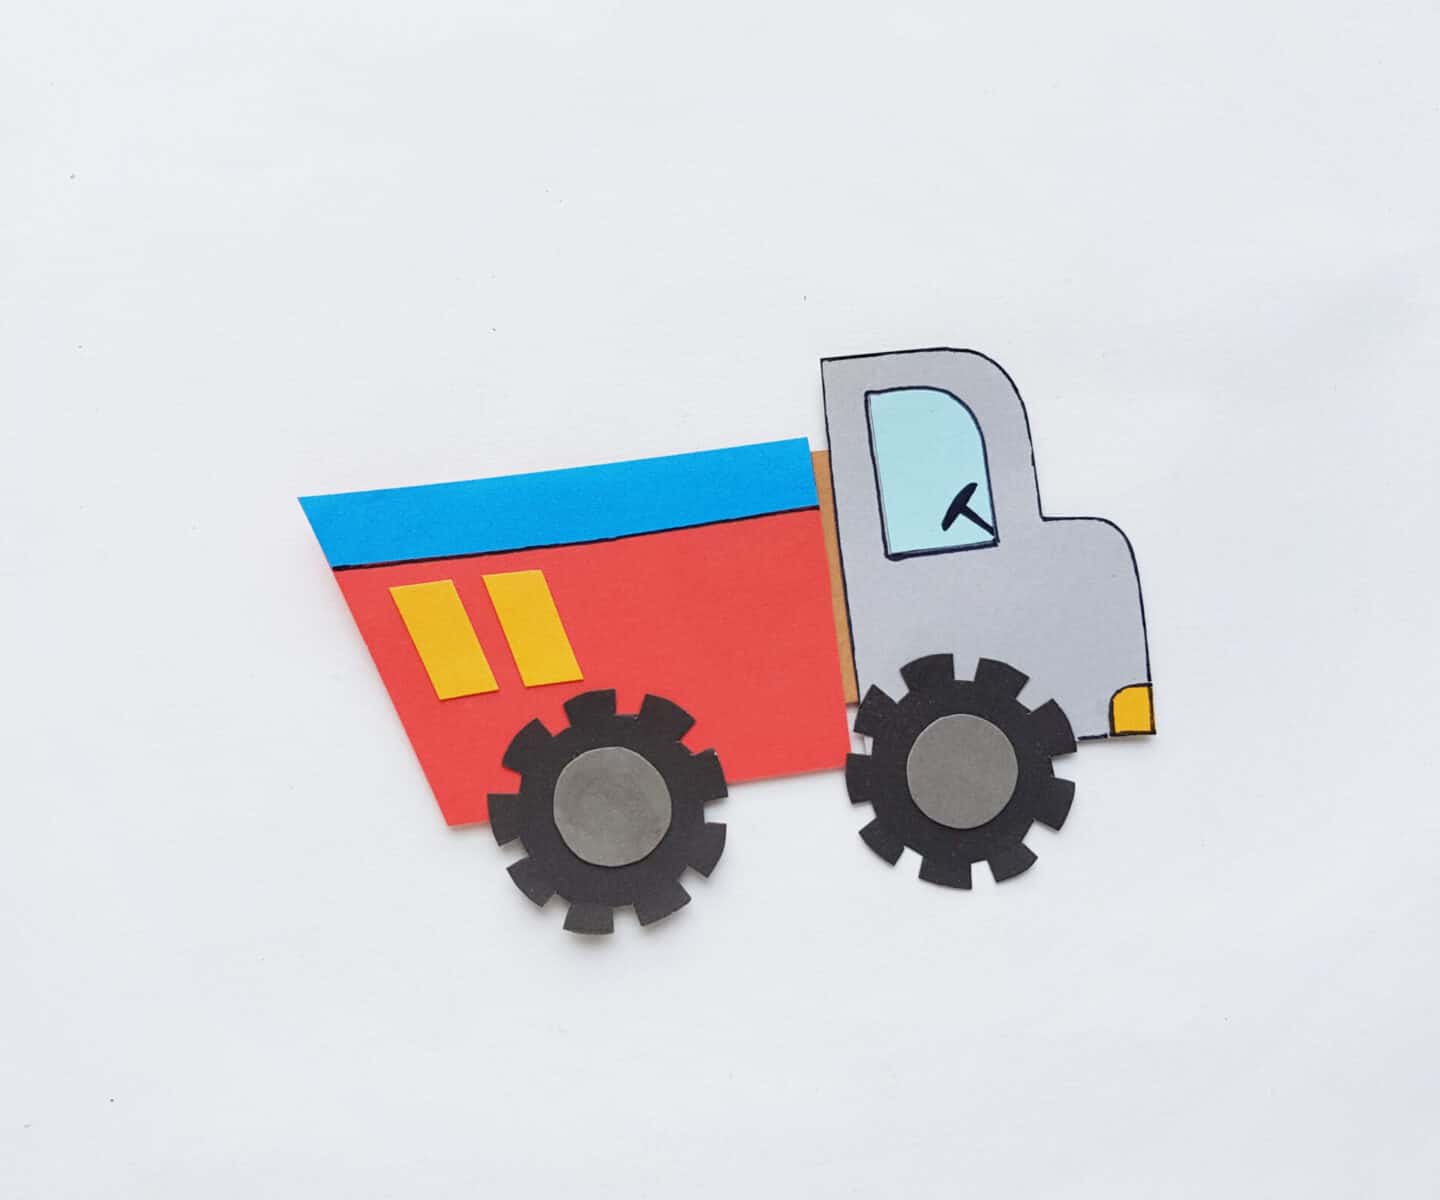
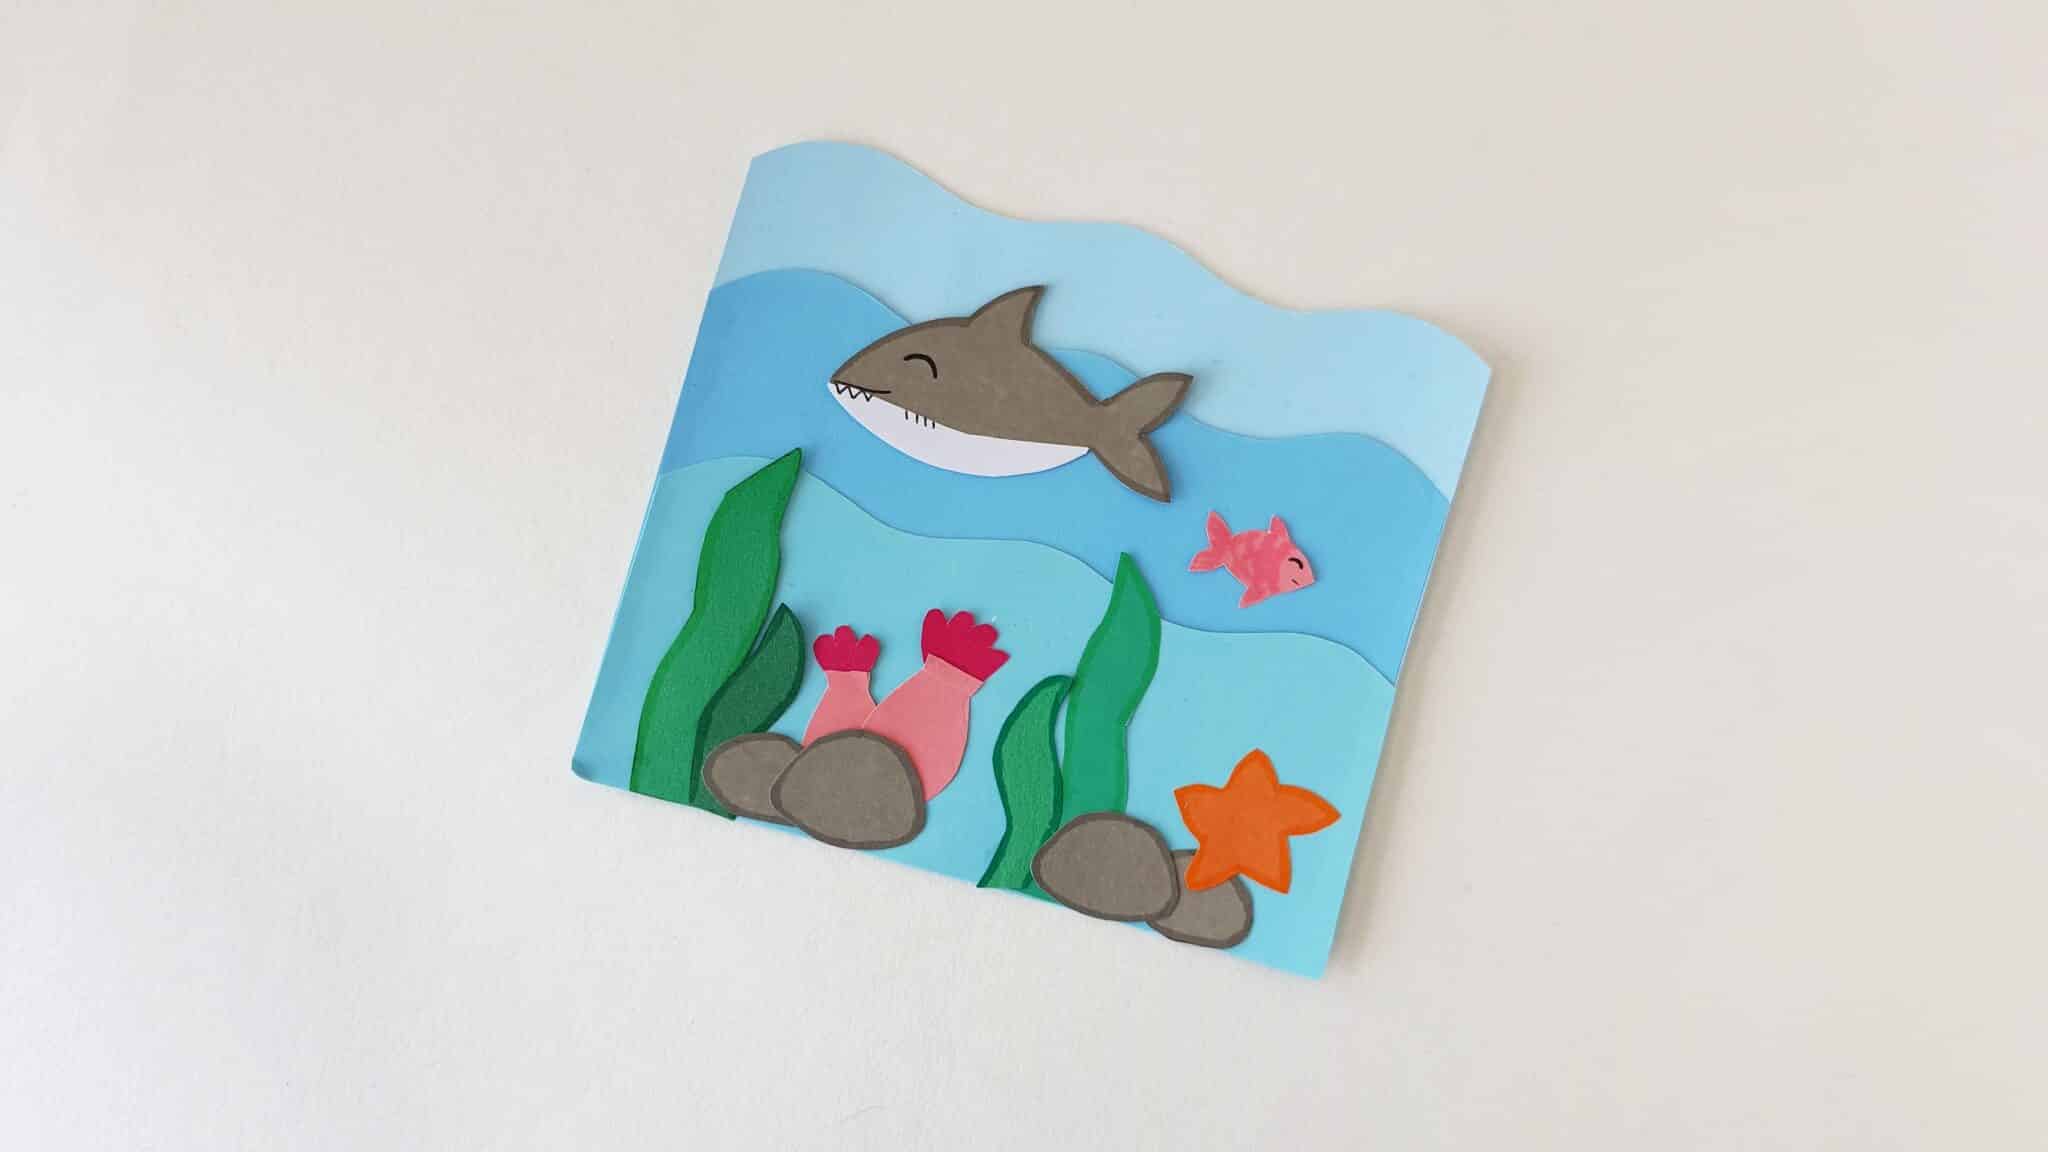
This paper truck is so easy to make and will give your toddler hours of fun. Simply print out the sheet, and follow the instructions below.
If you enjoy this craft you may also like our other FREE crafts such as papercraft robot, dragon and dog.
As an Amazon Associate I earn from qualifying purchases. The links below may be affiliate links. Please read my disclosure policy for more information.
How to Make a Papercraft Truck
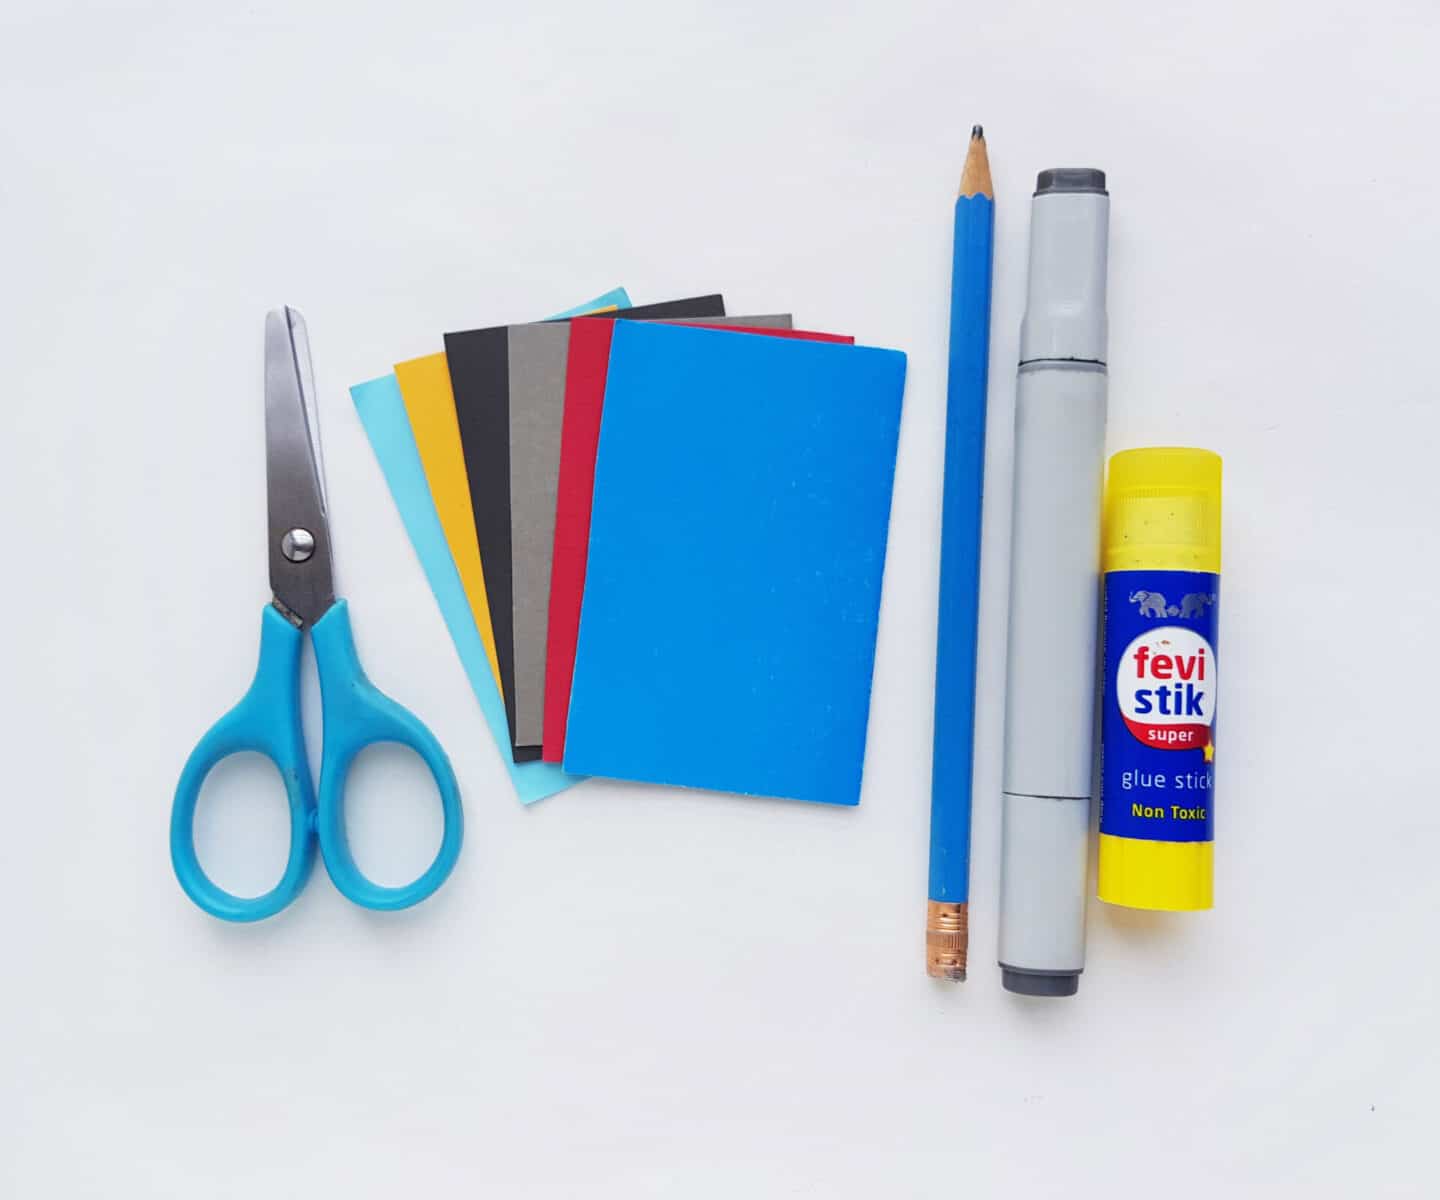
Instructions
Step 1:
Select a bunch of fun colored craft papers for the paper truck craft. Trace the truck patterns from the provided template on the selected craft papers.
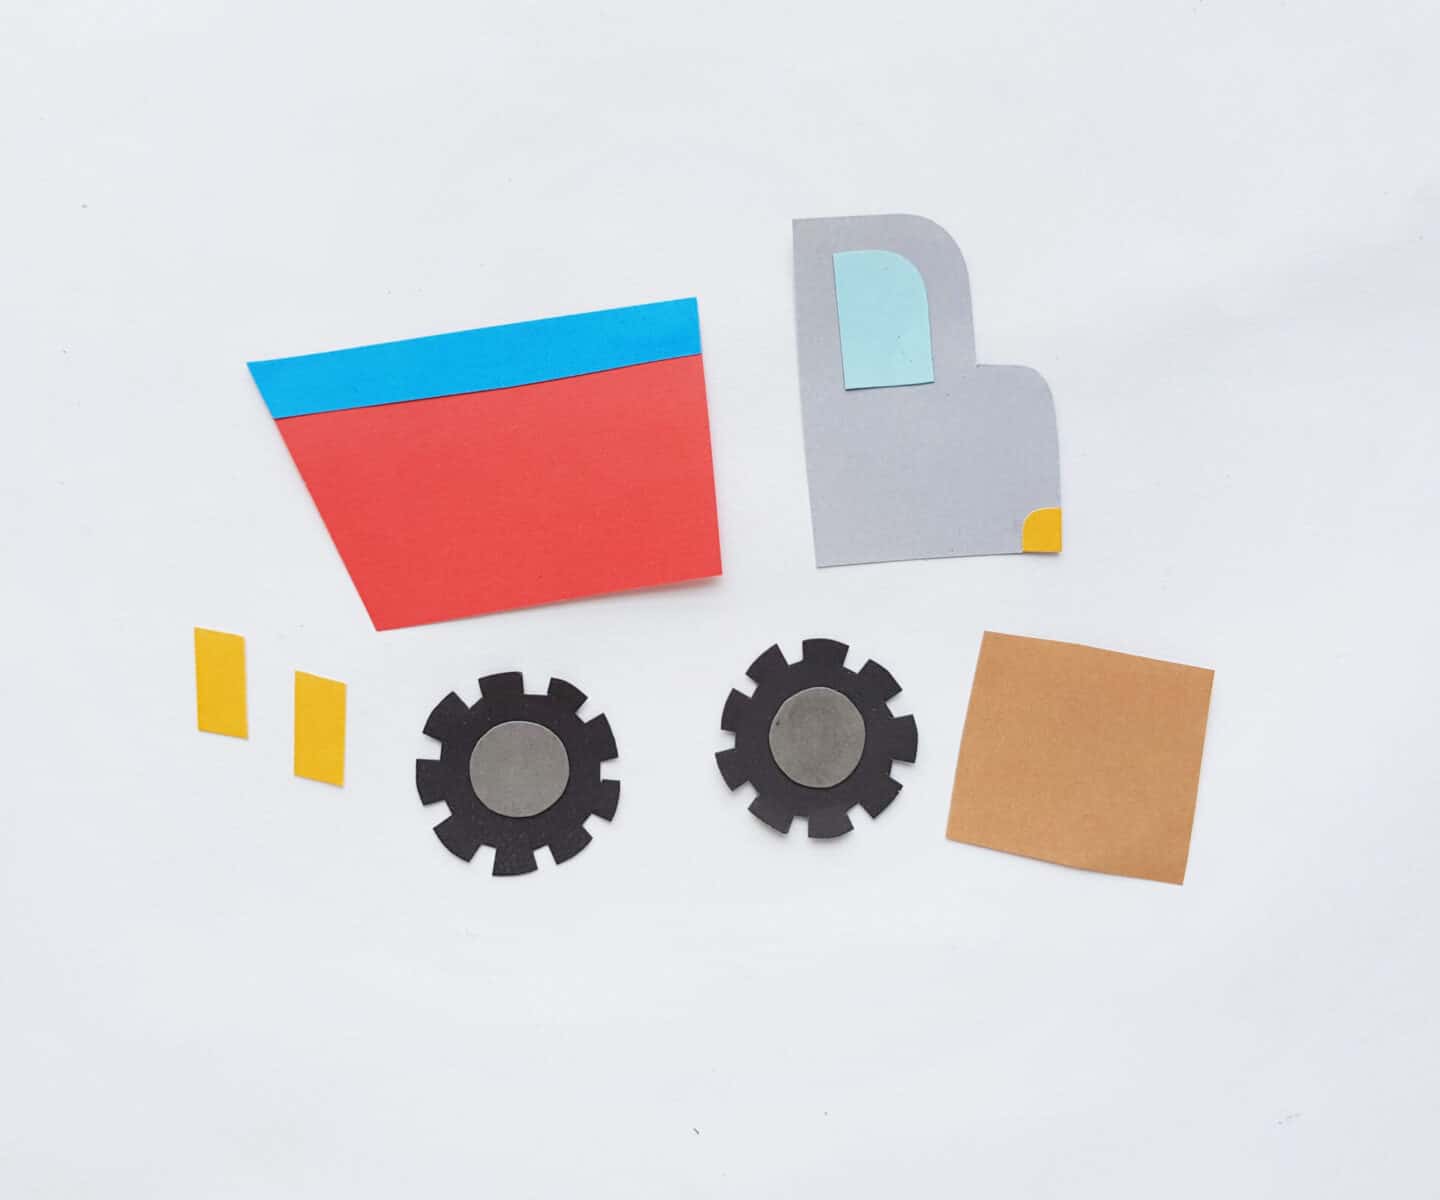
The template includes wheels, wheel nuts, back part (truck bed), front part, window, headlight, a square base, truck bed border and 2 small parallelogram shapes. Trace and cut out the patterns.

Step 2:
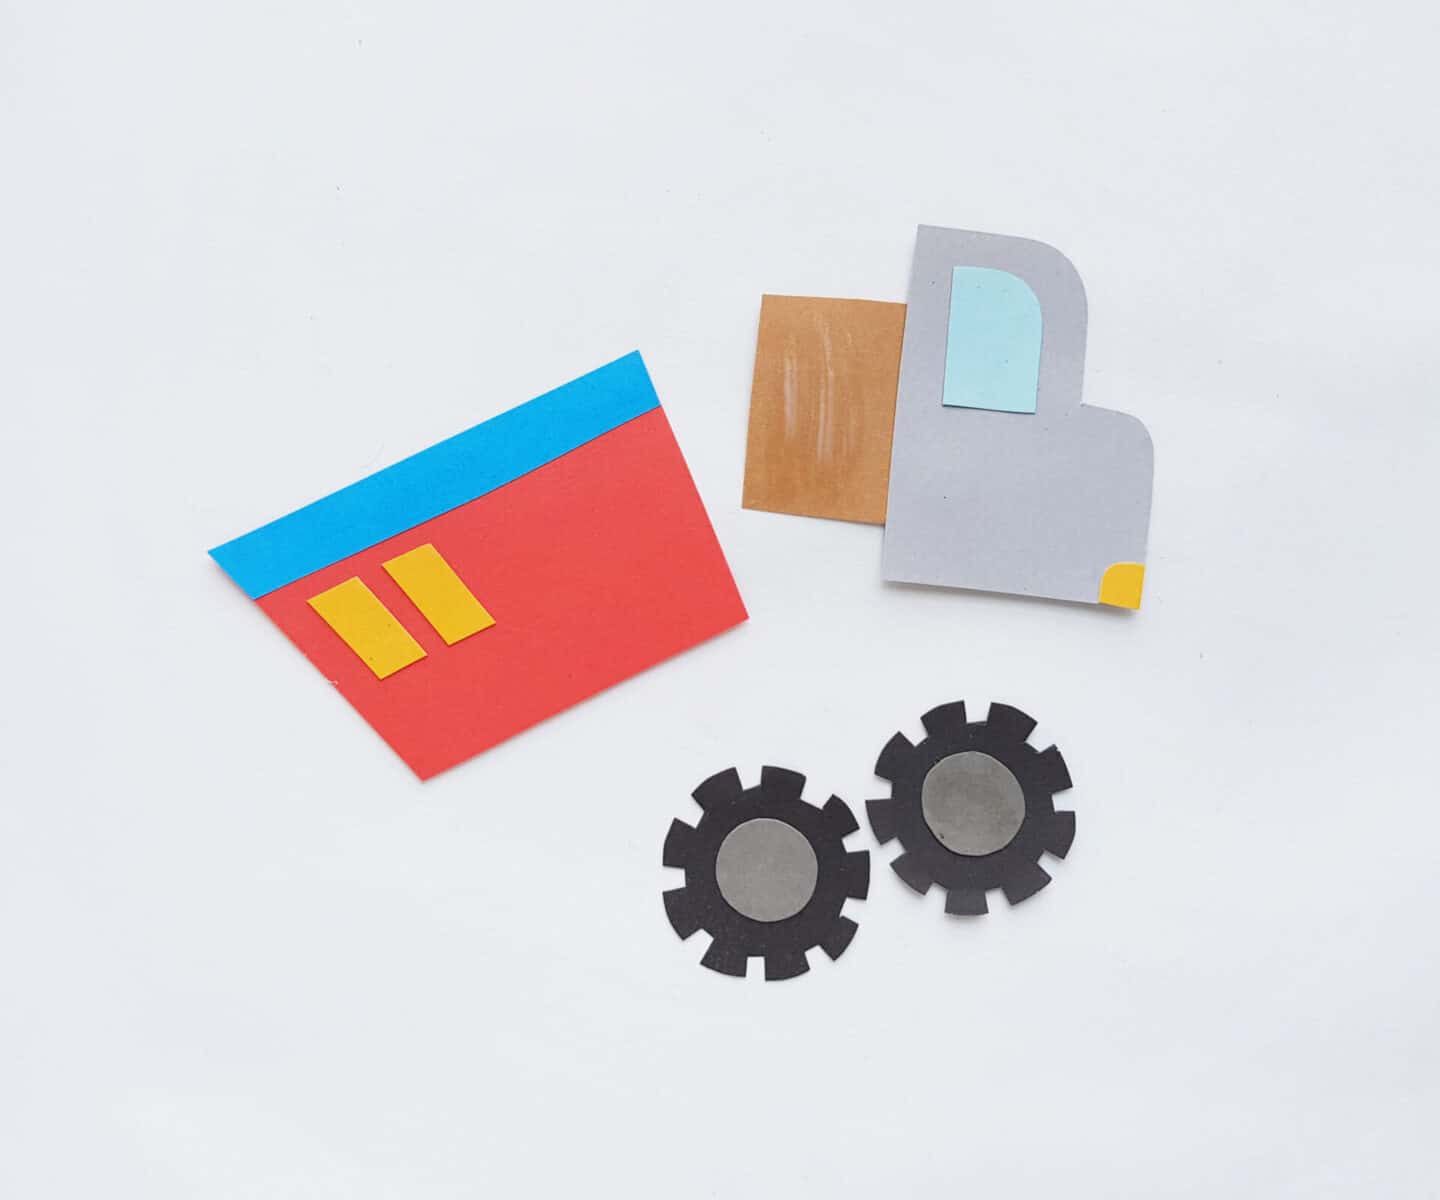
Attach the wheel nut cutouts in the center of the wheel cutouts. Attach the window cutout on the top side (narrow part) of the front pattern cutout and attach the headlight on the bottom front side of the front pattern. Attach the truck bed border along the top side of the truck bed pattern.
Step 3:
Apply glue on the square base cutout and place the front pattern of the truck on the half of the square base cutout. Attach the parallelogram cutouts on the backside of the truck bed pattern.
Step 4:
Attach the truck bed pattern on the other half of the square base piece.
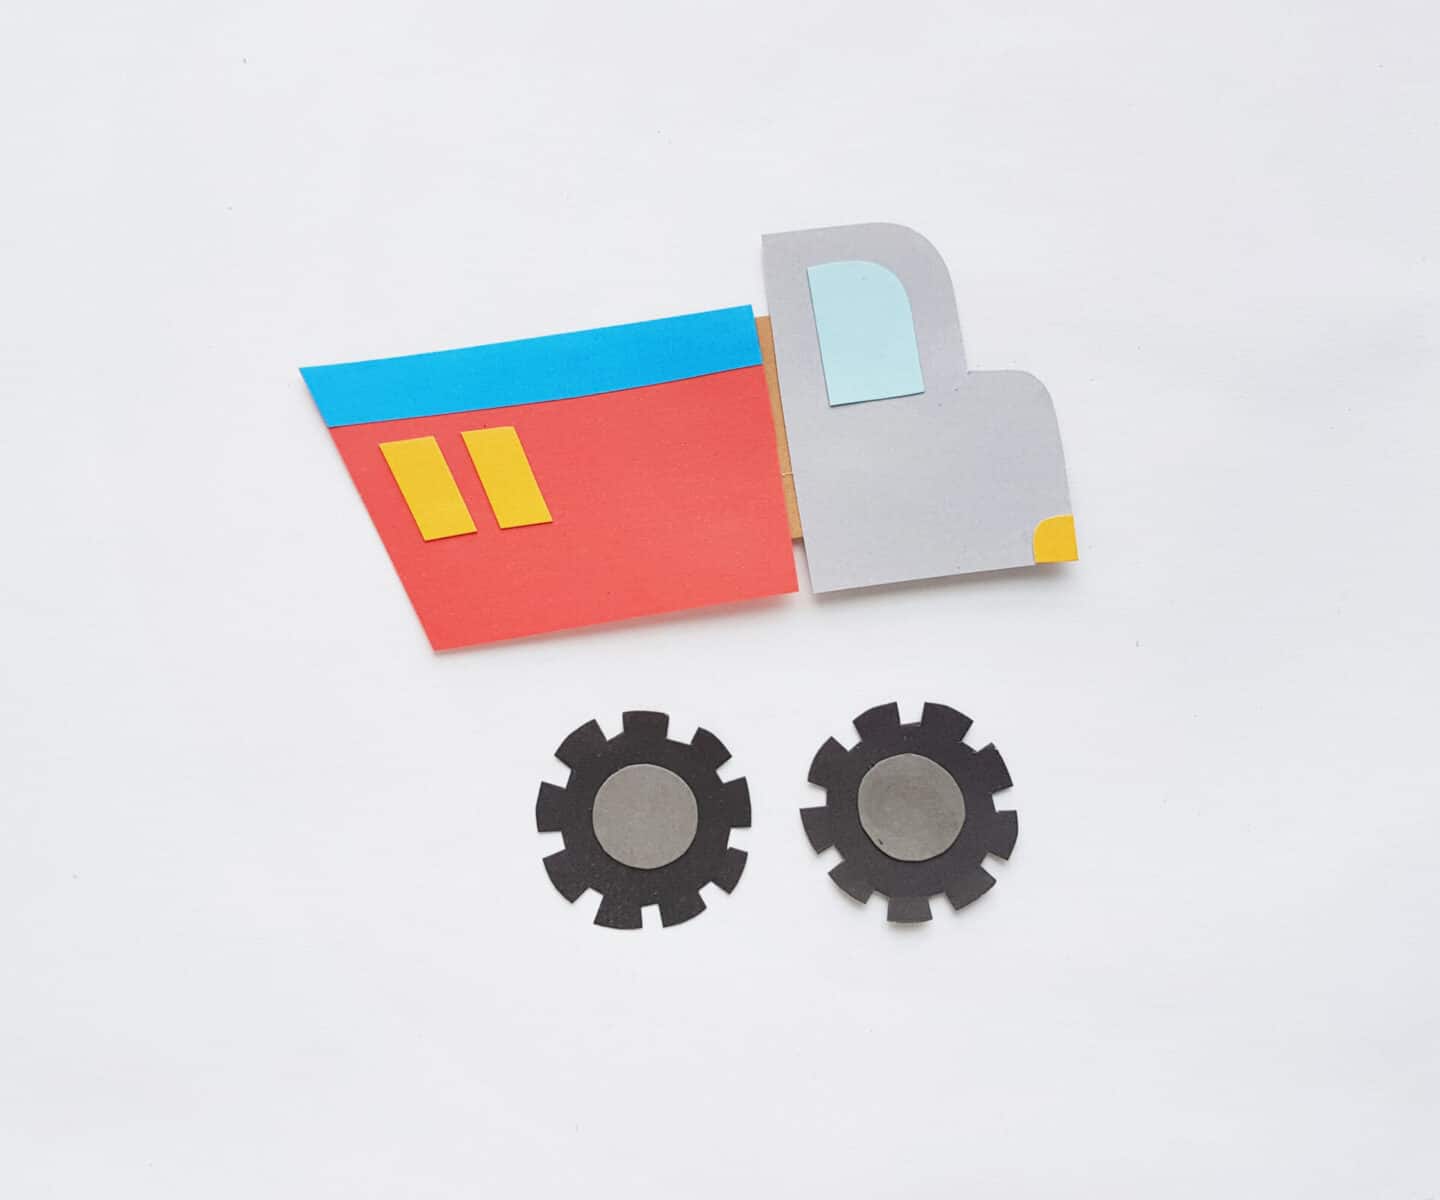
Step 5:
Attach the wheel patterns on the bottom side of the truck pattern, one on the bottom side of the truck bed and one on the bottom side of the front pattern. Use a gel pen or sharpie to trace the outline of the truck papercraft.
