This paper craft project is great for little toddler hands. I have created a template for you to download so you can get started within a matter of minutes. If you like this why not check out our other FREE craft printable here.
As an Amazon Associate I earn from qualifying purchases. The links below may be affiliate links. Please read my disclosure policy for more information.
How to Make a Papercraft Castle
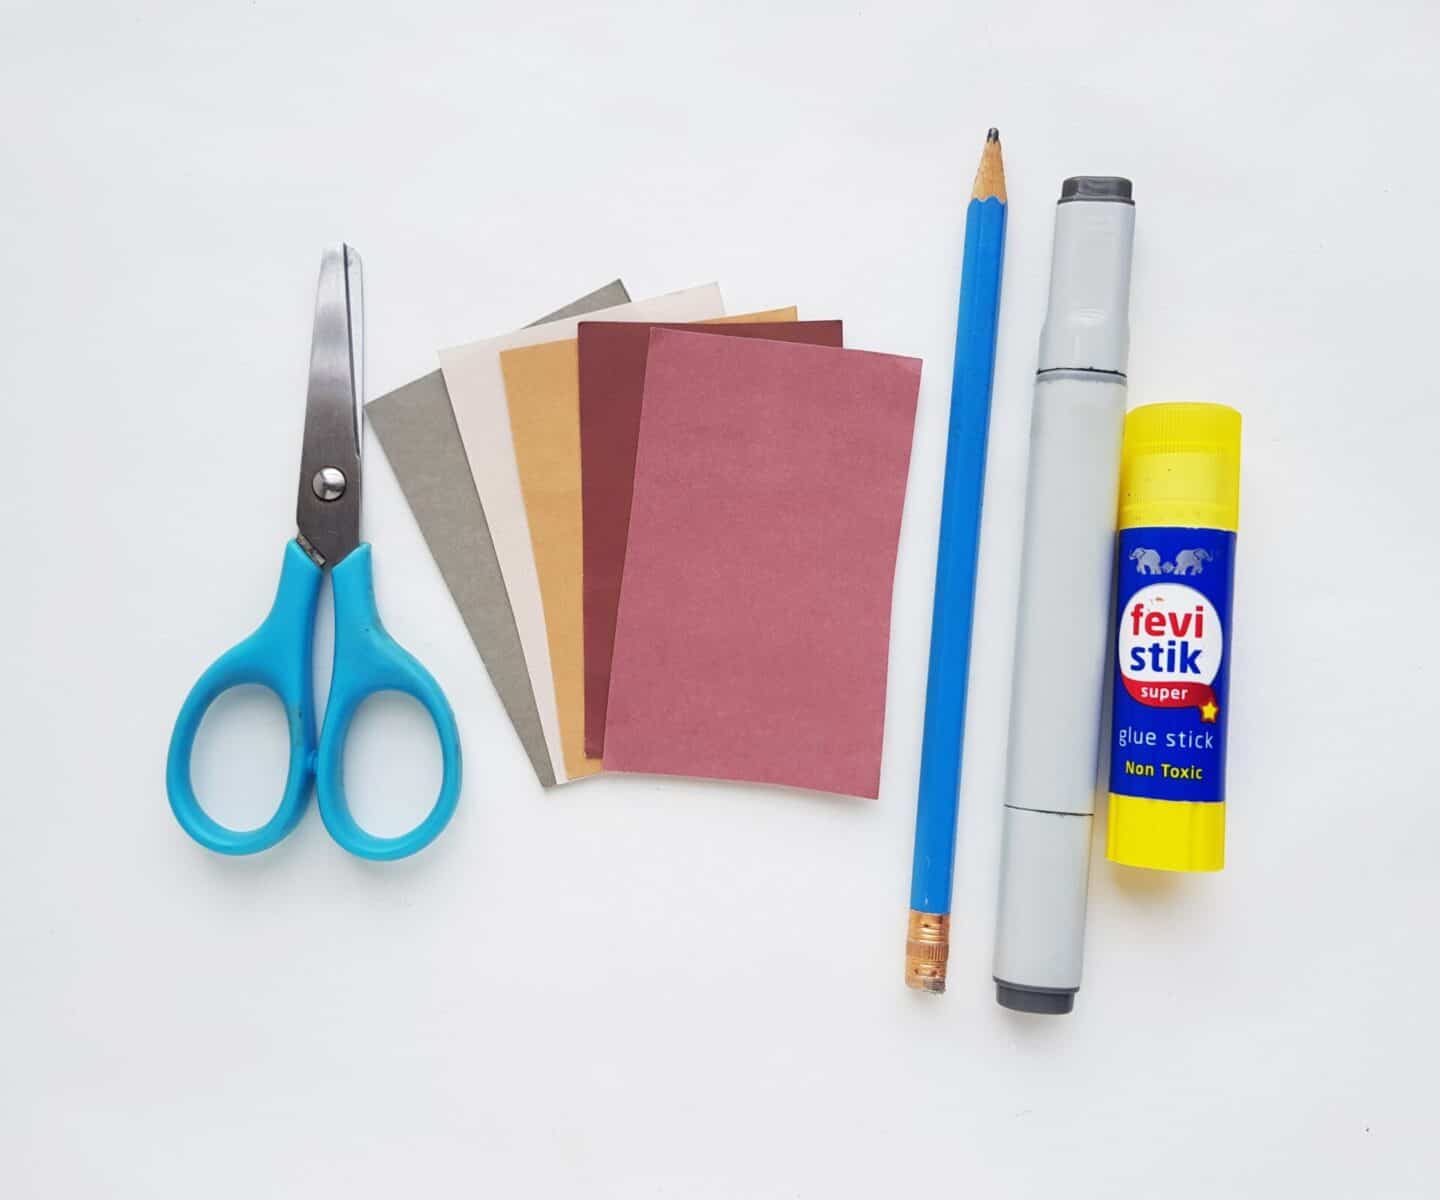
Instructions
Step 1:
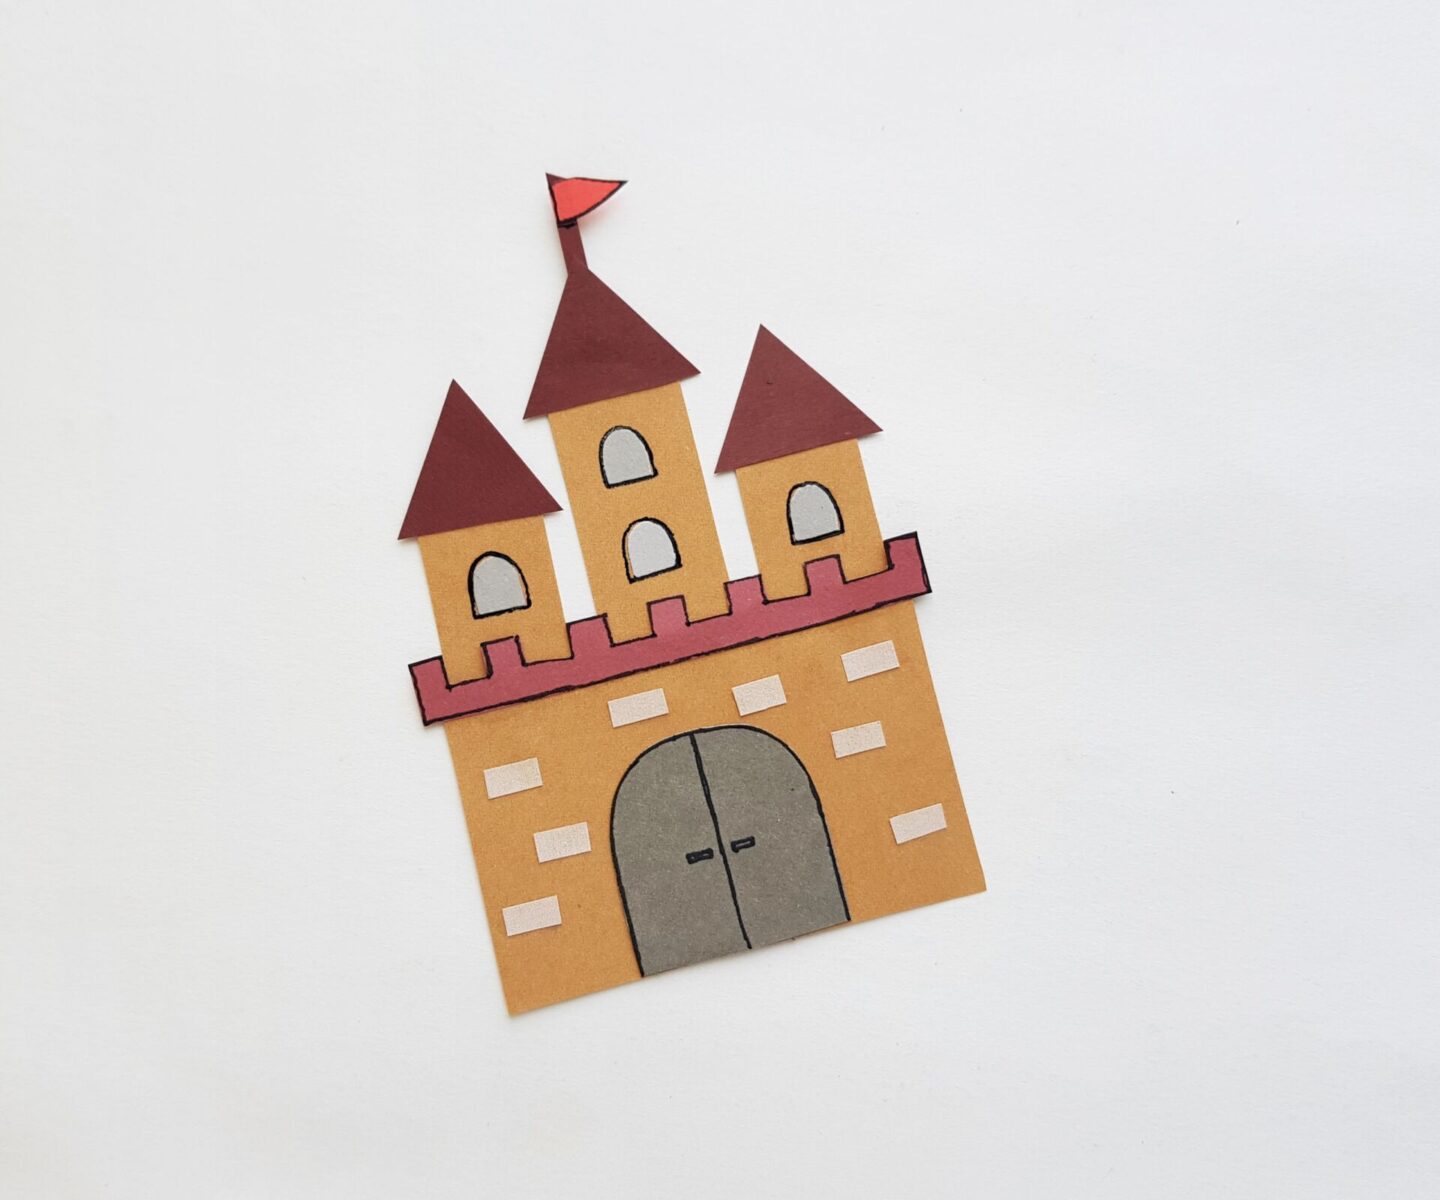
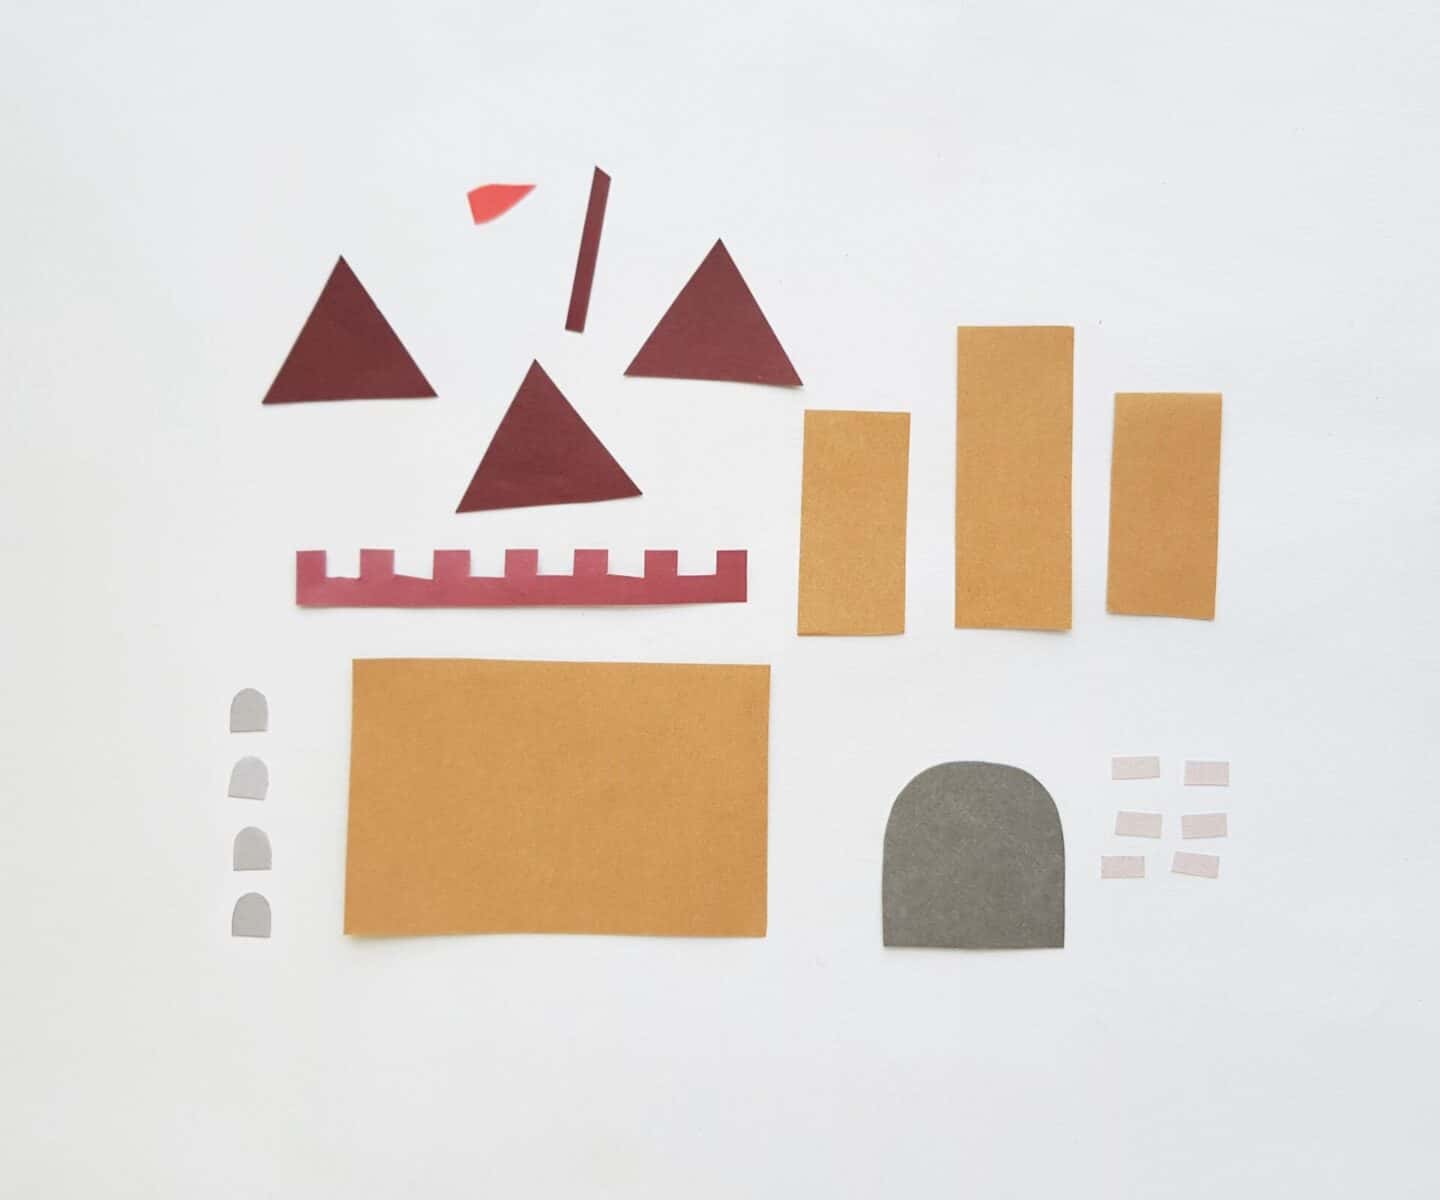
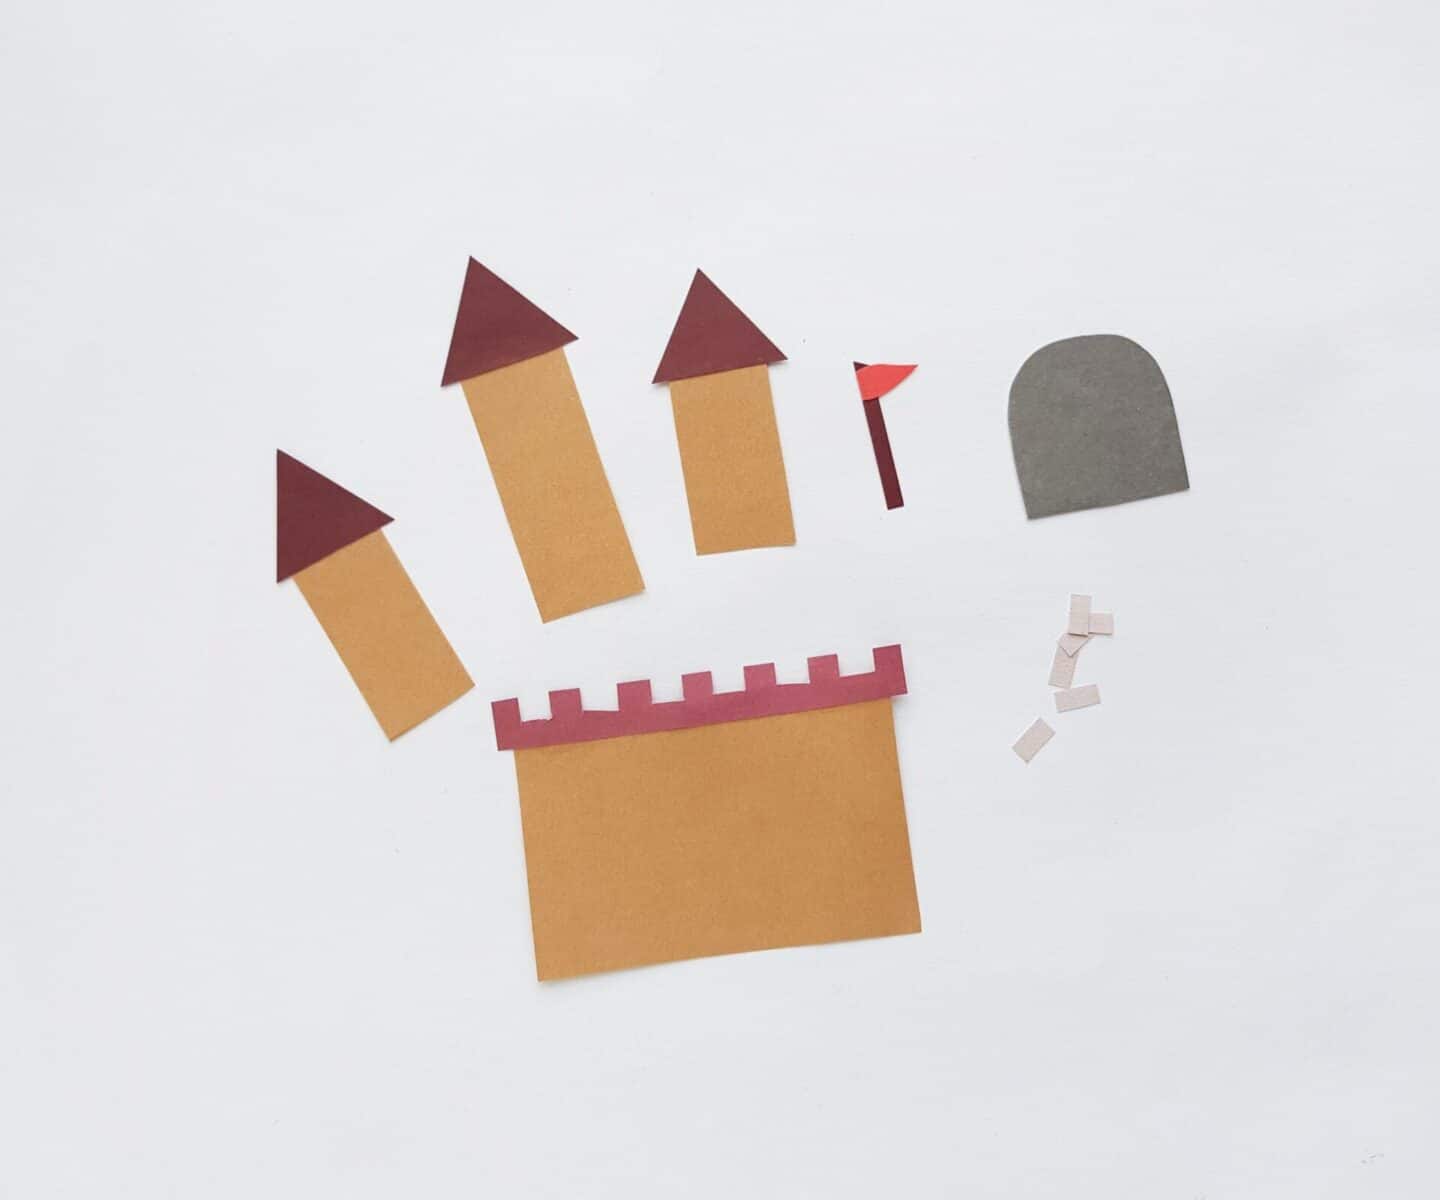
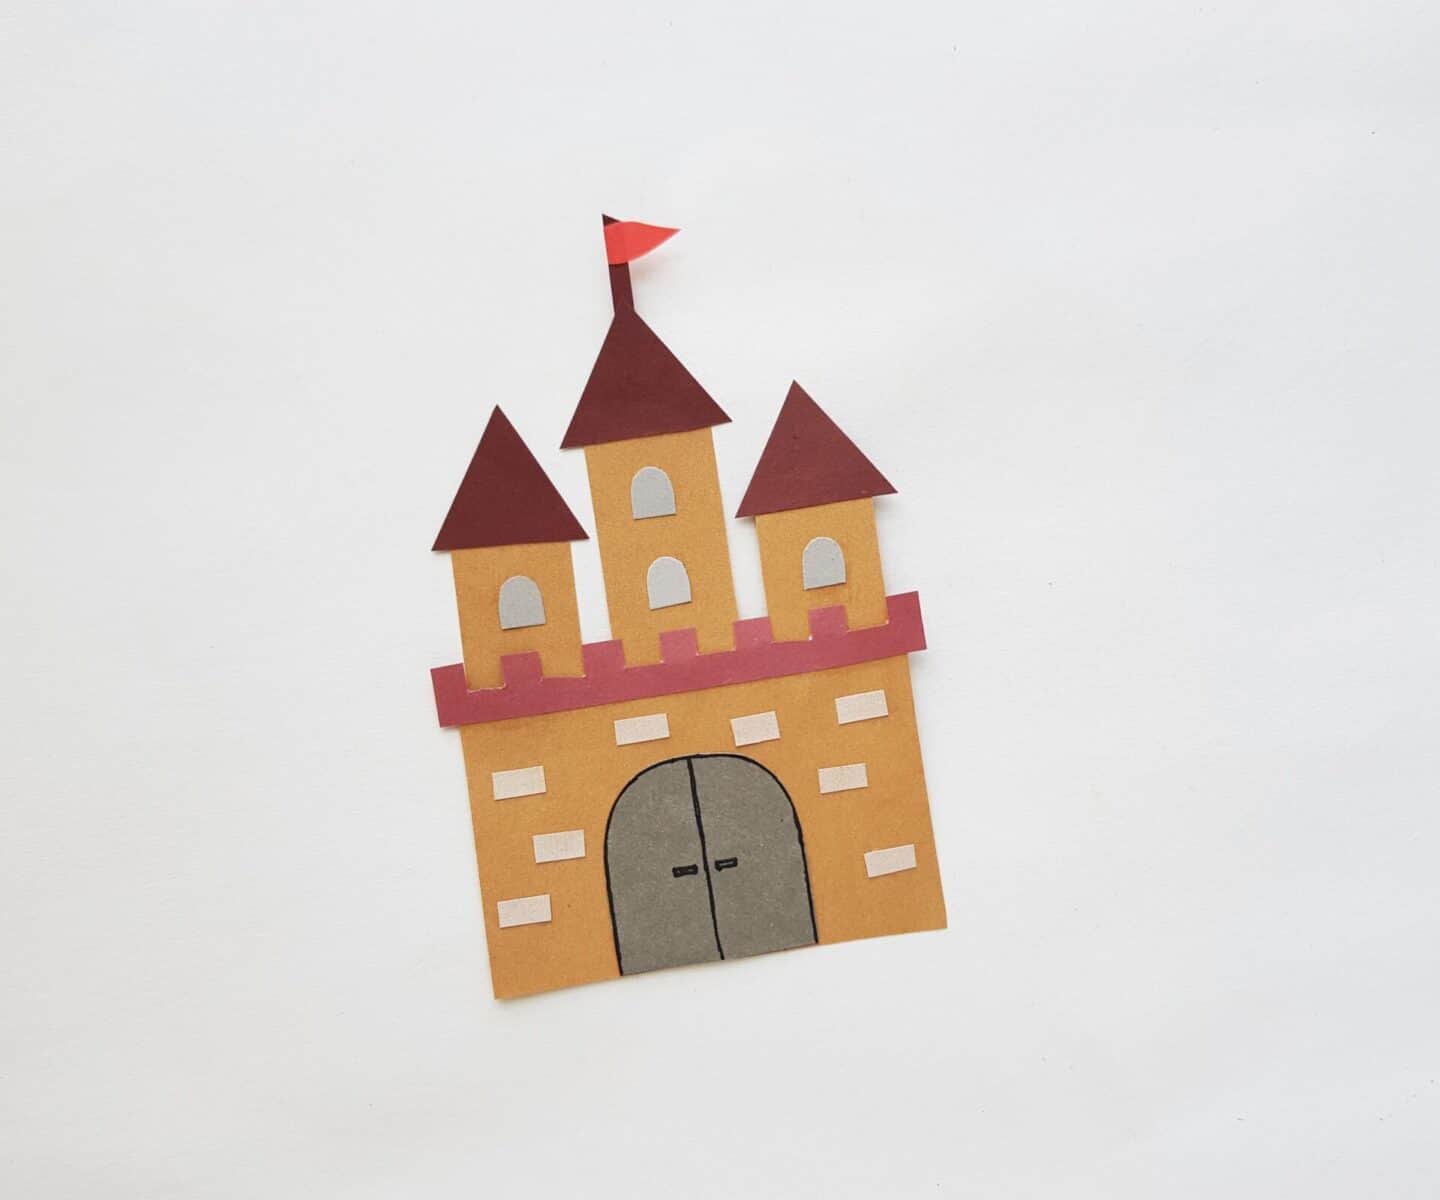
Select different colored craft papers for the papercraft castle. Trace the pointy roofs (triangle shapes) on a darker shade of papers; trace the towers and front part of the castle on a lighter shade of the same colored craft paper.
Trace the portcullis, windows, and flag and brick patterns on colored craft papers of your choice. Use scissors to cut out the traced patterns nicely.
Step 2:
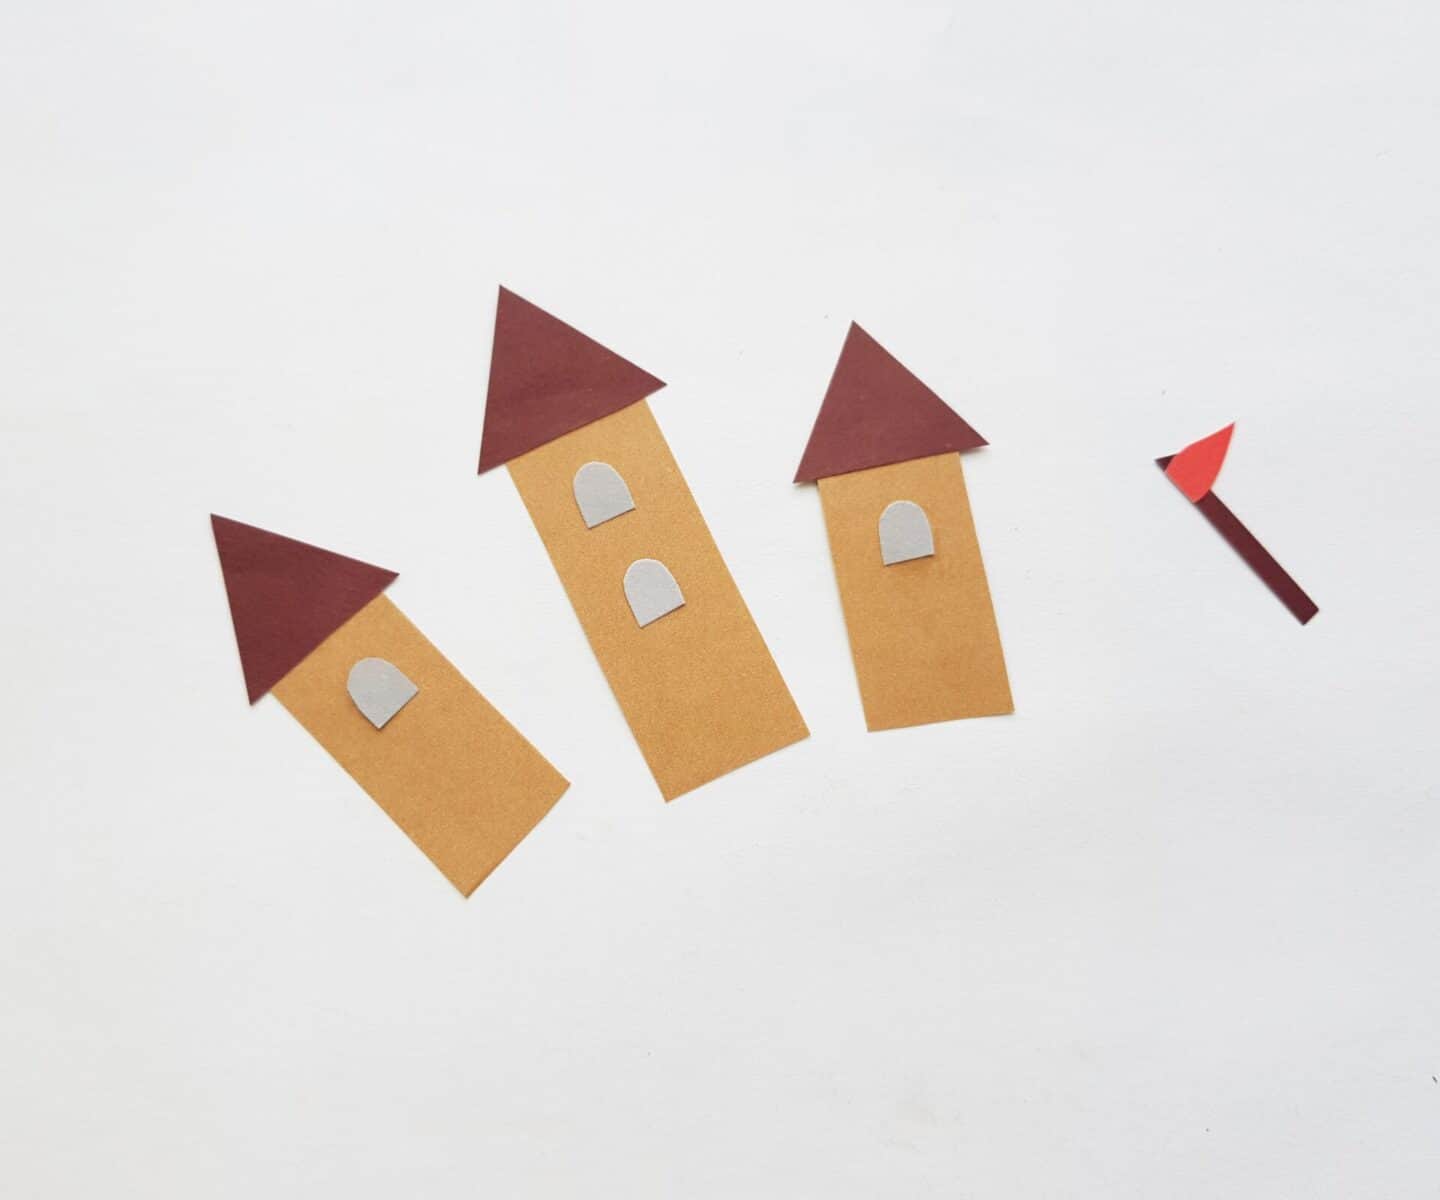
Attach the roof cutouts on the top ends of each of the tower cutouts. Attach the flag cutout on the small strip and the patterned bordered strip along the top side of the front part of the castle pattern.
Step 3:
Attach the window cutouts on the tower patterns.
Step 4:
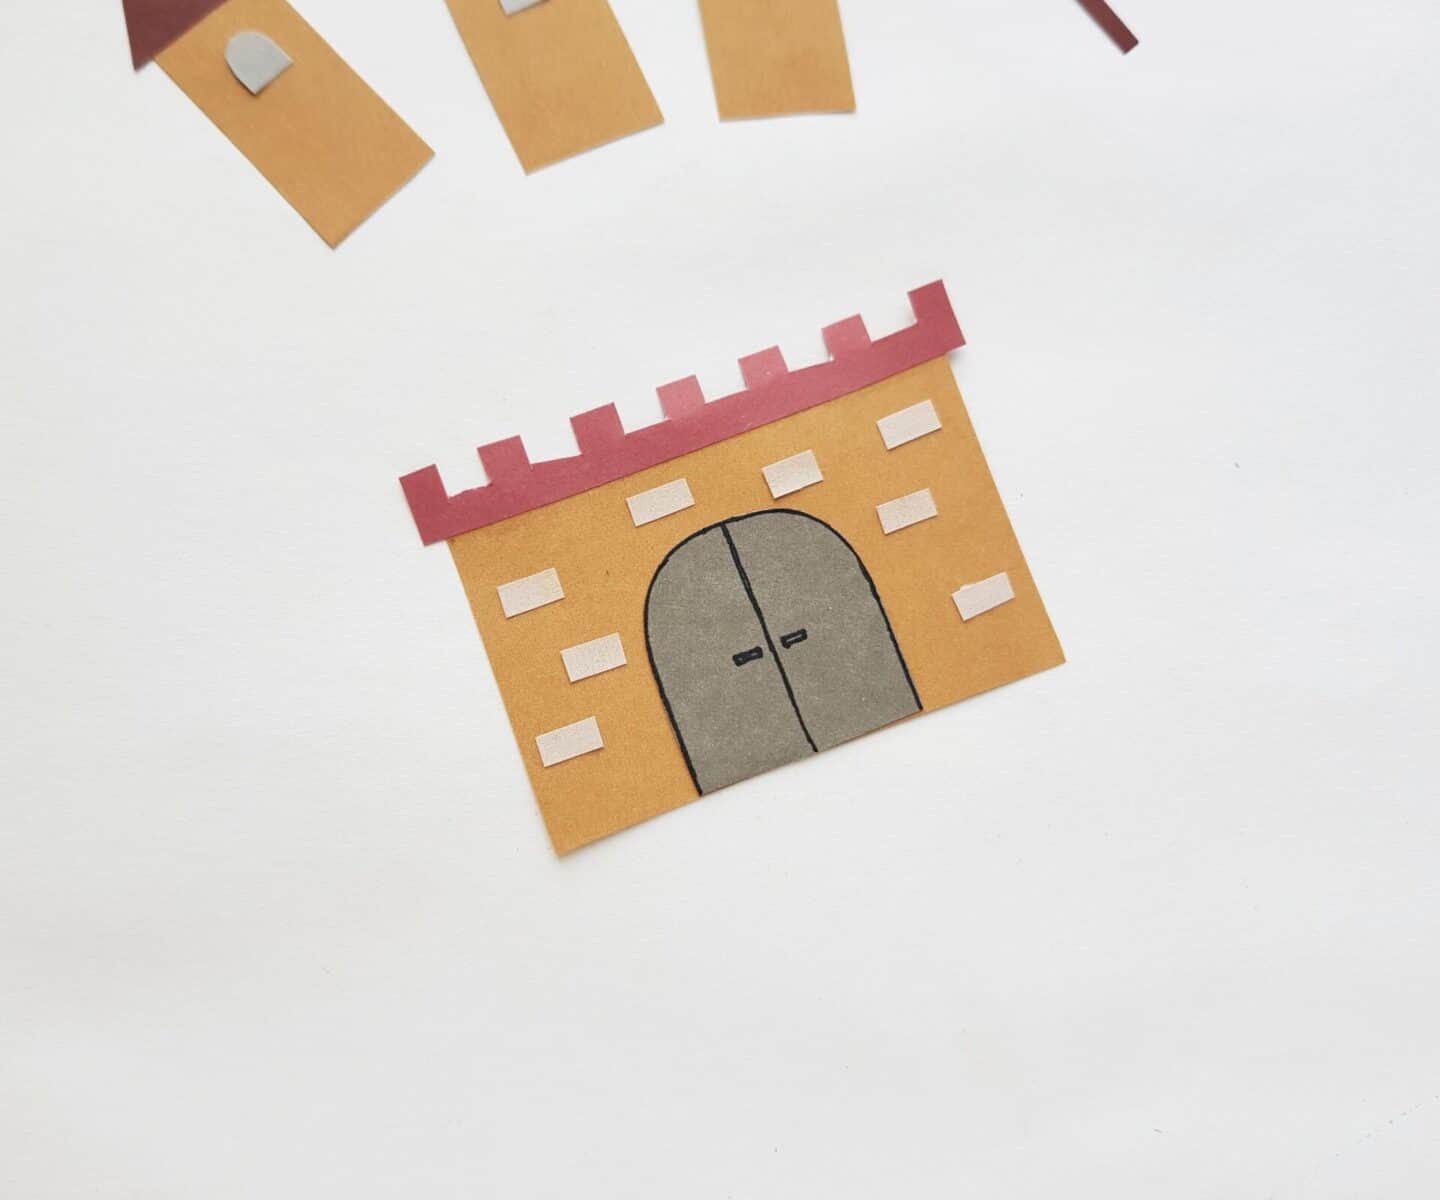
Attach the portcullis in the middle of the front part of the castle pattern; make sure to align the straight sides of both patterns. Attach the small brick cutouts on the front part, on both sides of the portcullis.
Use a marker to trace outline of the portcullis and draw a line along the middle of it.
Step 5:
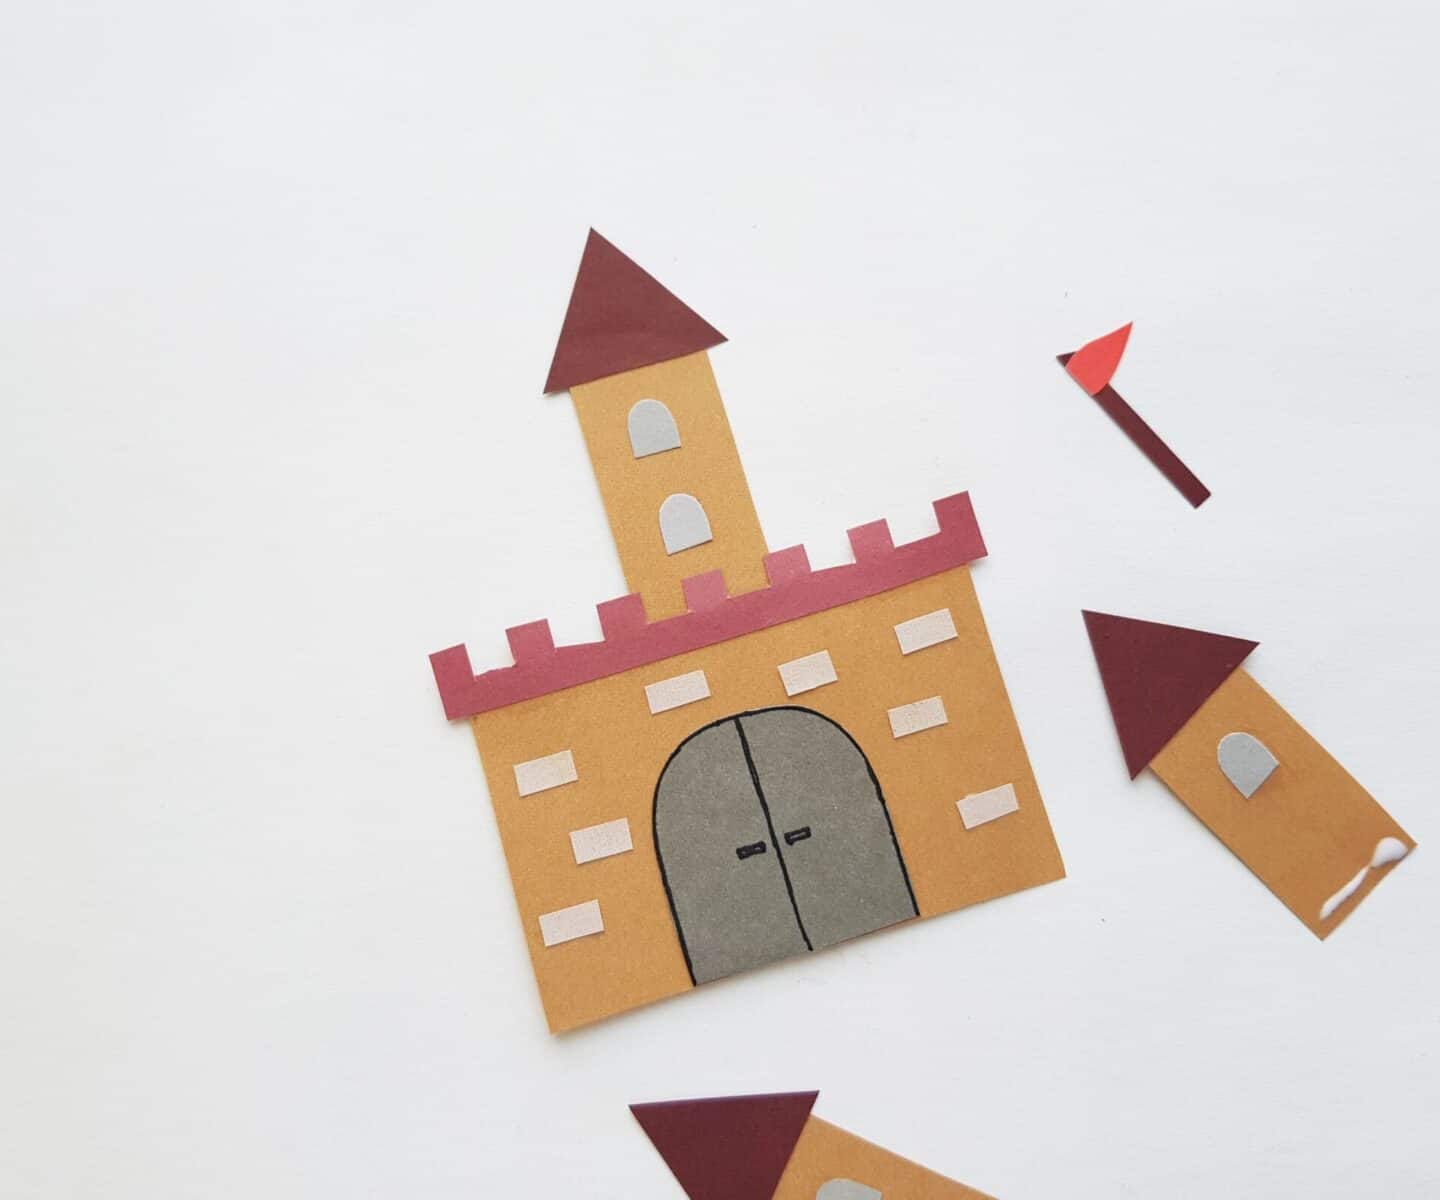
Take the longest tower and attach it on the top middle part of the castle’s front part, attach it from the backside of the front pattern.
Step 6:
Attach the 2 other tower patterns on both sides of the tallest one. Attach the flag on the top of the tallest tower.
Step 7:
Use a gel pen to trace outlines of the papercraft castle to give it a nice and finished look.
