Puppies and children seem to be a match made in heaven. Energetic, enthusiastic, and full of curiosity, puppies and children can form unbreakable bonds.
But that doesn’t mean you can throw your new puppy and child together and let them get on with it. Far from it. Even if you’re not planning to get a dog anytime in the future, it’s still important to teach your kids how to interact safely with animals when they’re young.
As an Amazon Associate I earn from qualifying purchases. The links below may be affiliate links. Please read my disclosure policy for more information.
Learning About Different Types of Dog
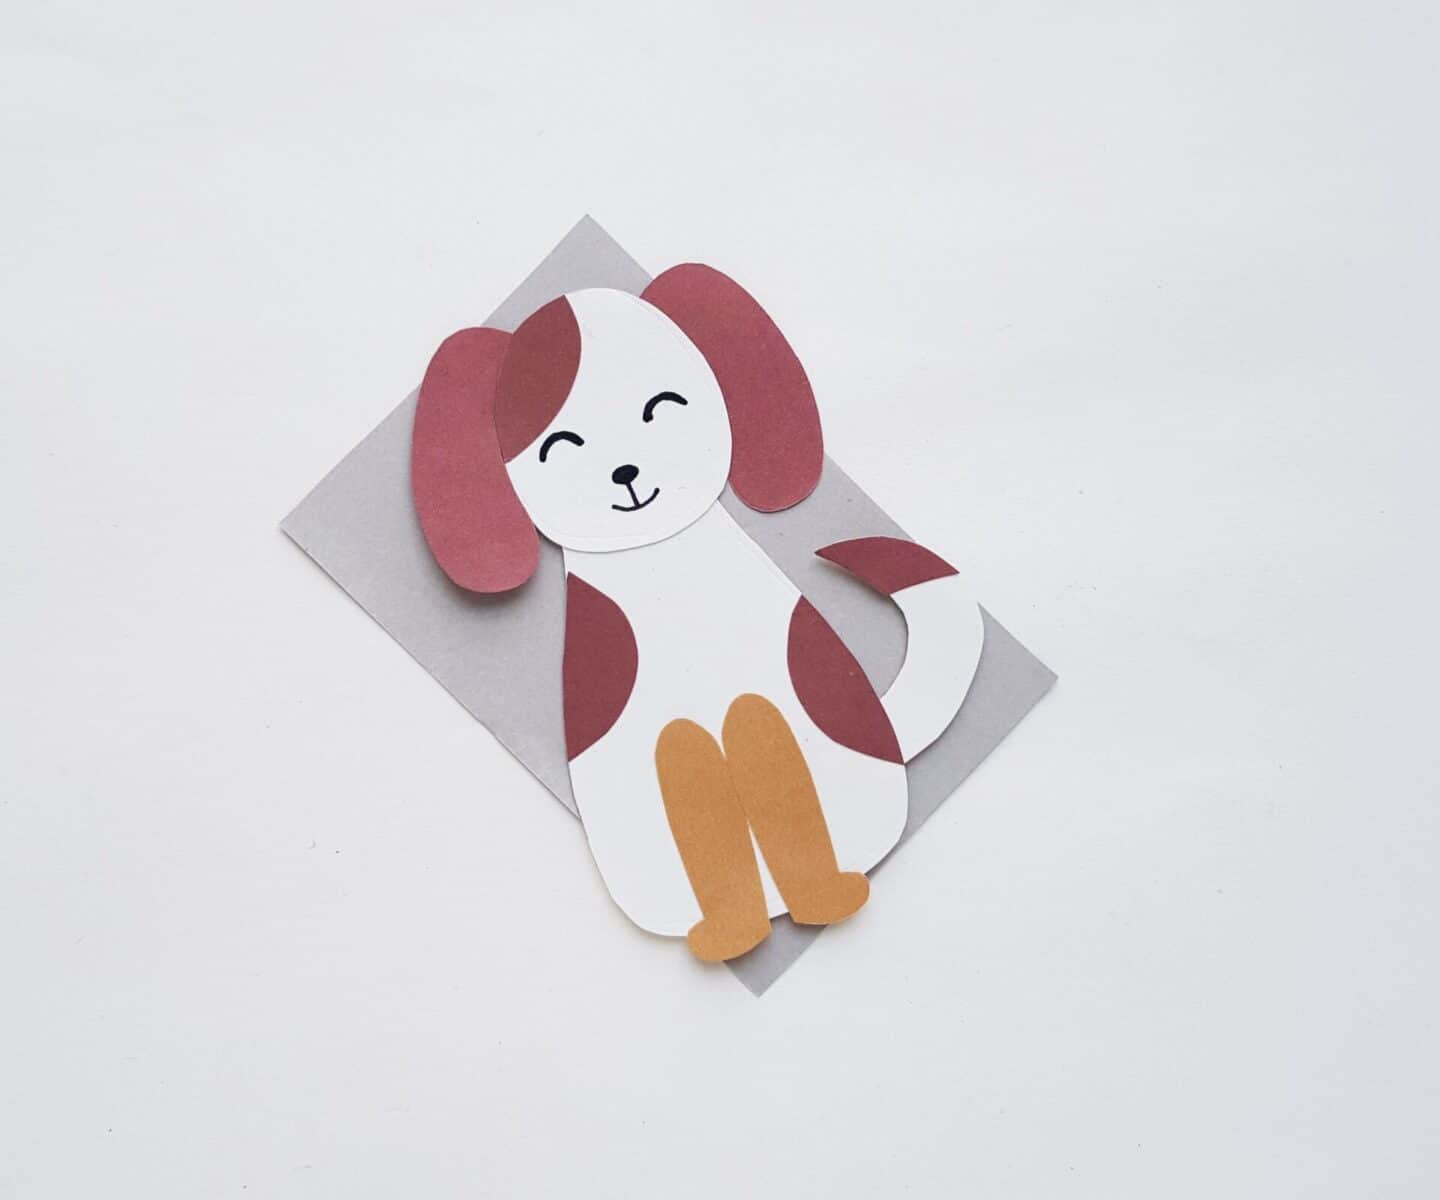
Picking out a breed of dog that will work well with your family is always fun. With this papercraft dog, you can tweak the design. You can change its pattern or alter the shape of its ears or length of its tail.
If you child shows interest in various dog breeds, try making several papercraft dogs and using them as flash cards. Alter the papercraft to make it look like one type of dog (say, a Dalmatian or a beagle) and write the dog breed on the back of the card. Use the flash cards to teach your kids to recognize different types of dog!
Learning to Care for a Dog
Kids tend to get quickly attached to their toys. Have your child pick out a name for your papercraft dog, and help them make little paper toys, dog beds, and food bowls for their new friend! You can even pretend to “groom” the paper dog with a little paper dog brush.
This can be a great learning experience for your child, teaching them how important it is to properly care for an animal.
Teaching Children to be Safe Around Dogs
Almost without exception, children love animals, especially dogs. However, this can cause problems. A nervous dog, faced with a rough or overenthusiastic child, may growl, snap, or bite. A dog bite can do serious to a child. However, this can often be avoided by kids learning to recognize signs of a nervous or cornered dog and knowing to back off and leave the animal alone.
While you’re putting the papercraft dog together, talk to your child about how to recognize whether a dog is upset or uncomfortable, and what they should do. Feel free to give them a little test afterwards, to see if they’ve remembered.
Another important lesson to teach your kids is how to pet dogs. Young children in particular can be very rough and heavy-handed with cute, fluffy puppies, maybe even squeezing the animal and pulling fur. This is often due to excitement and curiosity, but you must train this behaviour out of your children.
Even if you already have a good-natured, placid dog that doesn’t retaliate when your kids yank on its fur, ears, or tail, sooner or later they will come into contact with a dog that will react. Your children will likely get receive a well-deserved bite.
Have them gently stroke the papercraft dog as practice, then carefully supervise when you introduce them to the household’s new family member!
How to Make a Papercraft Dog
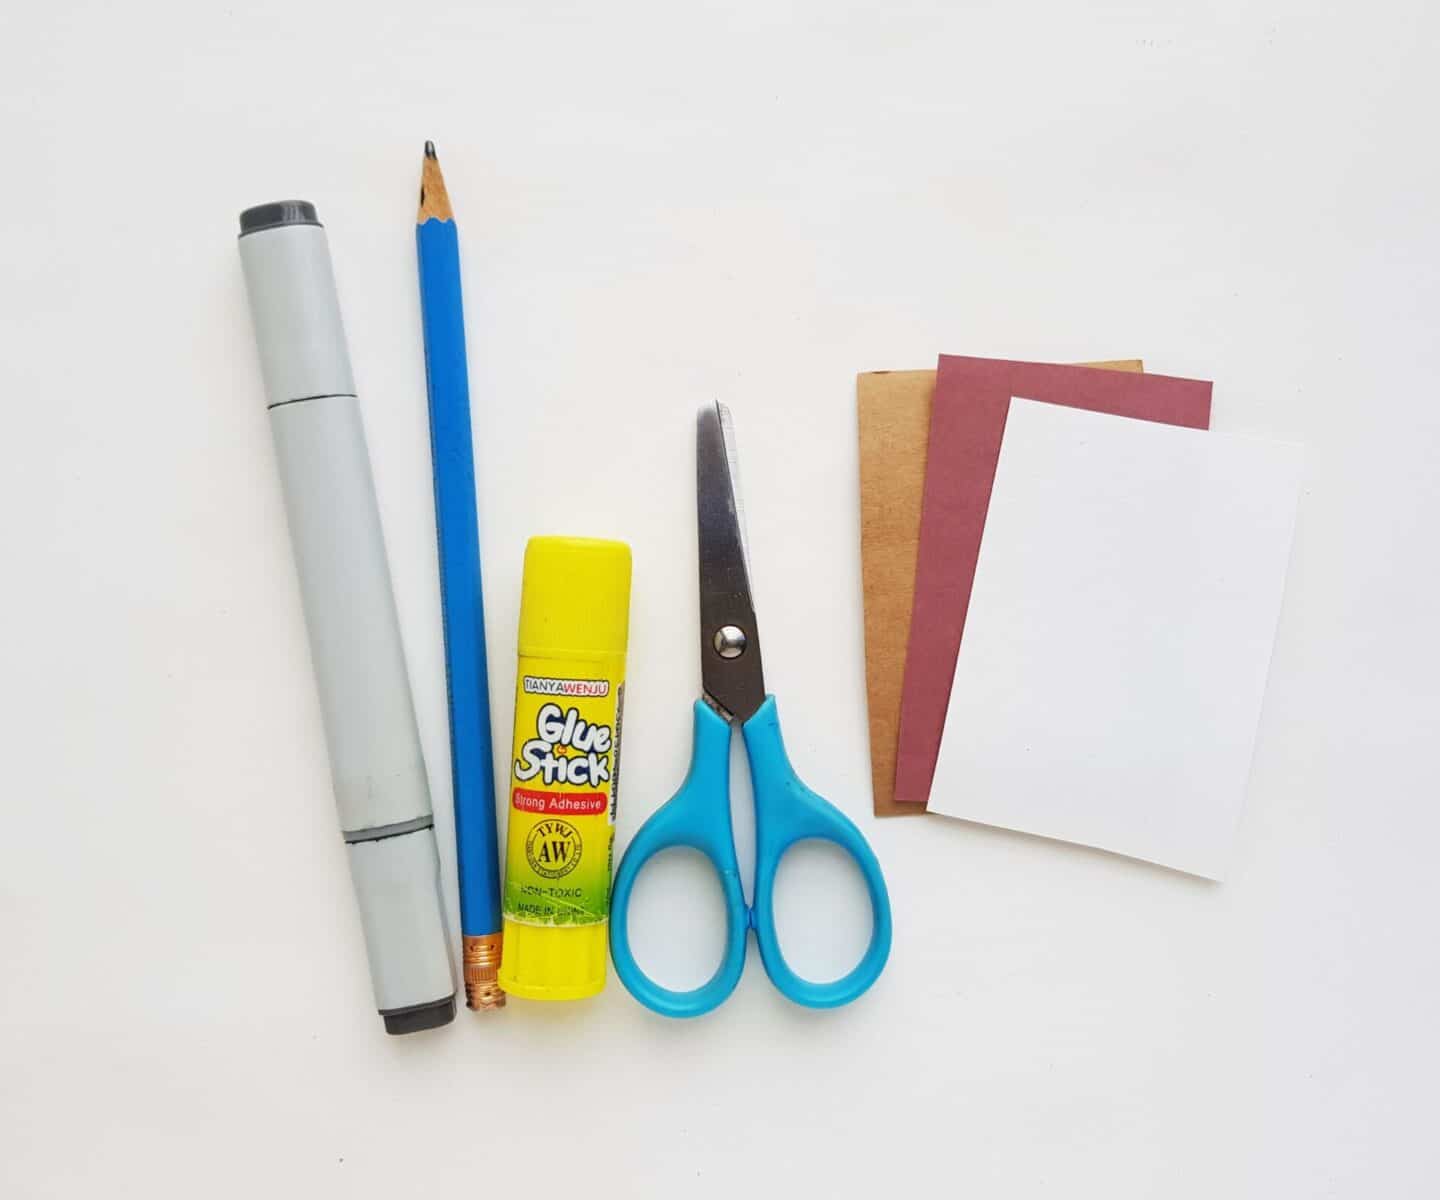
Instructions:
Step 1:
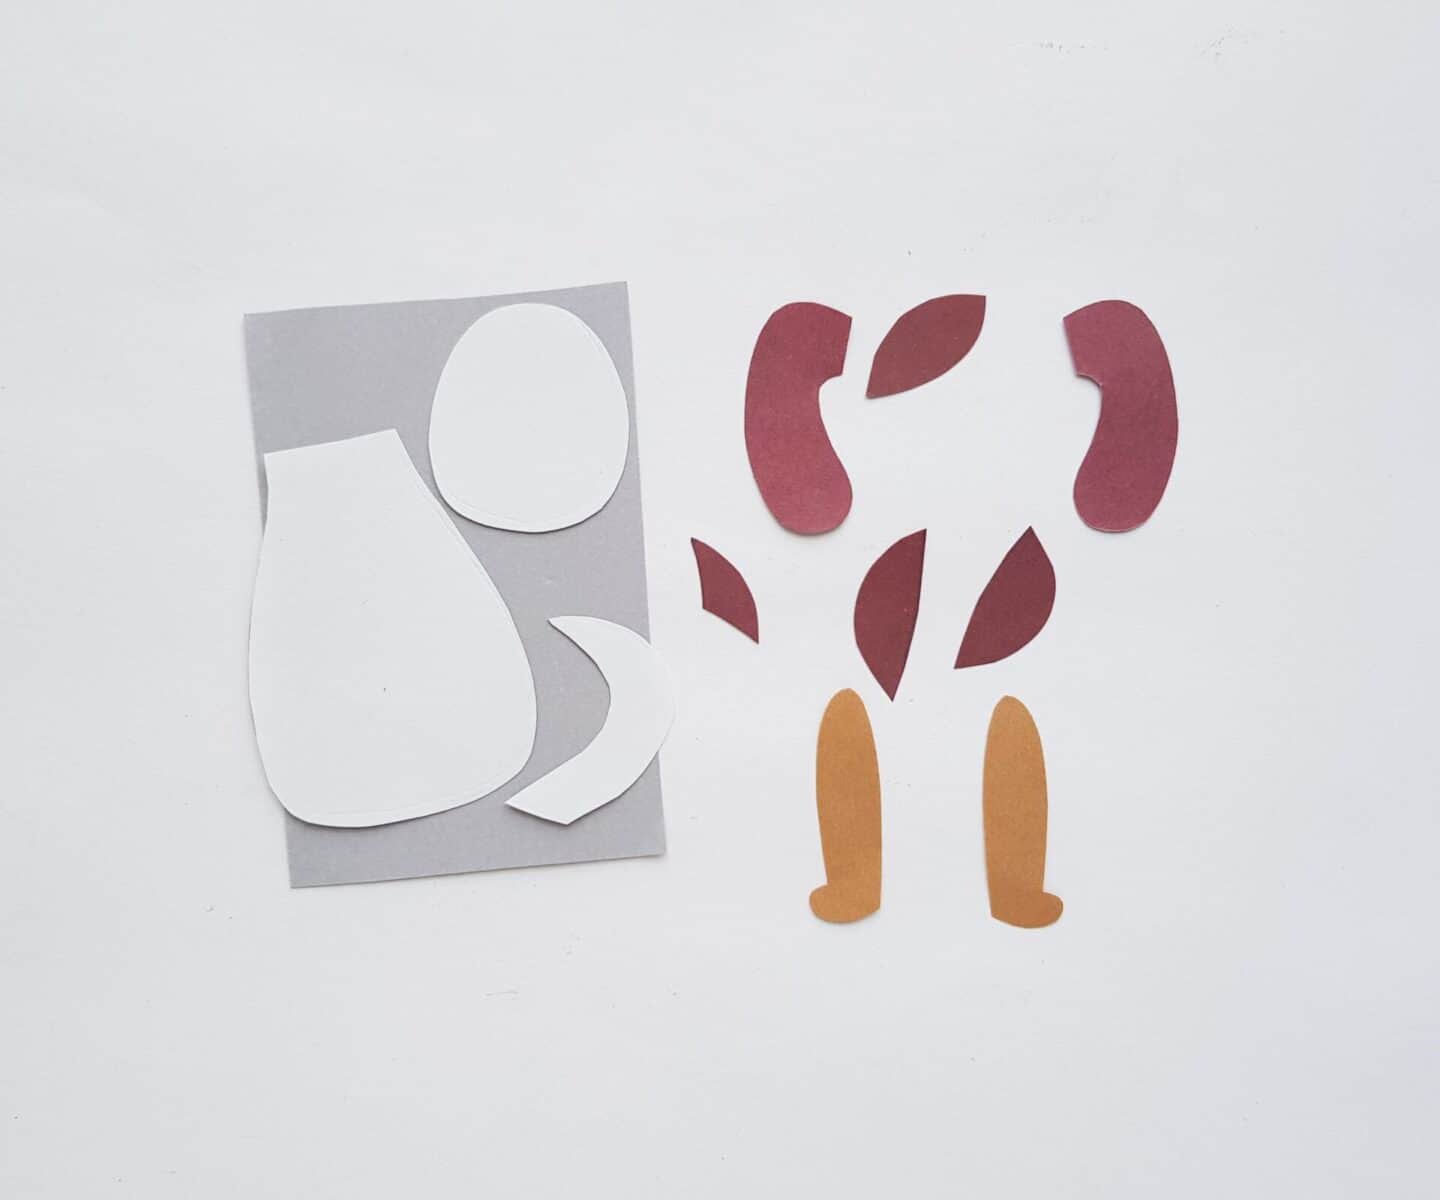
Select a craft paper for the head, tail and body pattern; and select a dark colored craft paper for the spots, ears and legs. Trace and cut out the patterns using scissors.
Step 2:
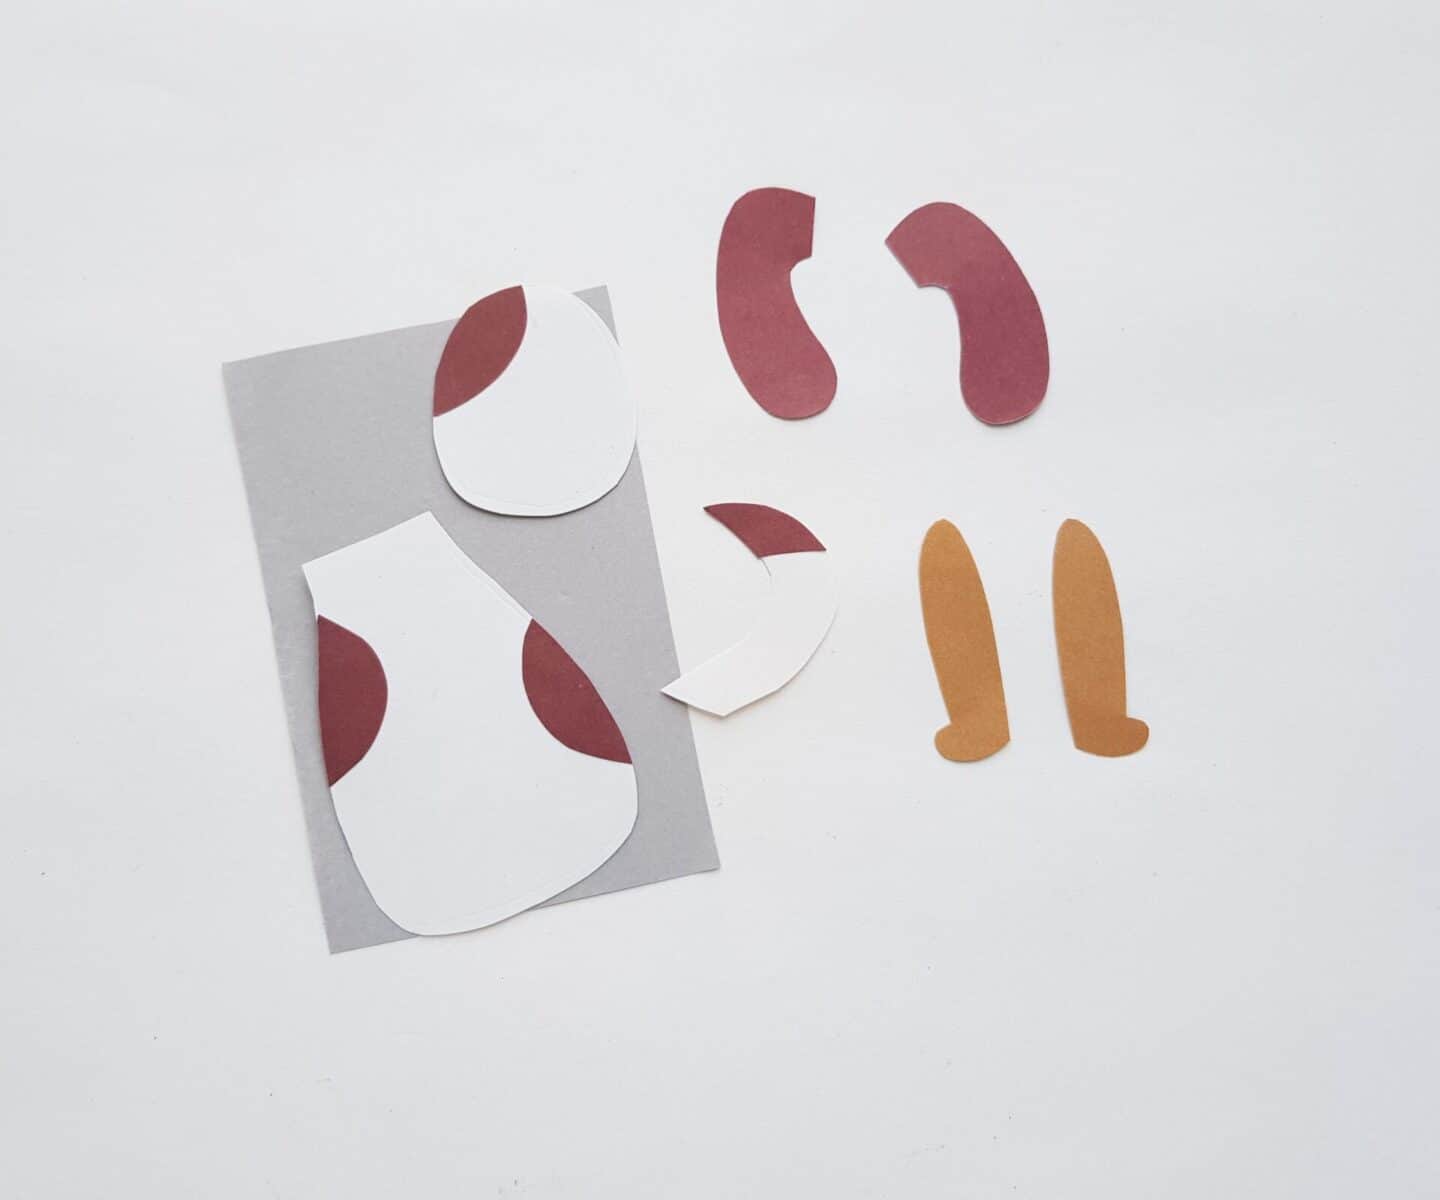
Stick the tail spot cutout on the tip of the tail cutout. Stick the body spot cutouts on the body cutout and the head spot cutout on the top side of the head cutout. You can also trace and cut out customized spots from colored craft papers if you want to.

95 Pages of FREE Worksheets for Your Preschooler Straight to Your Inbox.
Step 3:
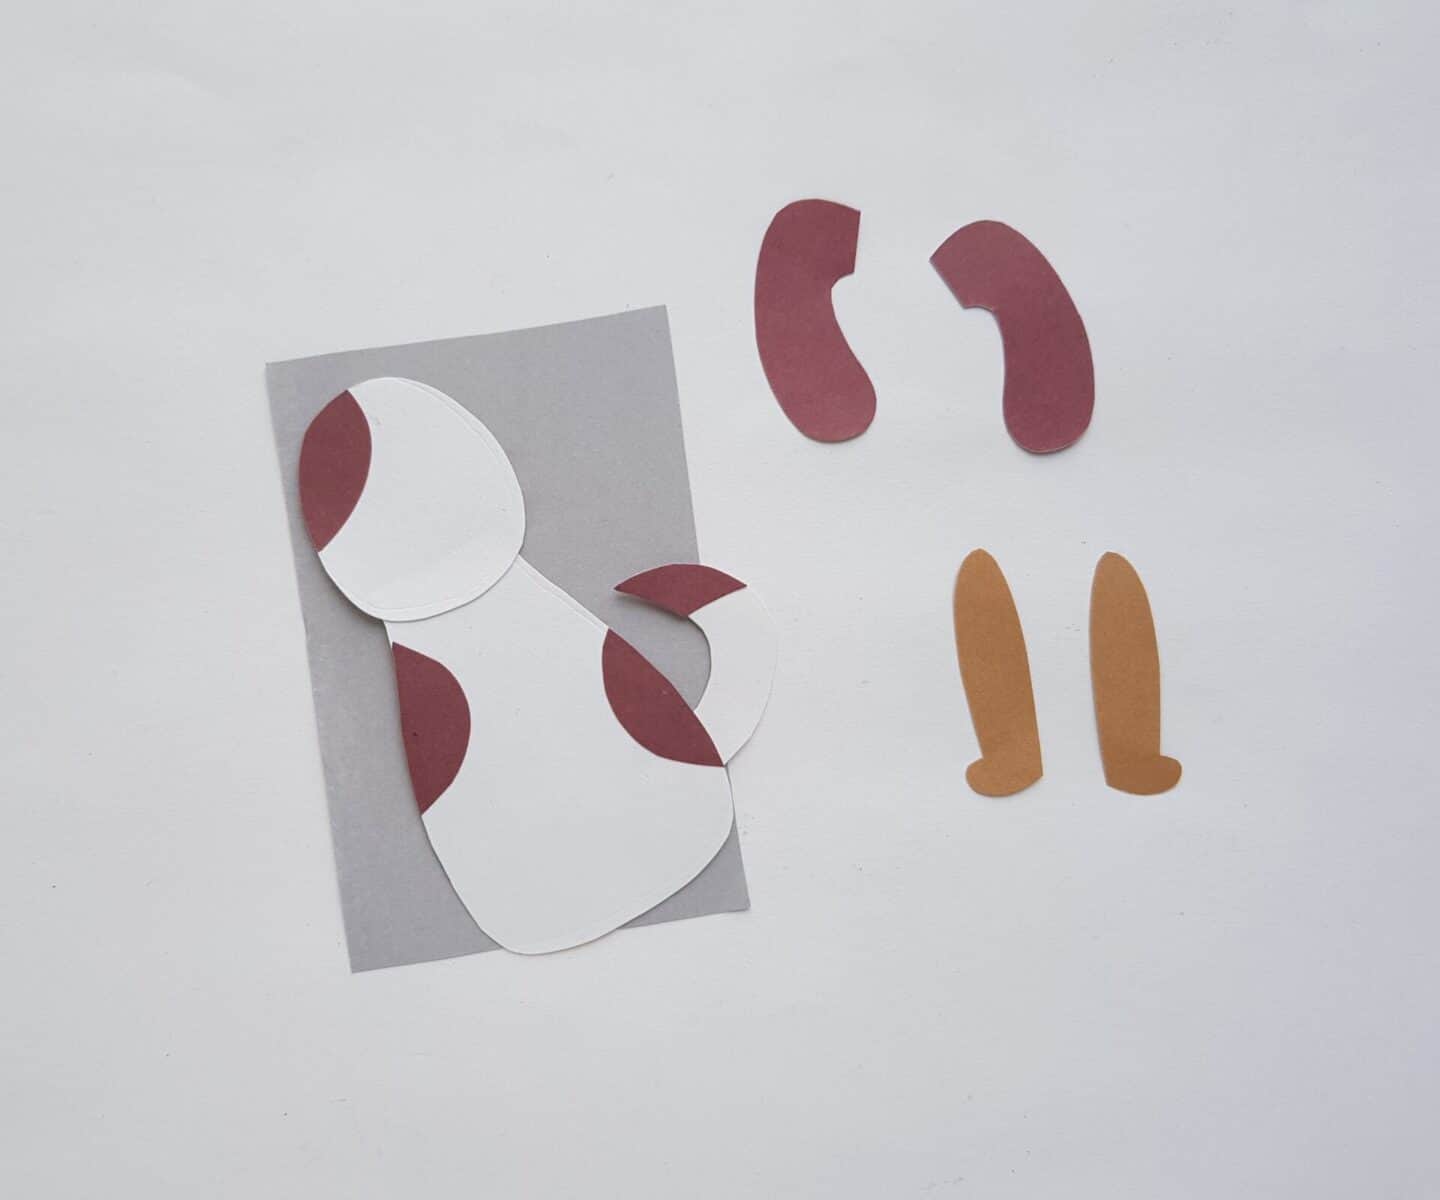
Stick the tail pattern on a side of the body pattern, near the bottom end. Stick the head pattern on the top side of the body pattern, by slightly overlapping it from the top. Keep the head pattern to the front of the body pattern while attaching them.
Step 4:
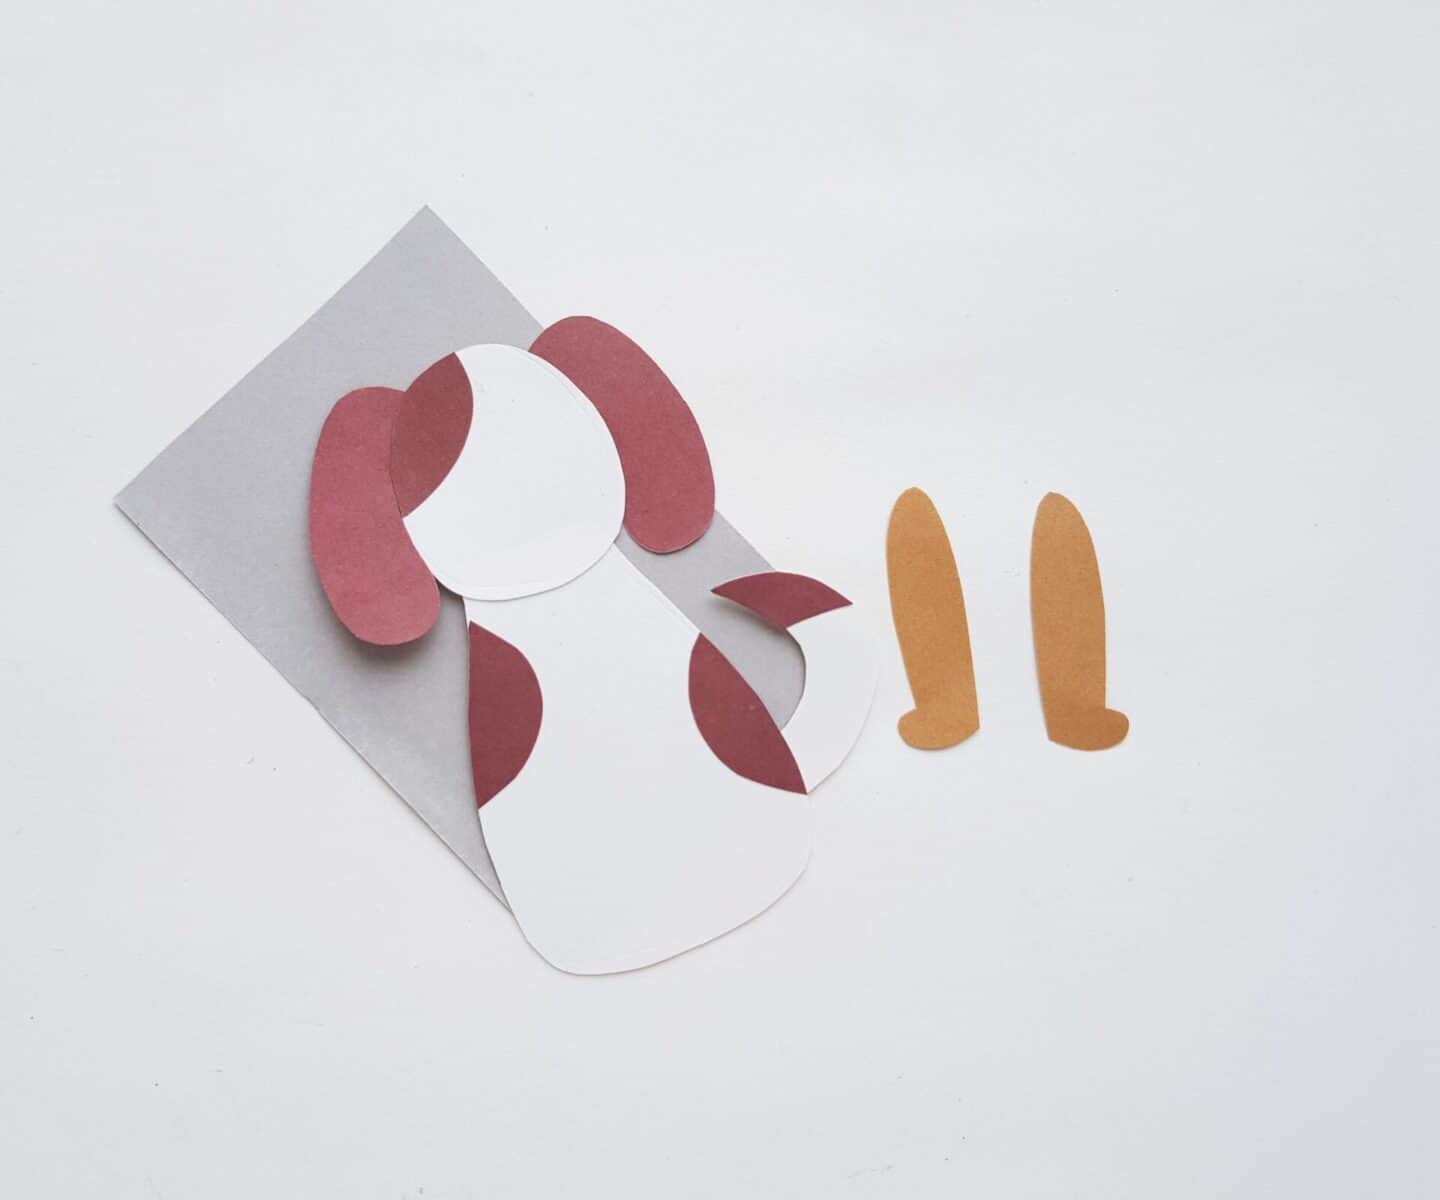
Stick the ear cutouts on both sides of the head pattern, near the top side.
Step 5:
Stick the leg cutouts near the bottom side of the body cutout. Place the 2 leg cutouts side by side. Use a sharpie to draw the eyes, nose and mouth of the papercraft dog.
