There are very few little boys and girls who don’t love creating something new.
Whether they’re scribbling with crayons on the wall, throwing glitter everywhere, or just making a mess, kids love to be making something.
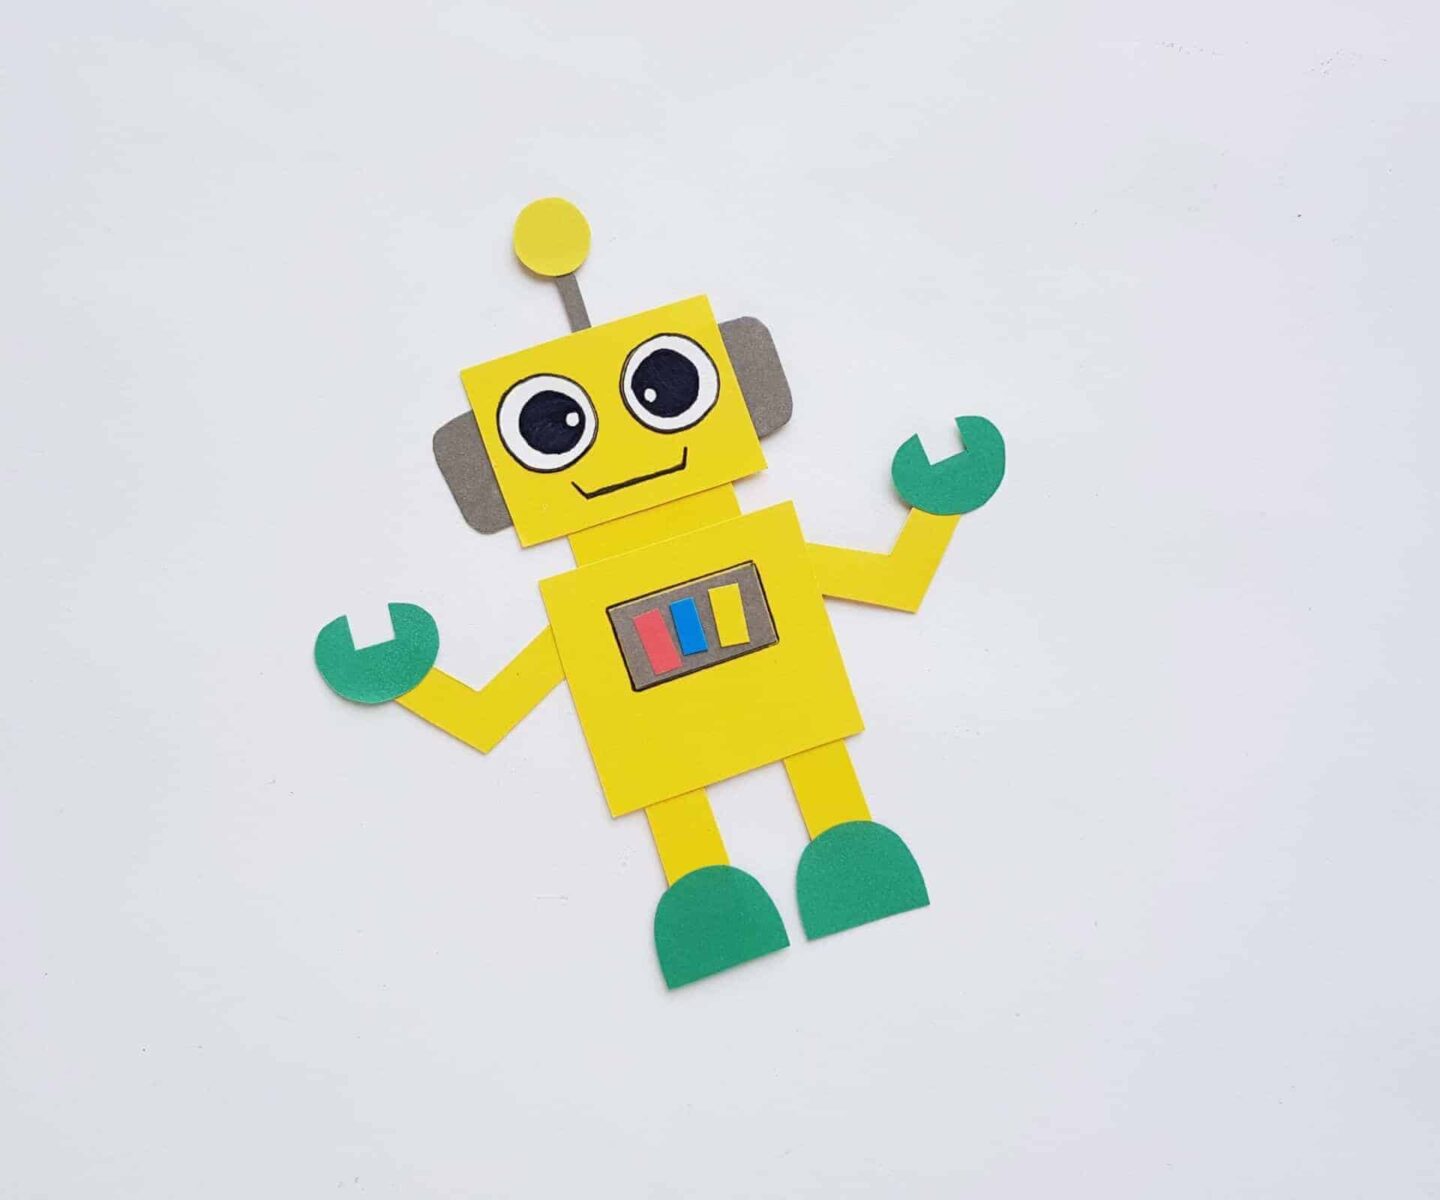
A great way to funnel your kid’s creativity is by making cute paper designs, like this papercraft robot.
As an Amazon Associate I earn from qualifying purchases. The links below may be affiliate links. Please read my disclosure policy for more information.
Shapes and Colors
The paper robot is made of a series of square bits of paper.
If you’re teaching your child the difference between a square, a rectangle, and semi-circle, cutting out the pieces for the paper robot can be a great learning opportunity.
Of course, this pattern requires glue and scissors, so you will need to supervise your child.
But that’s OK, you can still get your kids interested in creating your robot!
Another good way to include your child in the creating process is by letting them choose the colors.
This helps with their growing powers of making decisions, putting together patterns and more.
Encouraging Creativity and Imagination
There are so many uses for an adorable paper robot.
For a start, you could add the finished robot to the front of a card for Father’s Day, Mother’s Day, or maybe just a card for a friend.
A finished paper robot that you’re particularly proud of could be glued to a piece of paper and stuck on the fridge, in pride of place.
Fun, visual games like putting together a paper robot can be a great opportunity to nudge your child’s imagination.
Aside from just choosing colors and designs for the robot, why not ask your child to make up a story for the robot?
They could name the robot, and even give them a family.
Creating seemingly pointless fictions can be the beginnings of a love for creativity in a child.
Perhaps your child is a born storyteller!
Or if your child is more mechanically minded, you could use Lego or building blocks alongside the paper robot to create a whole town.
Creating a paper robot can be a good way to get your child interested in building and mechanics.
Developing Personality
Papercraft designs like this robot can be great gifts.
If your child enjoys putting them together, why not give them as gifts to friends and relatives?
Learning to give gifts with such a personal touch is a good quality for a child to develop.
Encourage them to think about people they could gift the robot to.
Or perhaps your child is proud of their creation and want to keep it to play with.
That’s fine, too! The beauty of a paper robot like this is that it’s simple and quick to make.
Robots are often connected with innovation and science. Is your child interested in the robot itself, or in the paper creations?
What sparks your child’s interest now may well be something they love in later life.
If a paper robot doesn’t catch your kid’s fancy, don’t worry.
There are plenty of other paper designs to fuel their imagination.
How to Make a Papercraft Robot

Instructions
Step 1:
Select 4 or more different colored craft papers for the robot papercraft. Trace the head, neck, body, arms and leg patterns on the same colored paper. Trace the other patterns on colored papers of your choice. Cut them out using scissors.

Step 2:
Stick the ear cutouts on both sides of the head square, stick the hand cutouts with the arm cutouts and stick the foot cutouts with the leg cutouts.
Stick the small square cutouts (buttons) along the small rectangle (board) and stick the round cutout (light) on a side of the small strip cutout; this will be the signal light.

Step 3:
Attach the signal light on the top middle part of the head pattern. Attach the button board on the body cutout and the neck cutout on the top side of the body cutout.

Step 4:
Stick the eye cutouts on the head pattern and stick the leg patterns on the bottom side of the body cutout.

Step 5:
Attach the arm patterns on both sides of the body pattern. Attach the head pattern on the neck part by slightly overlapping it. Use a sharpie to draw the outlines of the eyes and draw a mouth. You can add more details to the papercraft robot if you want to.