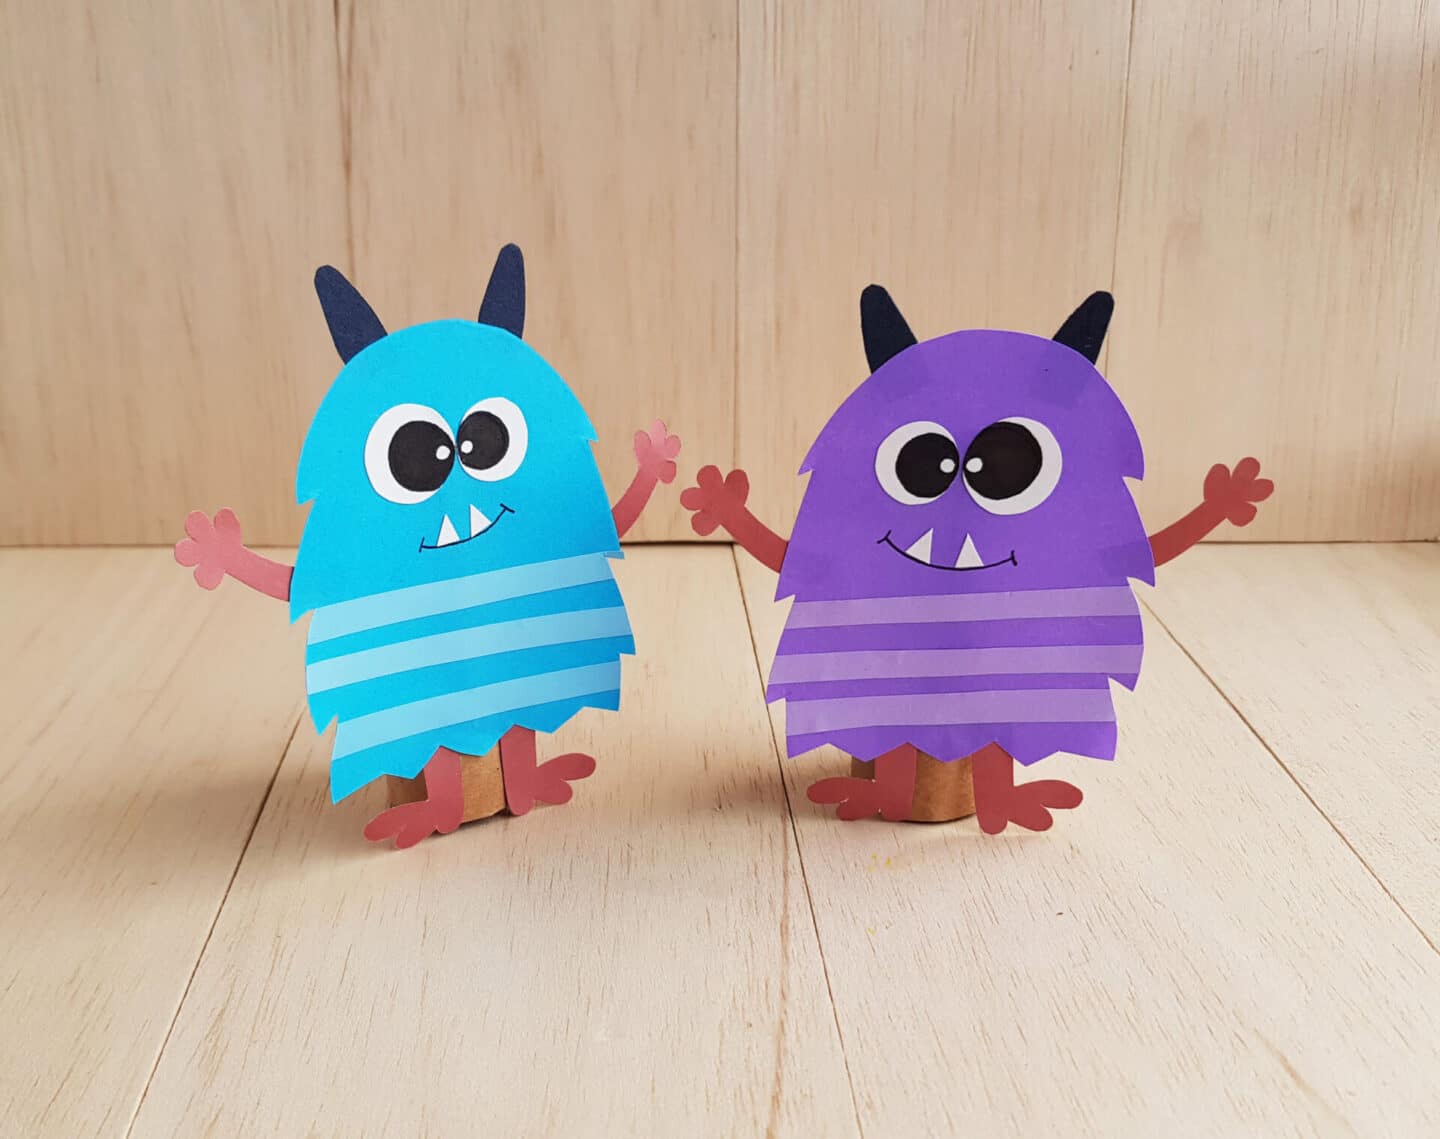
Get creative with this fantastic papercraft strawberry. It’s so easy to make. Simply print out the sheet, and follow the instructions below.
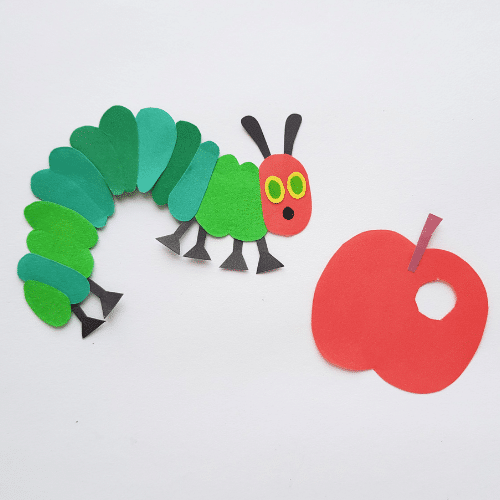
If you enjoy this craft you may also like our other FREE crafts such as paper craft Penguin, The Hungry Caterpillar and Robot.
As an Amazon Associate I earn from qualifying purchases. The links below may be affiliate links. Please read my disclosure policy for more information.
How to make a Papercraft Monster
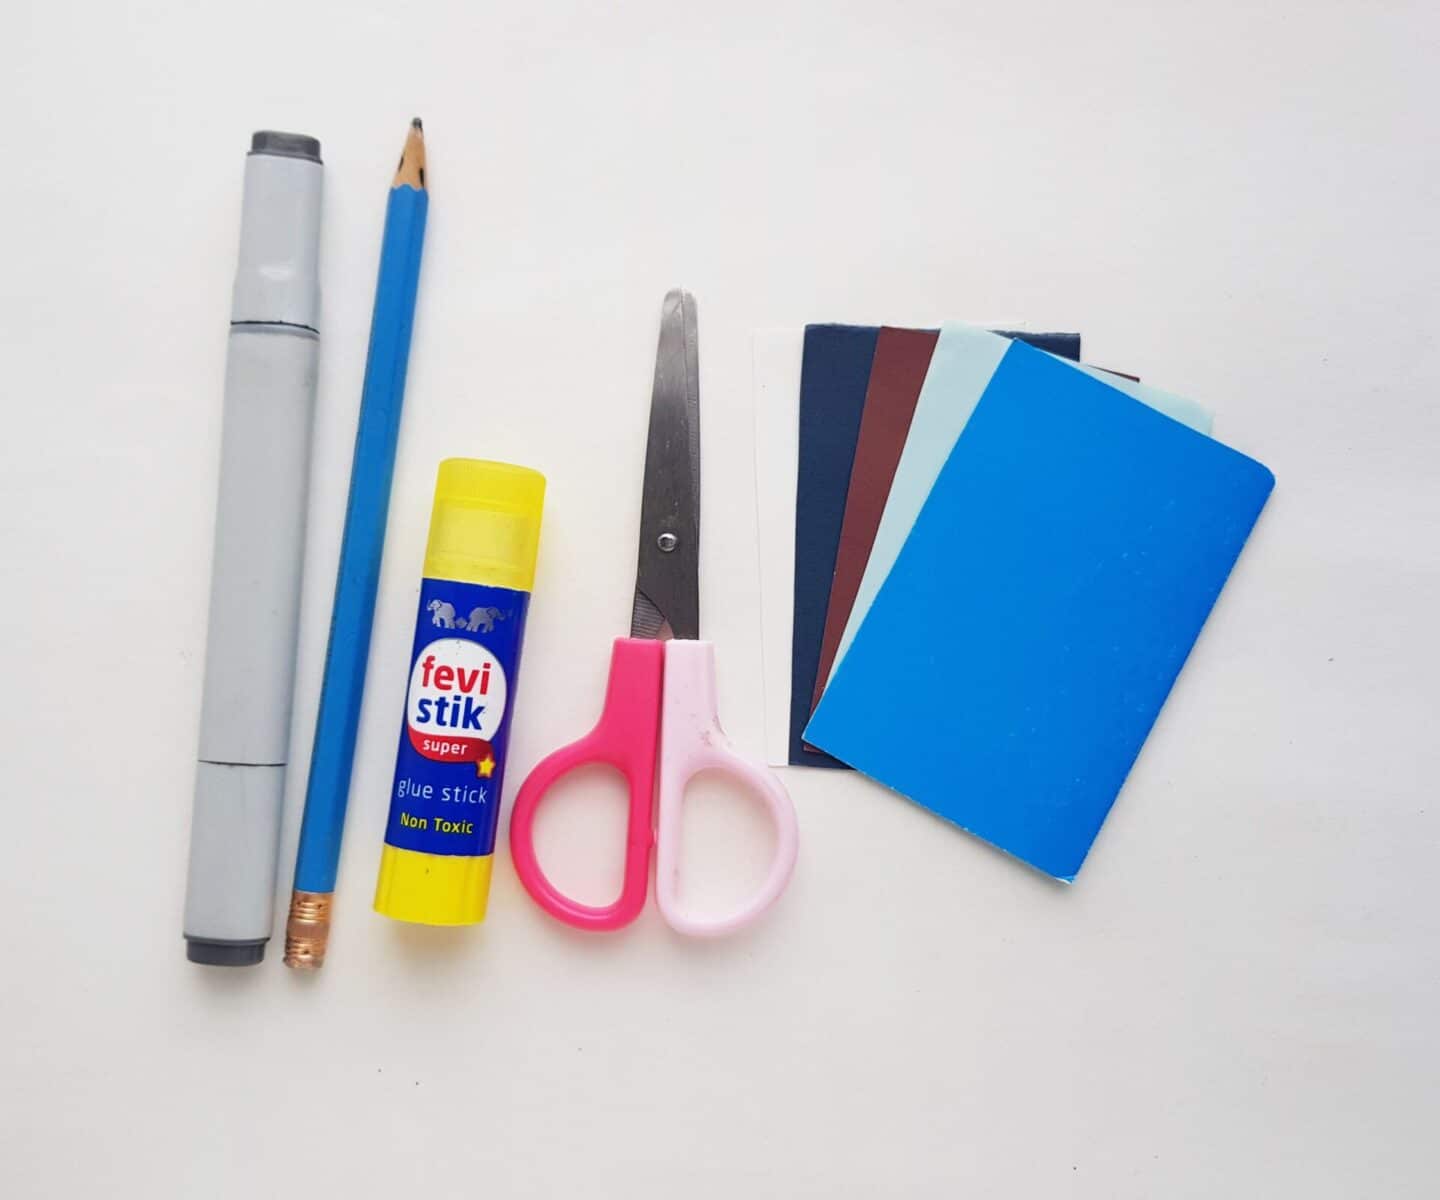
Instructions
Step 1:
Select colored craft papers for the monster patterns. The template includes, body base, stripes, arms, legs, horns, eye base and fangs. Trace and cut out the patterns from the selected papers.
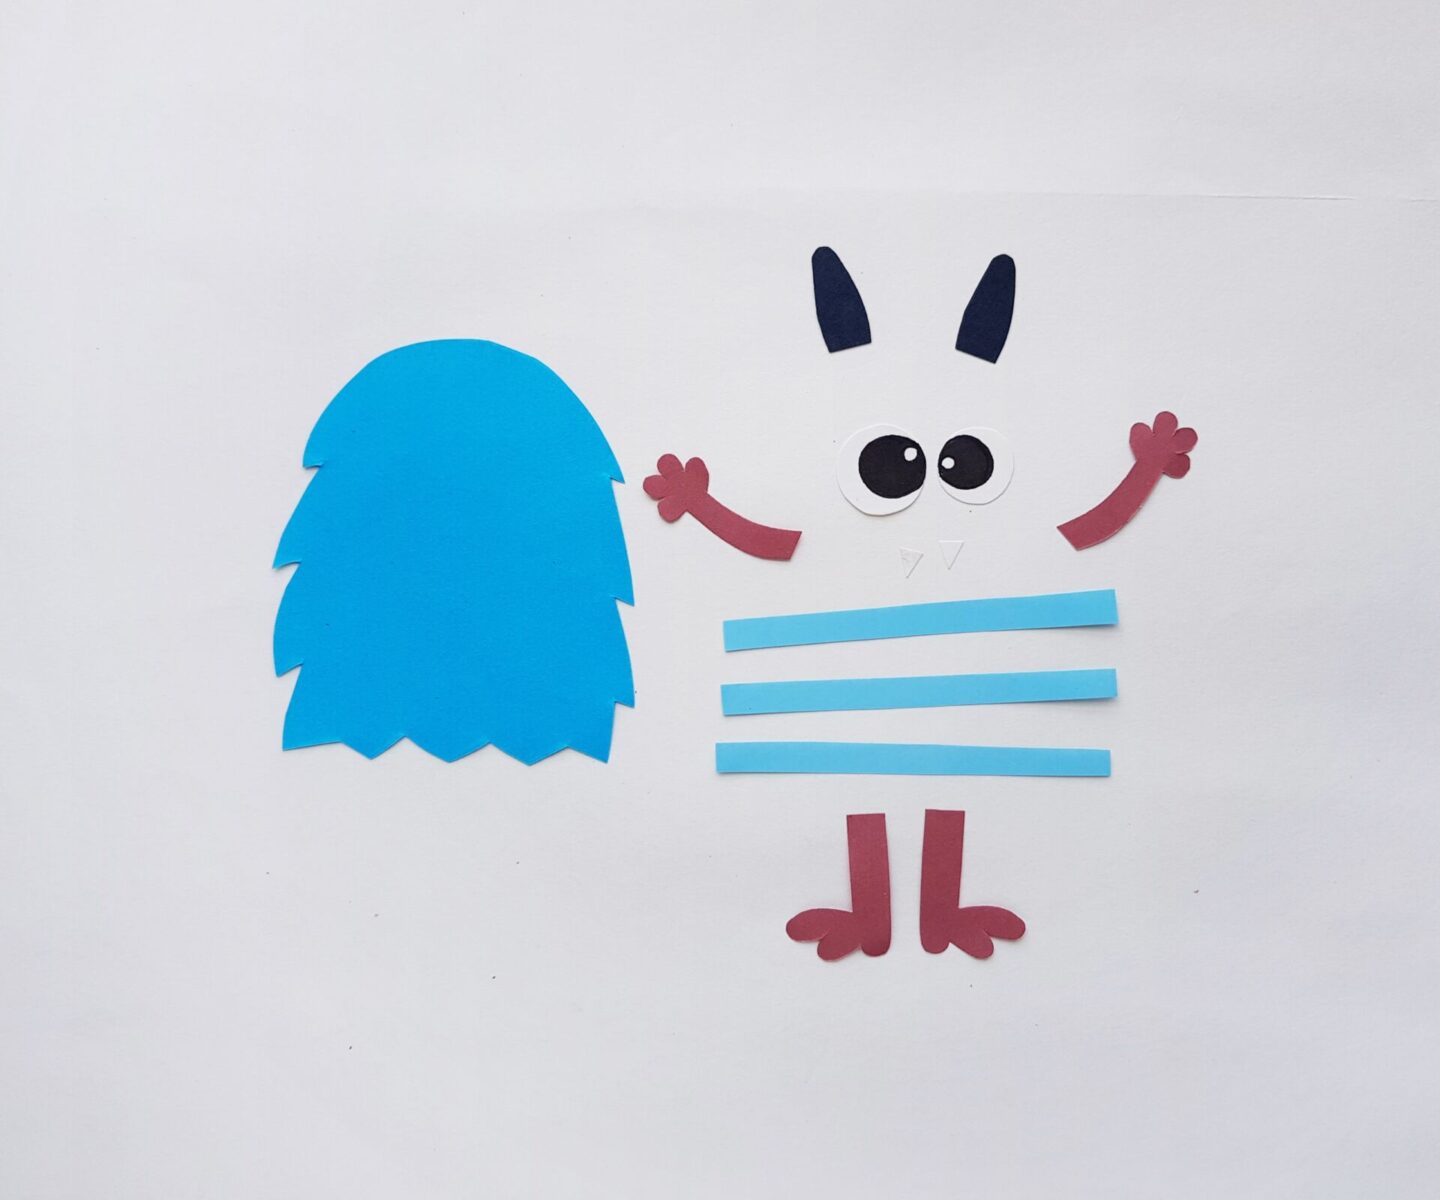
Step 2:
Attach the strips on the body base cutout horizontally, near the bottom side and keeping the top side of the body base plain.
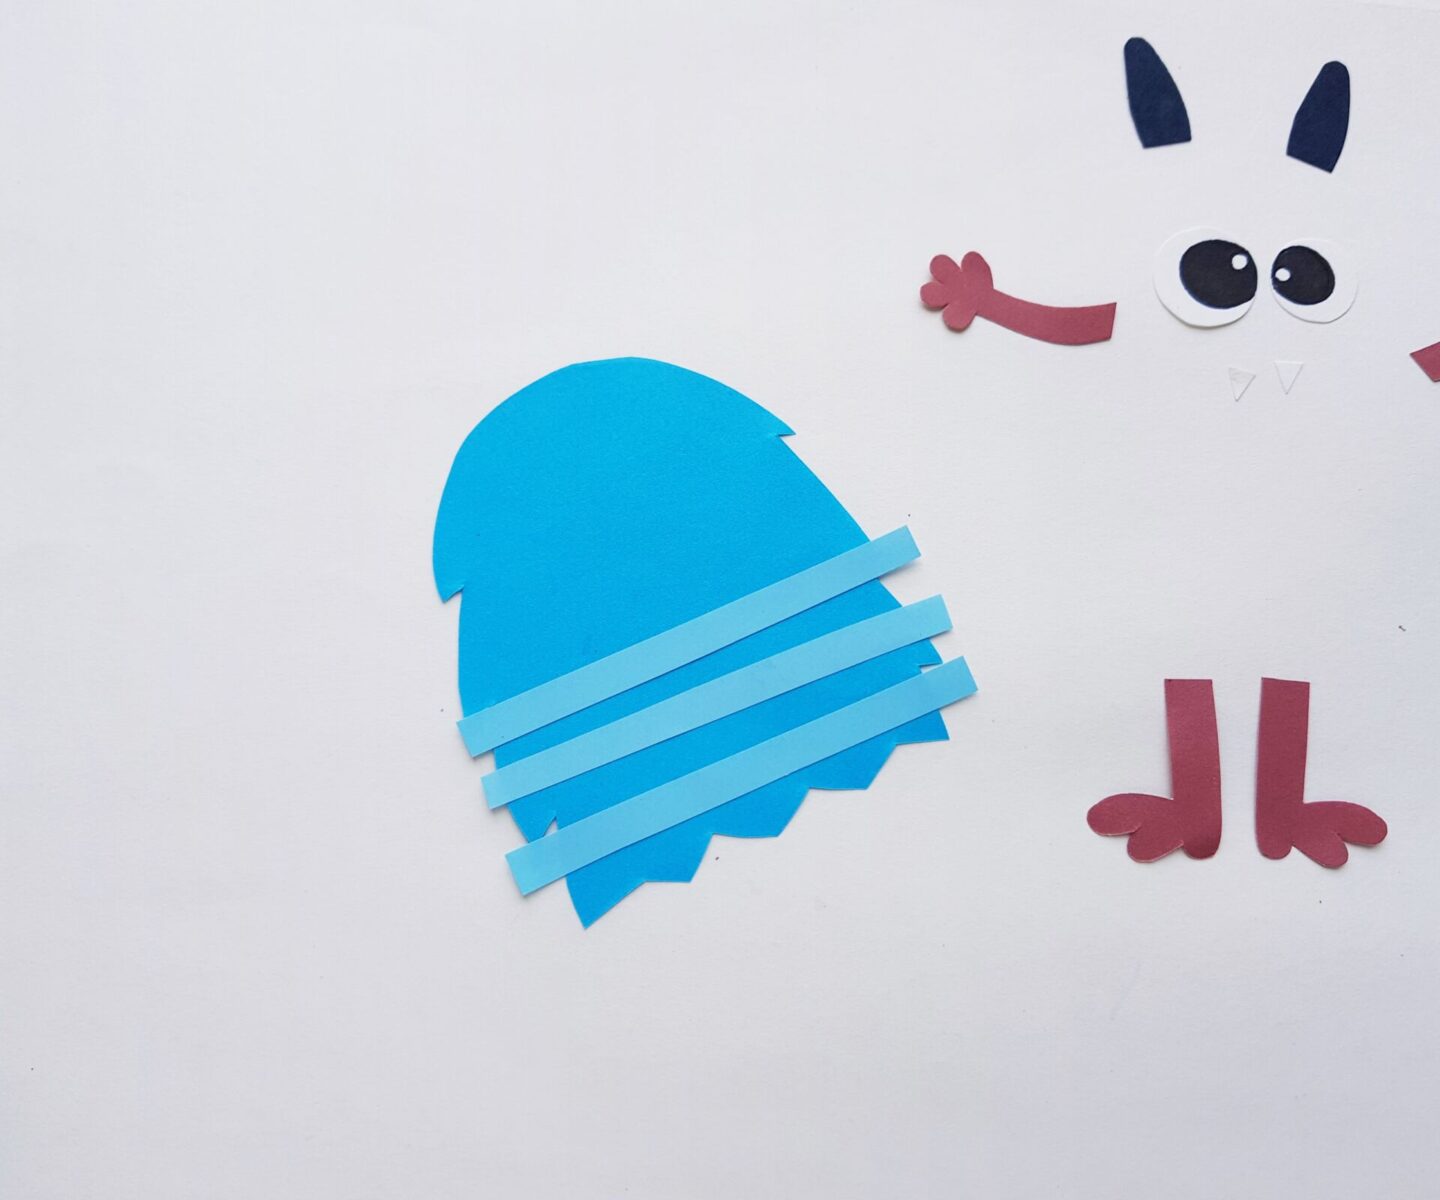
Step 3:
Use scissors to trim the sides of the extra parts of the stripes. Attach the arm cutouts on both sides and the legs on the bottom side of the body base.
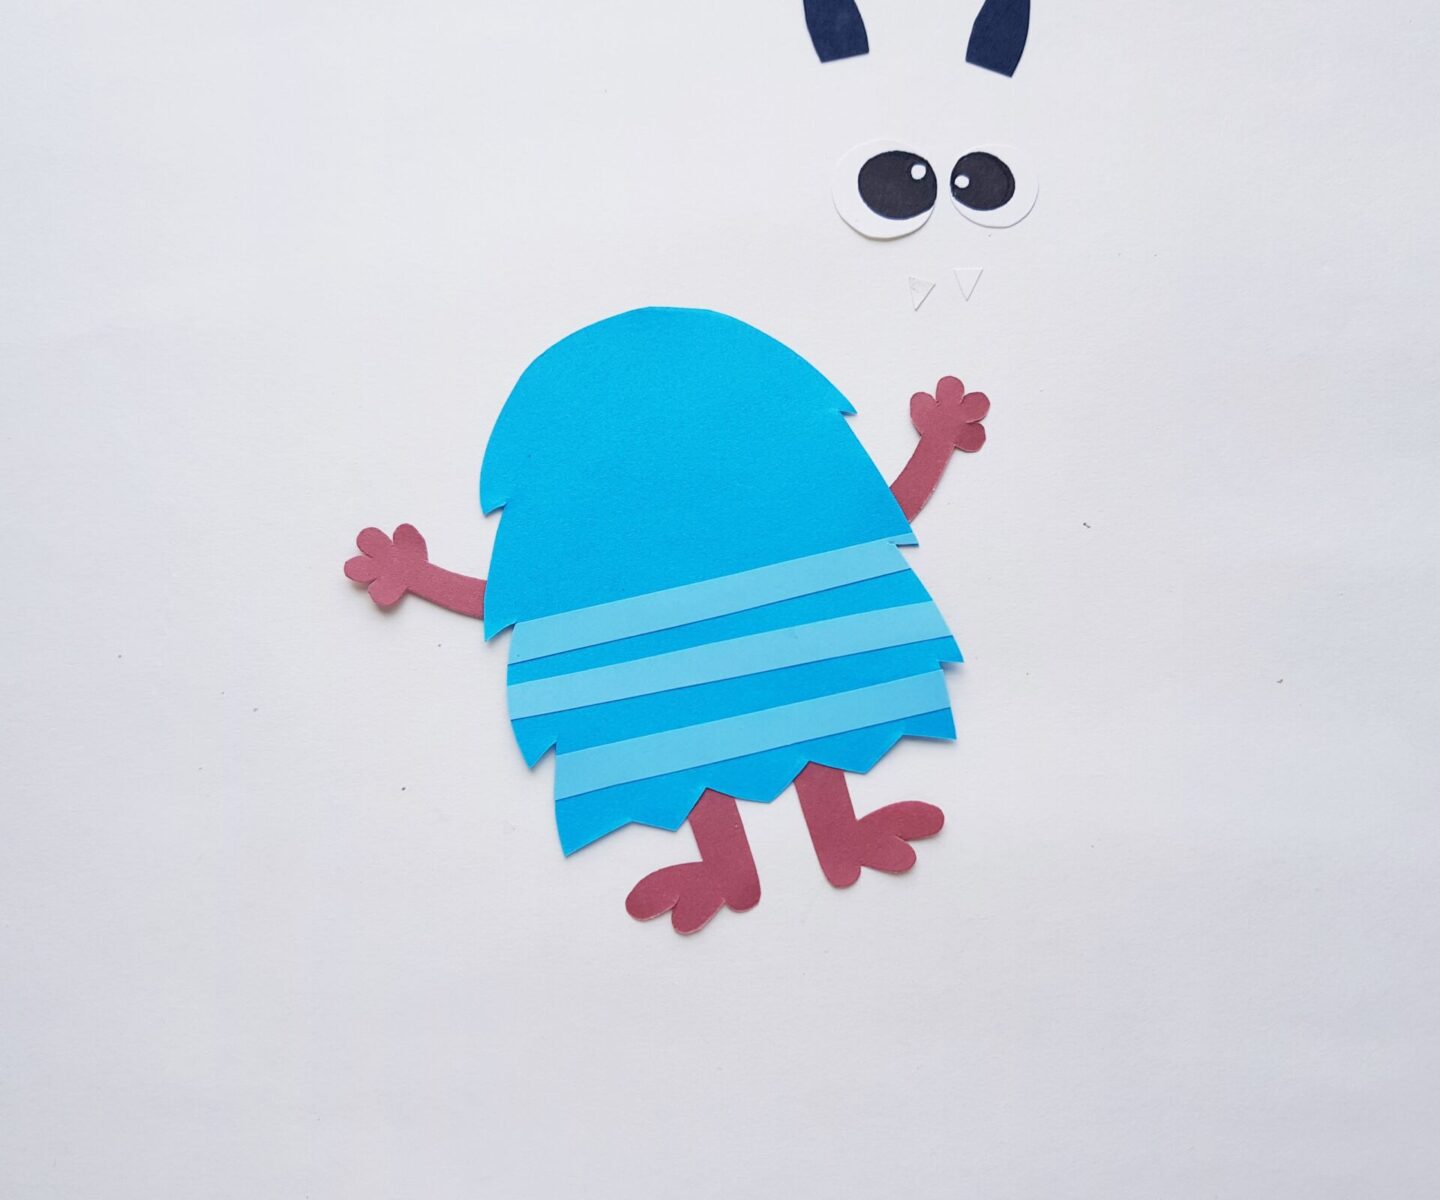
Step 4:
Attach the horns on the top side of the body base. Use a sharpie to draw the eye patterns on the eyes base cutouts. Attach the eye cutouts on the top part of the body base.
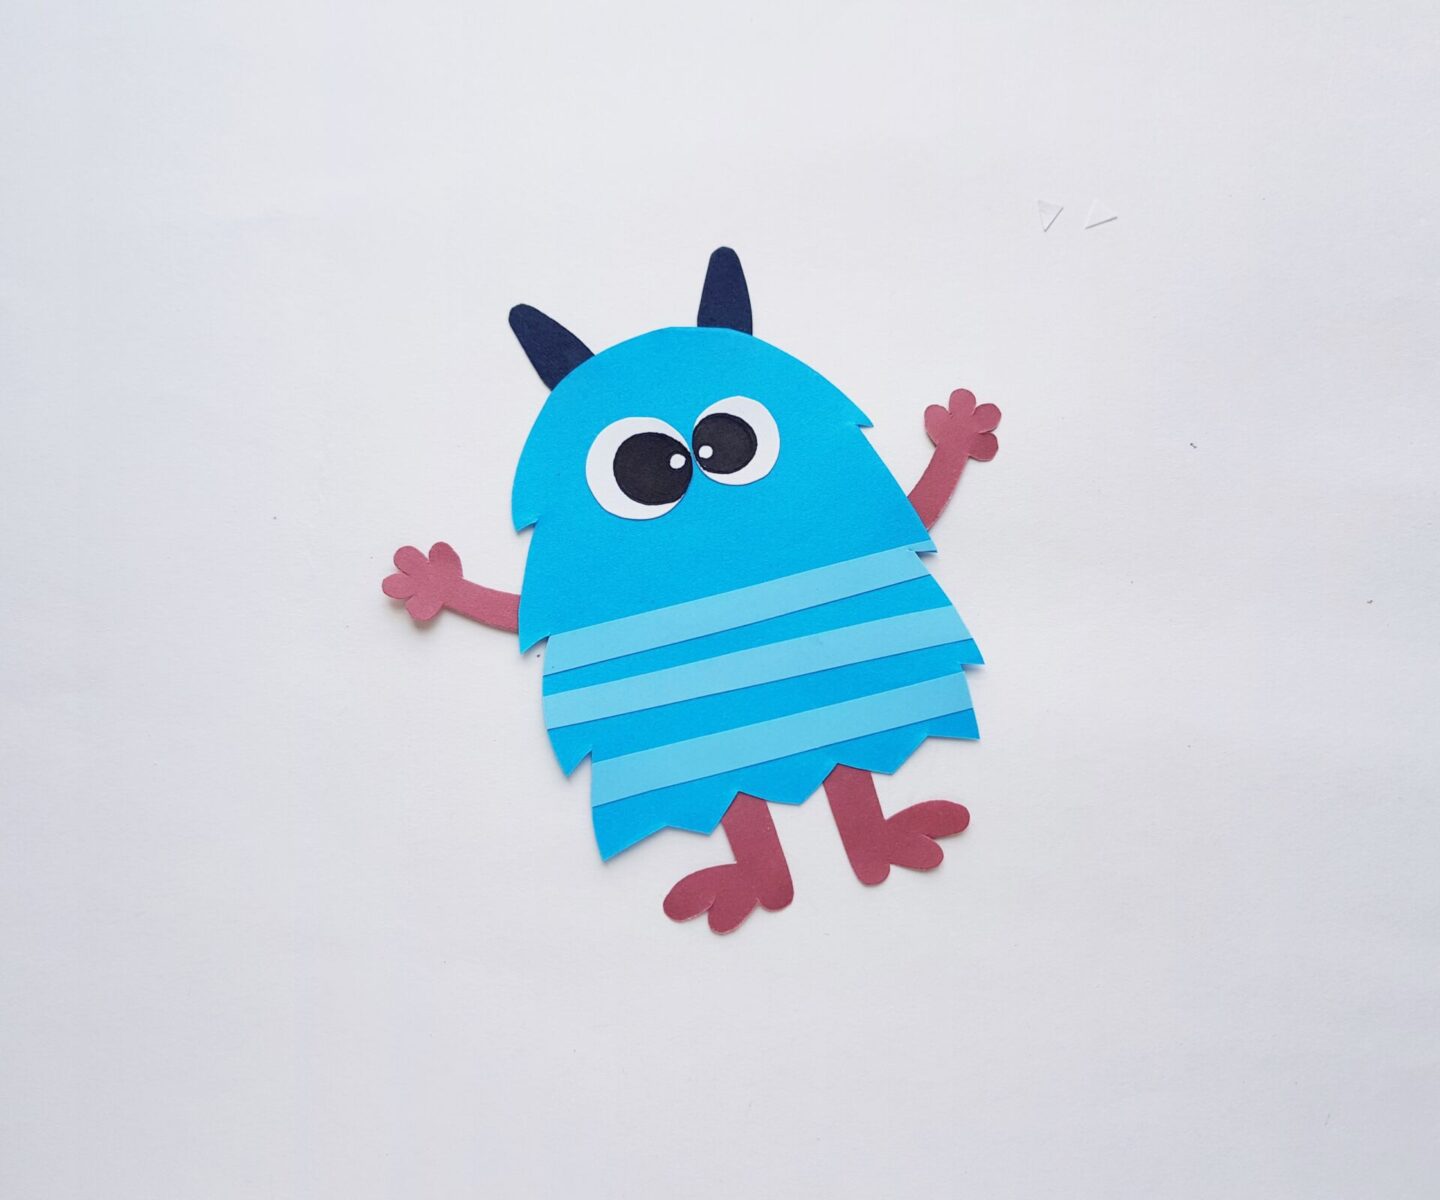
Step 5:
Use a sharpie to trace the mouth line of the monster below the eyes. Attach the fangs along the mouth line.
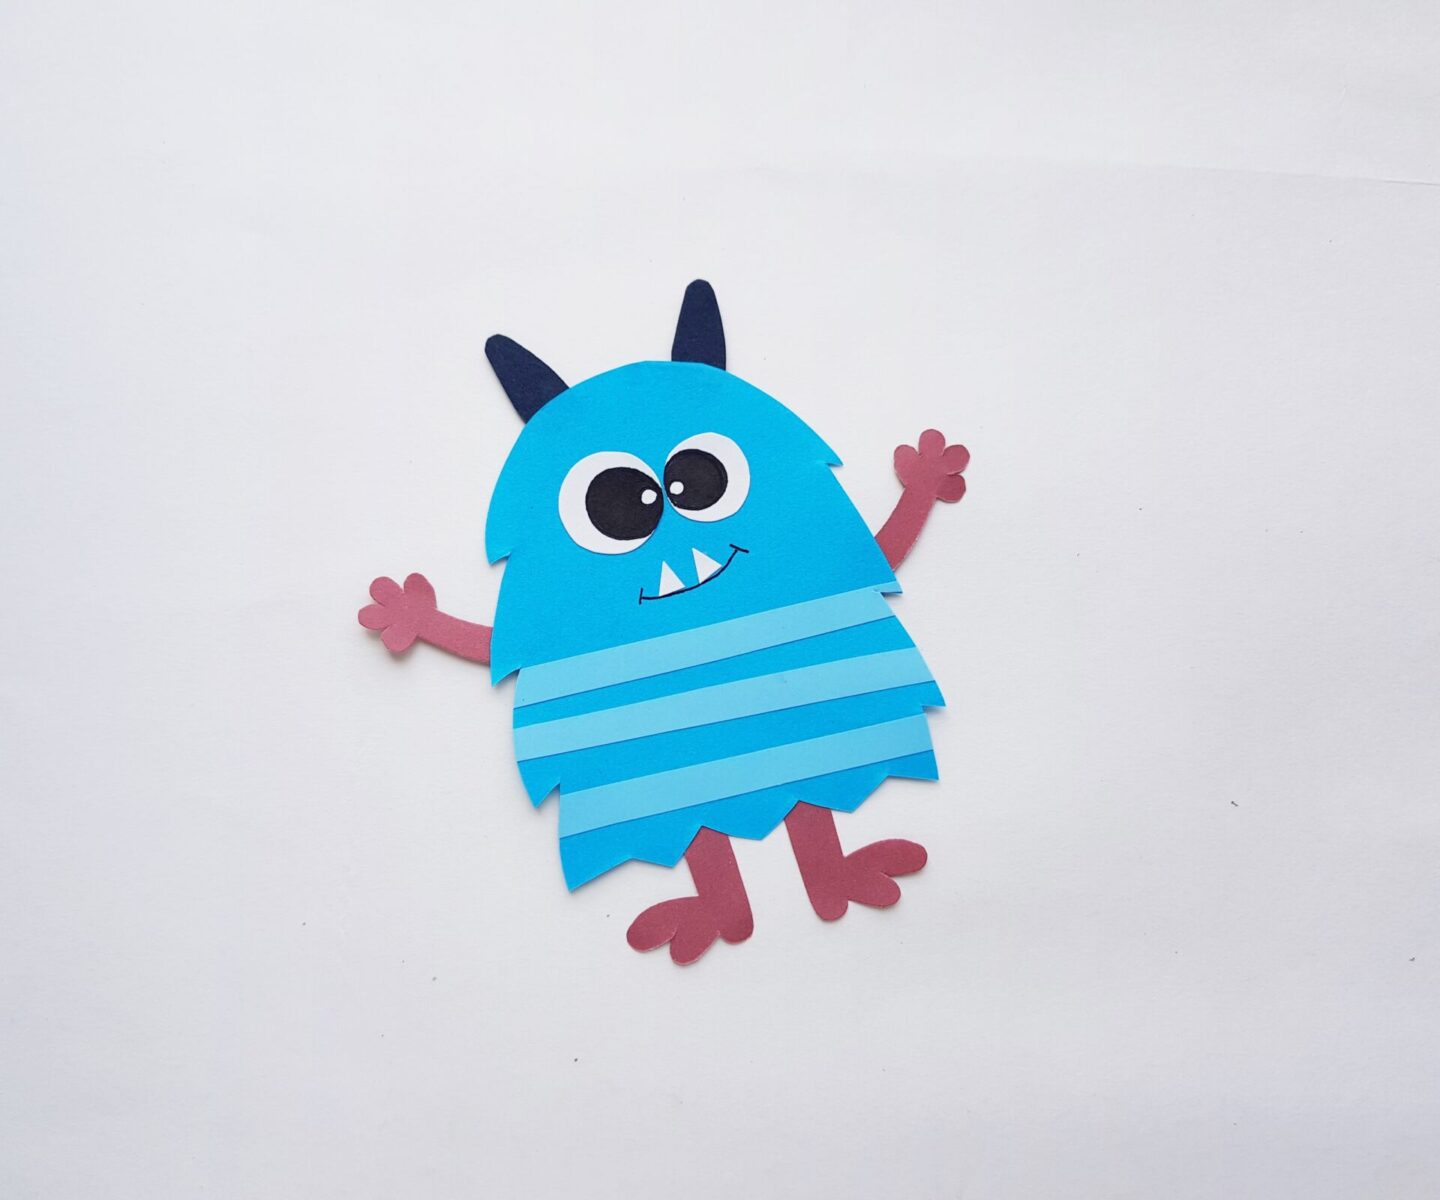
Step 6:
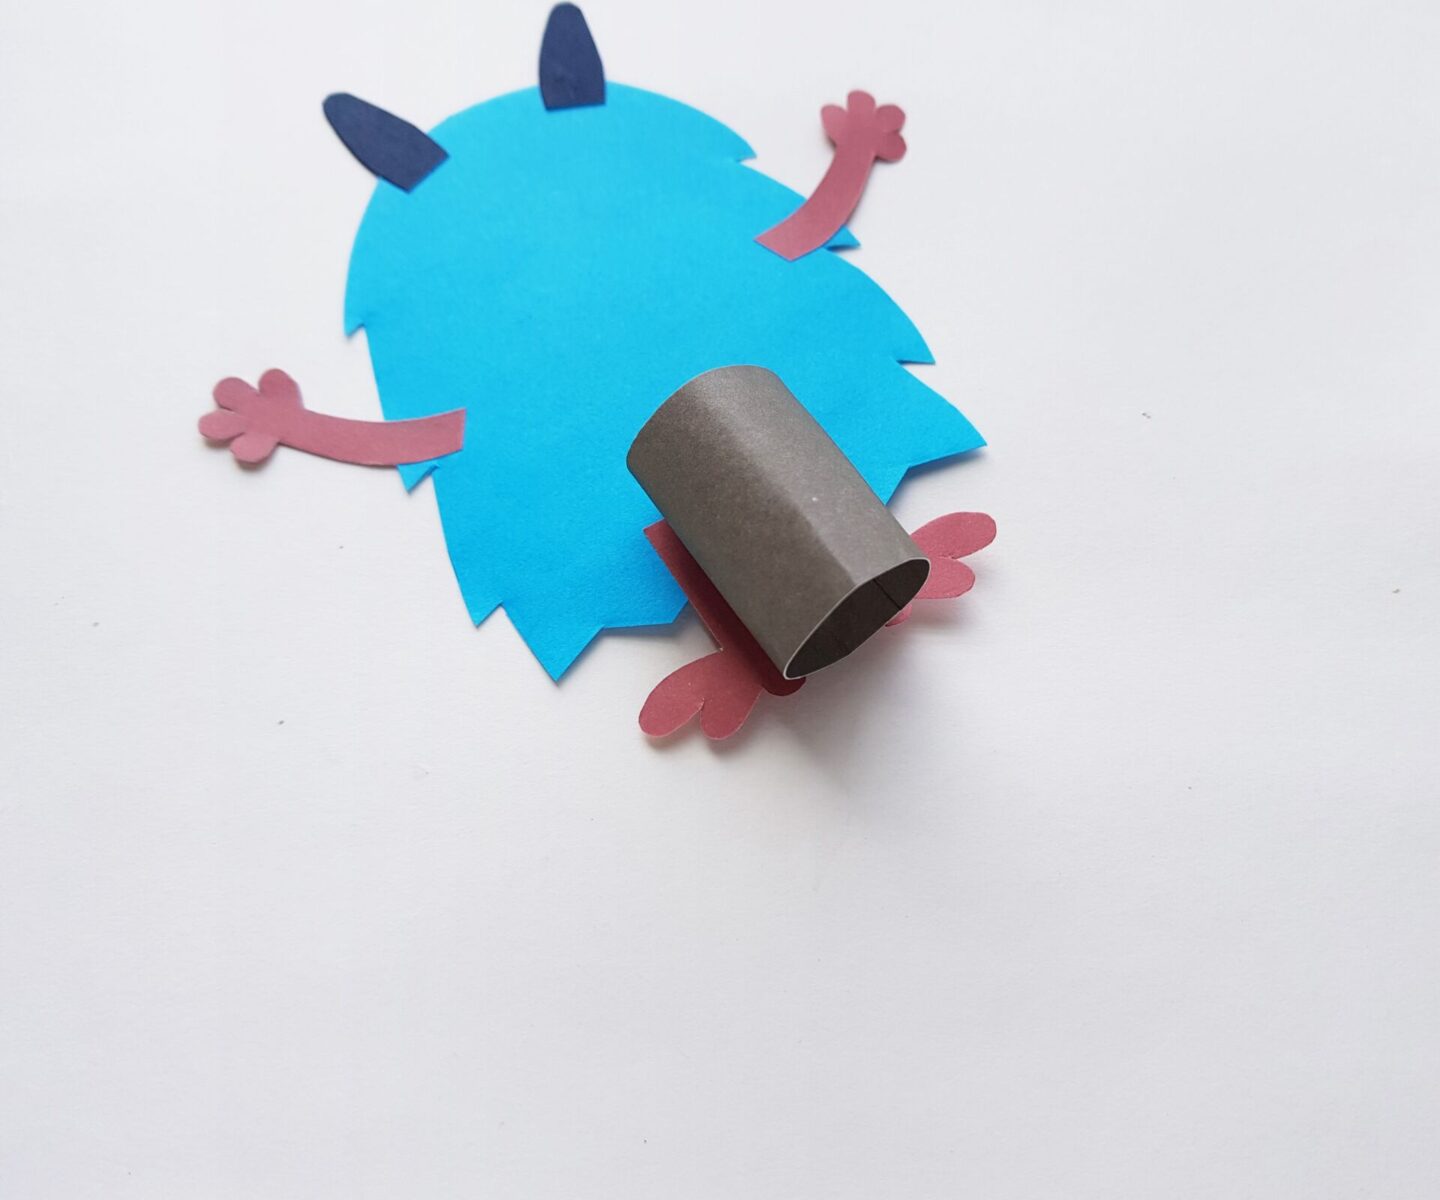
Cut out a piece of cardstock paper, its height should be shorter than the height of the papercraft monster and the length should be enough to form it into a cylinder shape.
Roll the paper into a cylinder shape and apply glue to join the open ends and secure the shape. Attach the cardstock roll on the backside of the papercraft monster to complete the craft.
