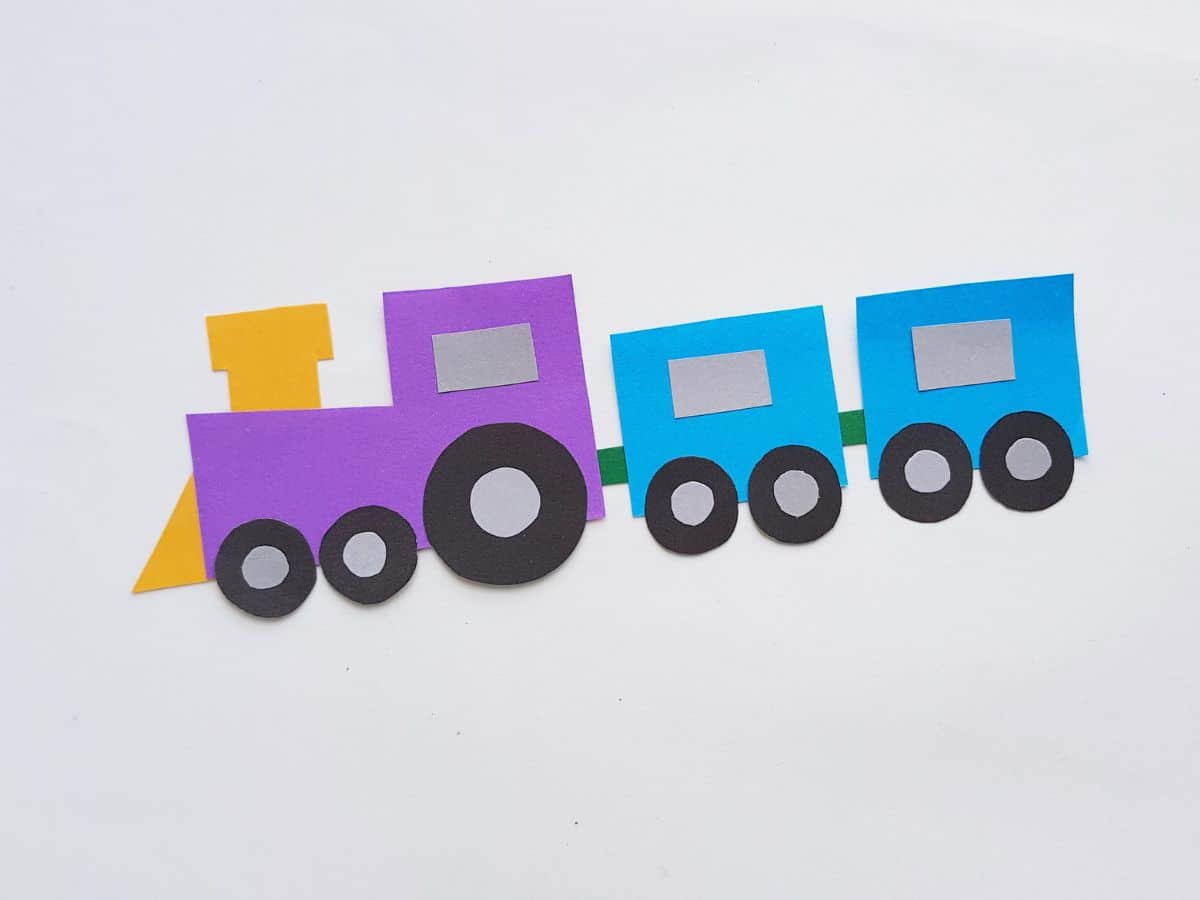
This papercraft train can also be a fun and engaging activity for toddlers! Creating simple and colorful papercraft designs with your toddler can help develop their creativity and fine motor skills. One of the easiest papercraft activities for toddlers is making a paper train.
From cutting out simple shapes to gluing them together, a paper train is a perfect way to introduce your little one to the world of crafts. With a variety of fun and colorful designs to choose from, your toddler can explore their imagination and creativity while creating their very own paper train.
How Can You Use This Papercraft Train
There are many ways you can use a paper train craft! Here are a few ideas:
- Playtime: Use the paper train as a fun toy for your toddler to play with. They can push it around on the floor, make it go up and down hills, and even create their own train tracks out of cardboard or construction paper.
- Decor: Display the paper train on a shelf or use it as a cute decoration for your toddler’s room. You can even create a whole train scene by making additional papercraft items like trees, animals, and buildings.
- Learning: Use the paper train craft as a tool for learning. You can teach your toddler about colors, shapes, and numbers as they create their train. You can also use it to teach them about transportation and locomotives.
- Gift: Make the paper train as a gift for a friend or family member who loves trains or has a toddler who loves trains. You can personalize it by using their favorite colors or adding their name to the train.
No matter how you use the paper train craft, it will provide hours of fun and creativity for you and your toddler.
How to Make a Papercraft Train
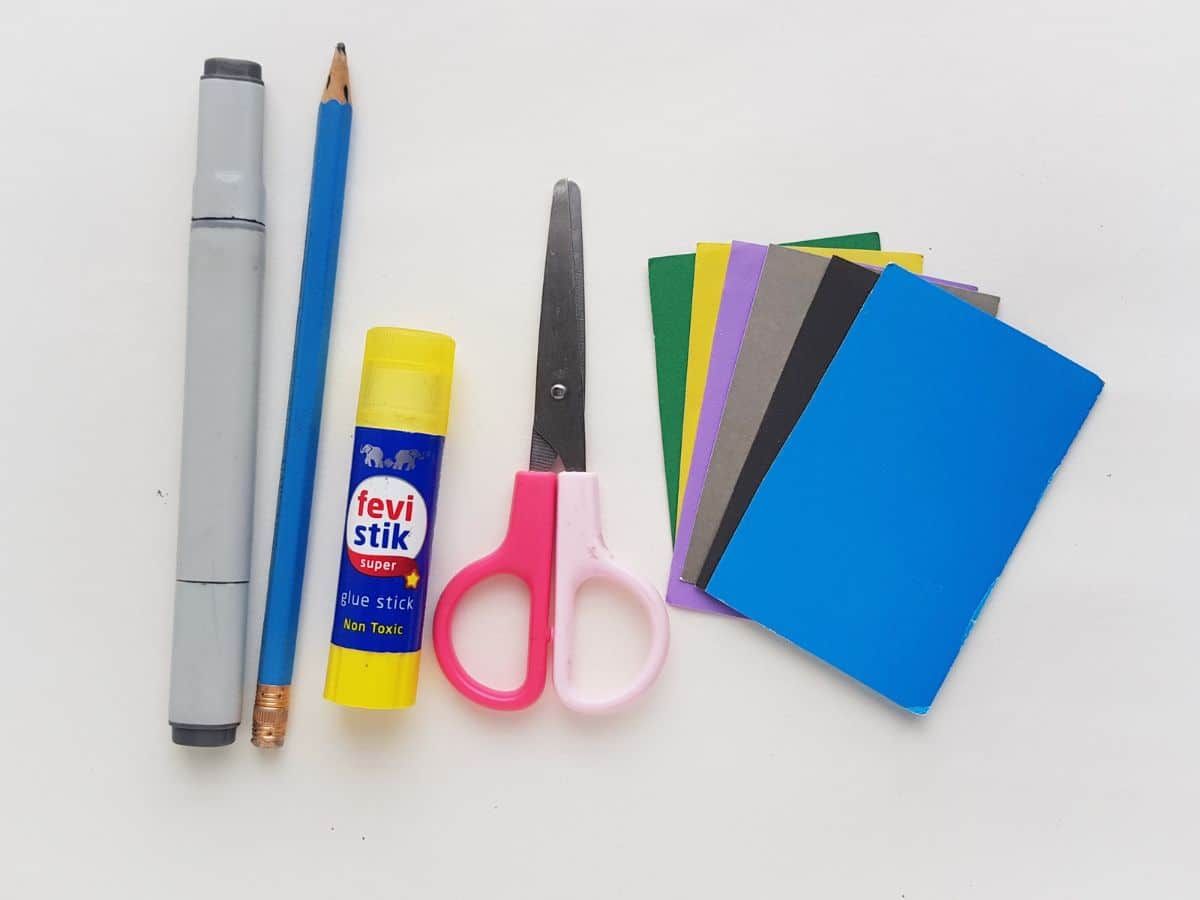
Instructions:
Step 1:
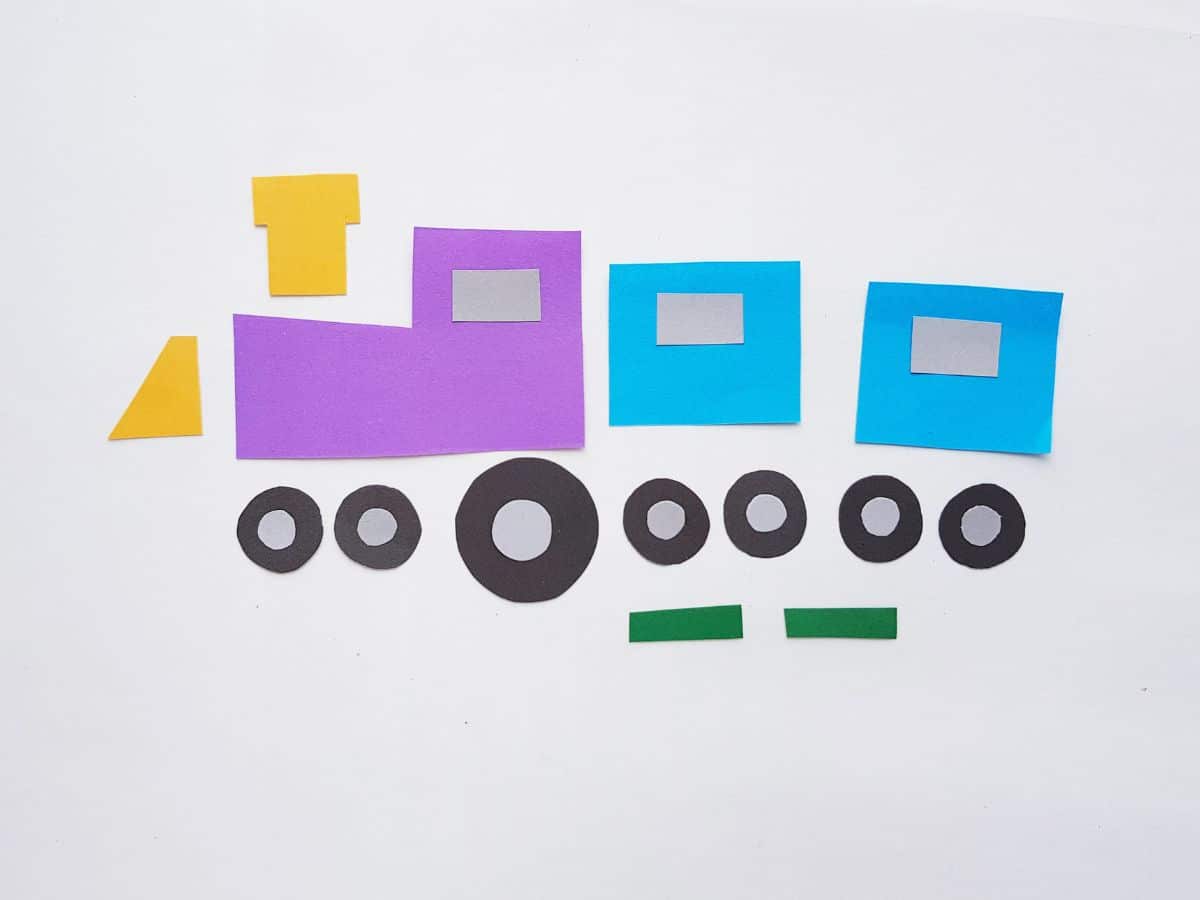
Select 4 or more different fun colored craft papers for the train craft. Trace the template patterns on the selected craft papers and cut them out nicely.
Step 2:
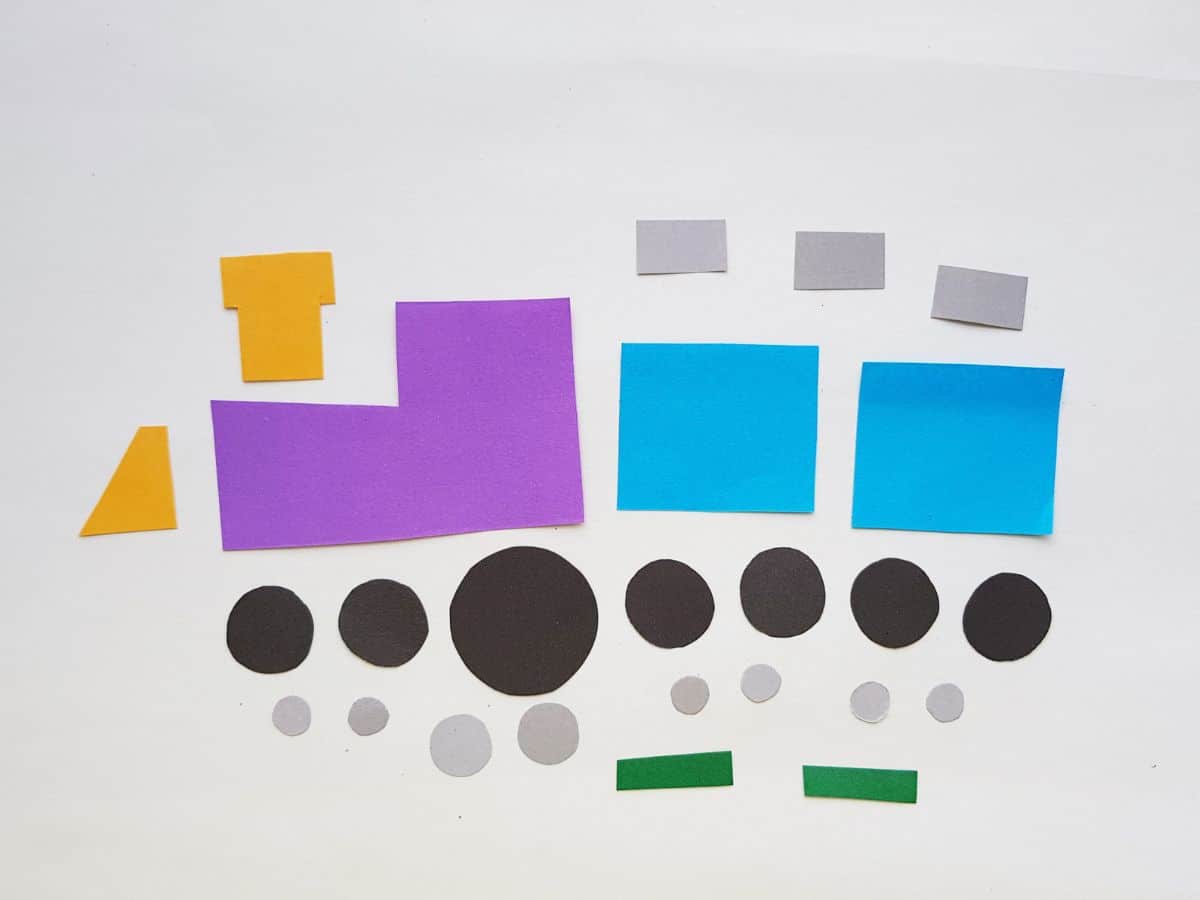
Attach the small round cutouts in the center of the big round cutouts to craft the wheels of the train. The front part has 3 wheels and the rest of the 2 parts have 2 wheels each. Attach the rectangle (windows) cutouts on the train base cutouts.
Step 3:
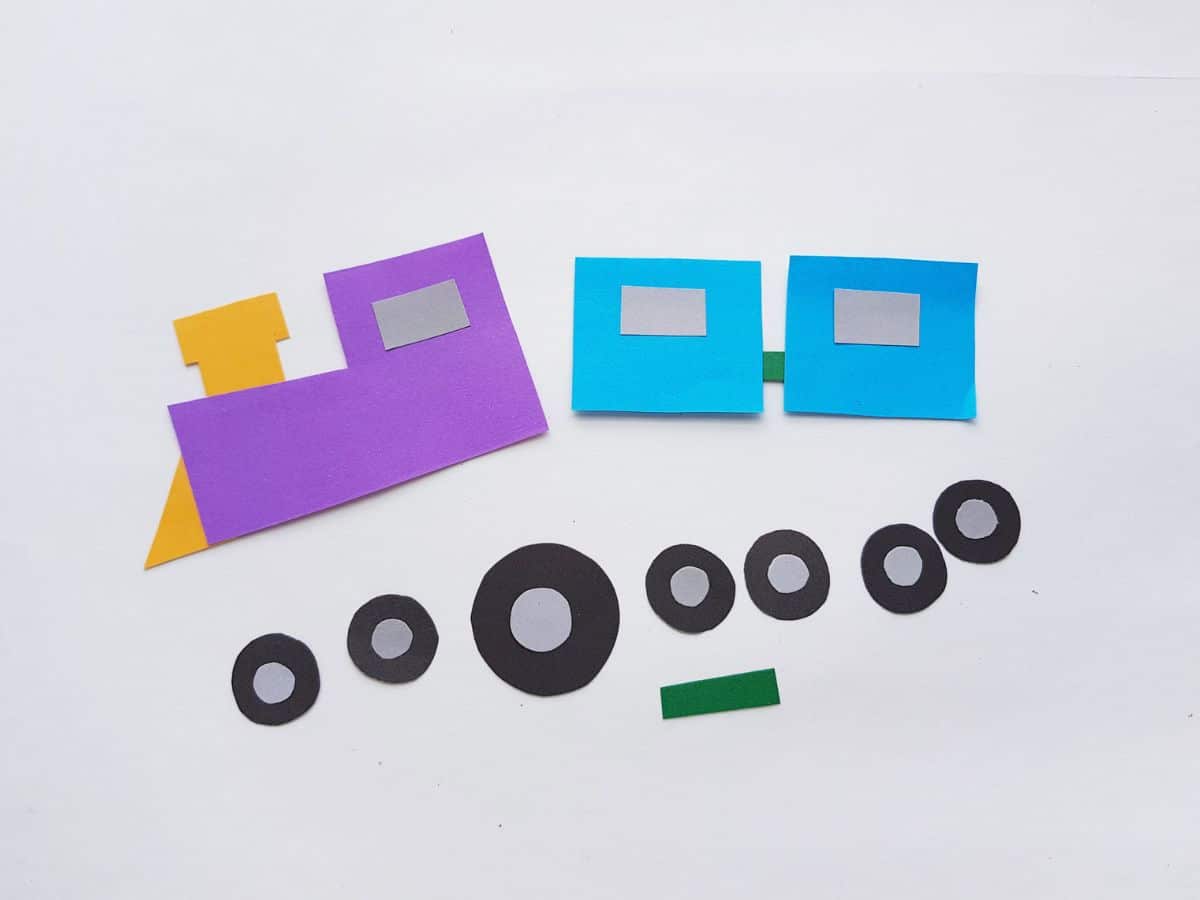
Attach the chimney on the top front side and the triangle shape cutout to the front bottom side of the front train base pattern. Use 1 of the small strips to attach the 2 other base cutouts together, keep a small gap between them.
Step 4:
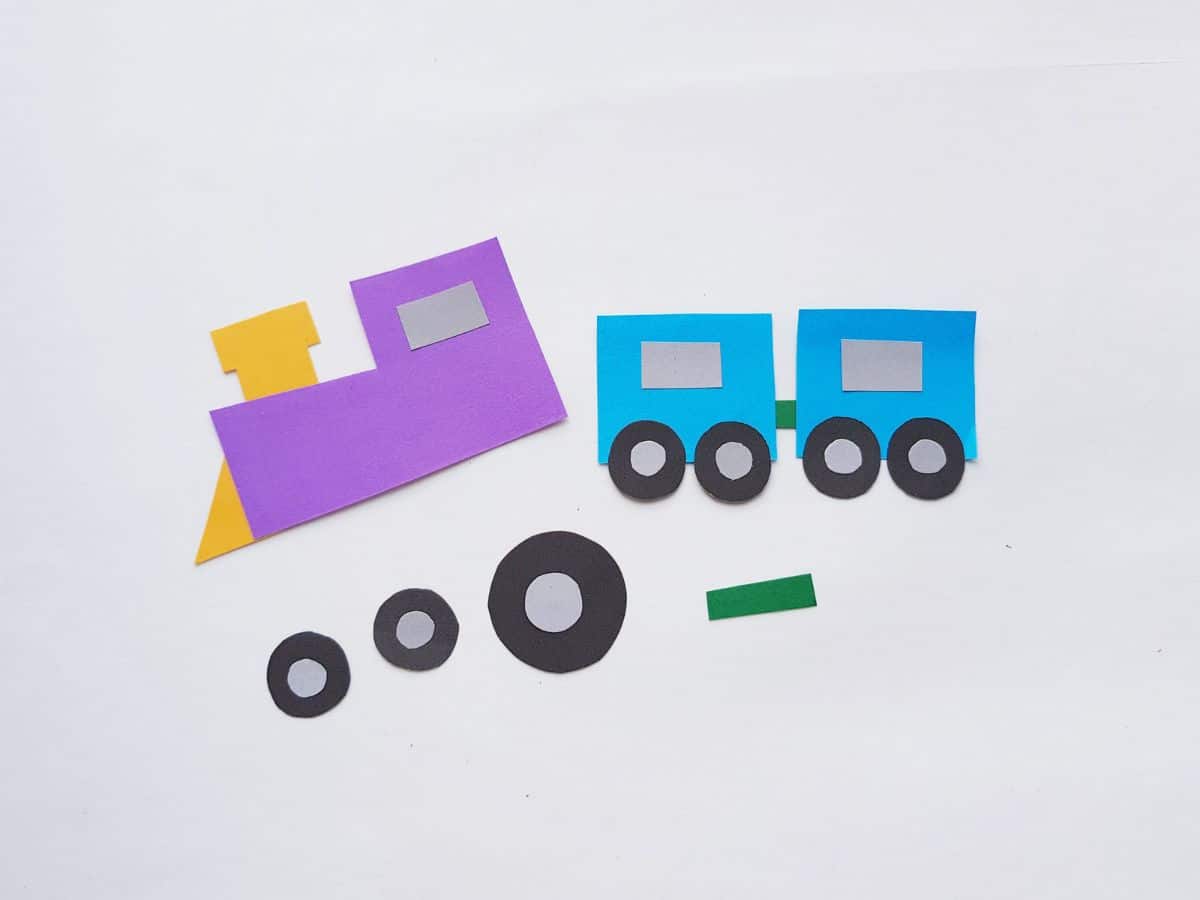
Attach the papercraft wheels along the bottom side of the small base patterns.
Step 5:
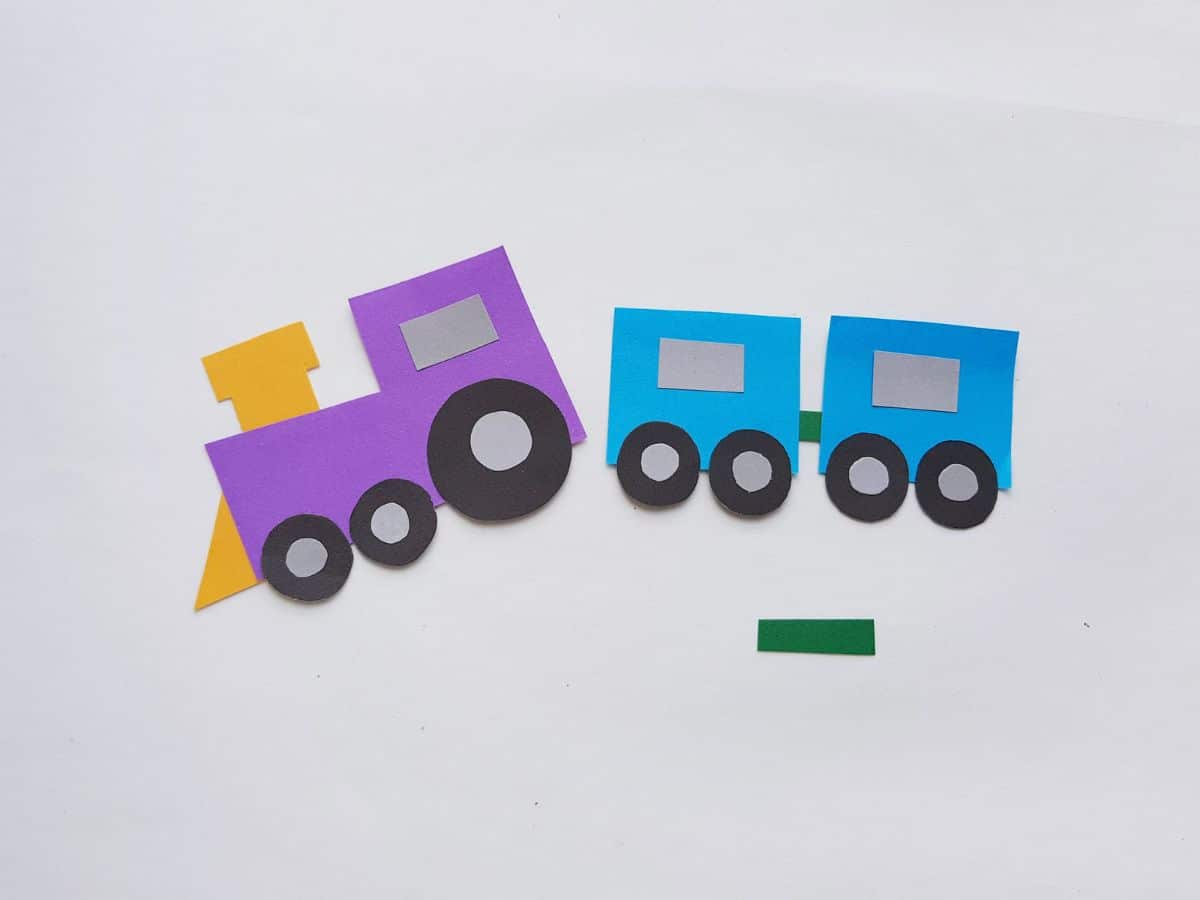
Attach the 3 wheels along the bottom side of the front part of the train. The big wheel should be attached to the back and keeping the small ones to the front.
Step 6:
Now, use the other small strip to attach the front part of the train with the rest of the pattern (the back parts). You can add more parts to the back if you want to make the train papercraft longer.
