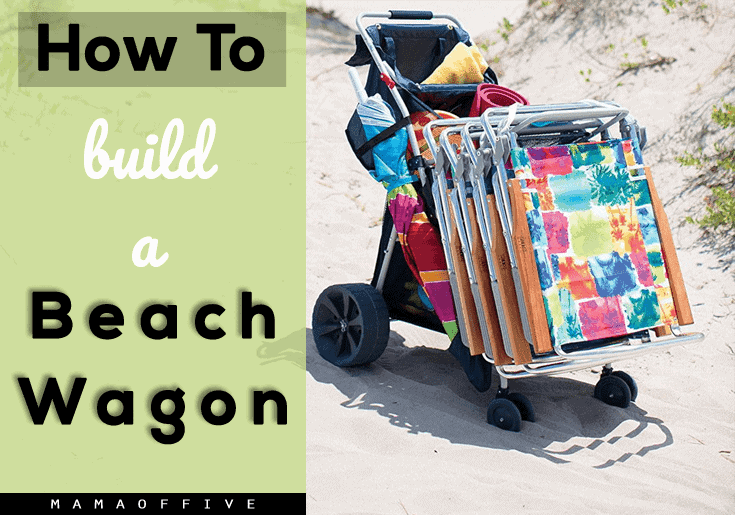
It is always a fun time at the beach with your family. Everyone is excited to get a tan and even roast some marshmallows on the fire. To make things easier— bringing objects to and from the beach to the car can be quite a strenuous and tiring task. It is best to have a beach wagon.
You can use a beach wagon to carry and cart objects or coolers, but you can also use this to play while you and your family are at the beach, especially if you have small kids. What would you do if we taught you how to build a beach wagon?
It is exciting to make do-it-yourself (DIY) items and to make things enjoying, we will teach you to step by step on how to build your wagon.

First, you will need the following materials:
- Pool noodles- this will make sure there are no sharp or too hard many surfaces in the wagon.
- Zip cables/ties- this will keep the tubing secure aside from the clue
- Wheel and axle- any wagon needs this and is essential for the whole wagon to work
- PVC pipes- this will be the frame of your wagon
- Metal/Hacksaw- you
- Bolts and washers
- Measuring tape
- Drill
- Heavy-duty glue
Now if you have all the materials. Make sure to lay them out before starting your work. It is a must that anything you do is organized and orderly, especially when building things. This process will make sure you finish as fast as you can (without compromising quality) and can avoid the likelihood of getting into an accident.
Here is how to build your beach wagon:
1. Measure the backbone of your wagon
Measure the PVC pipe and make sure that it is 3 feet and make sure the other pipes are as long as you want for the width (you can measure your cooler for this or just make a rough estimate). Measure the wheel and subtract the measurement of the axle. Then subtract the measurement of the axle to the thickness of the washer and bolt. There you have a perfectly measured skeleton of your wagon.
2. Test if the parts fit
Now use the pipe T’s to fit all the parts together. See if it fits and make the necessary adjustments.
3. Drill the caps and parts where you’ll attach the wheels
Make sure during the fit, you mark where the wheels go and where you’ll attach them. Now that you have your mark, drill slowly to prevent any cracks to the pipe. Make sure the hole in the caps is of the same size as the holes on the axle.
4. Glue
Glue in the parts that have to hold together. Start perhaps with the legs then move on towards the mainframe. The axle should also meet the lower part of your cart.
5. Attach the wheels
Here you can now thread the washers and bolts through the caps and holes and finally attach them.
6. Make a handle/ handles
This is an important step before finishing this DIY project. The handle is the one you hold to maneuver the cart. Make a handle using a PVC pipe and make sure you glue and attach this part correctly.
7. Attach the swim noodles
You can cut one end and wrap the noodles around the pipes, secure them with zip ties.
This is not the easiest DIY but it is a fun project to do with your partner and kids. Make sure to keep power tools away from kids, just a reminder. We hope you’ll be able to make a good and sturdy beach wagon.
