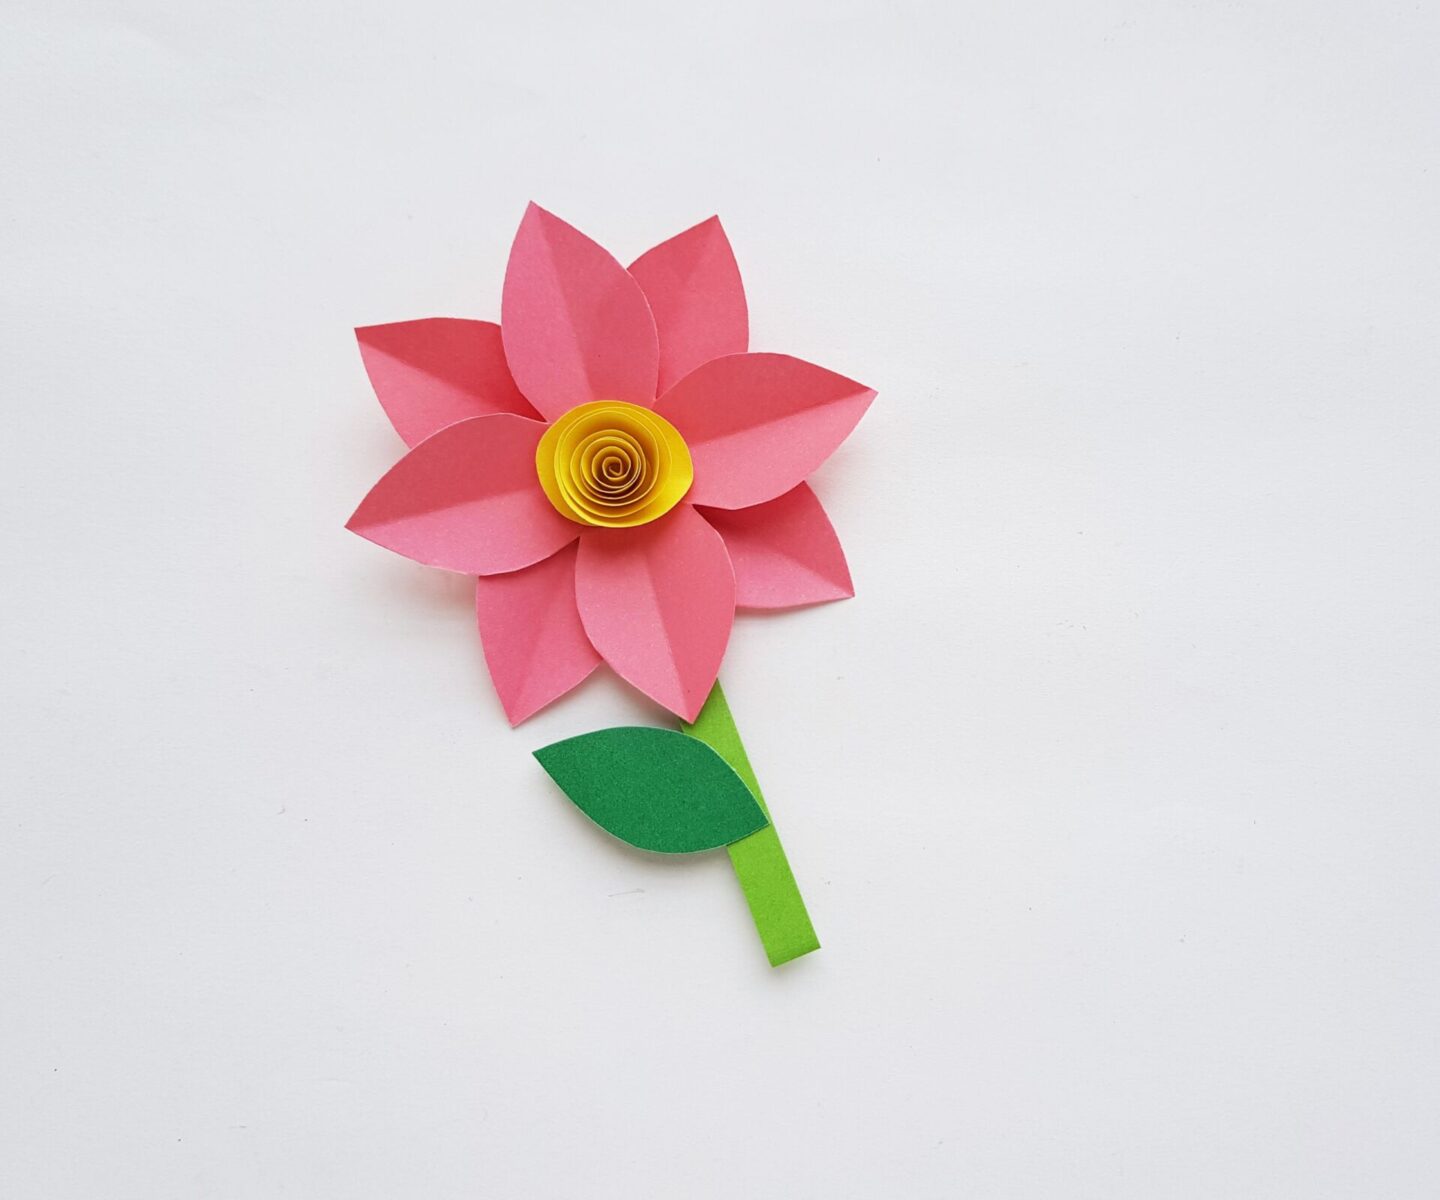
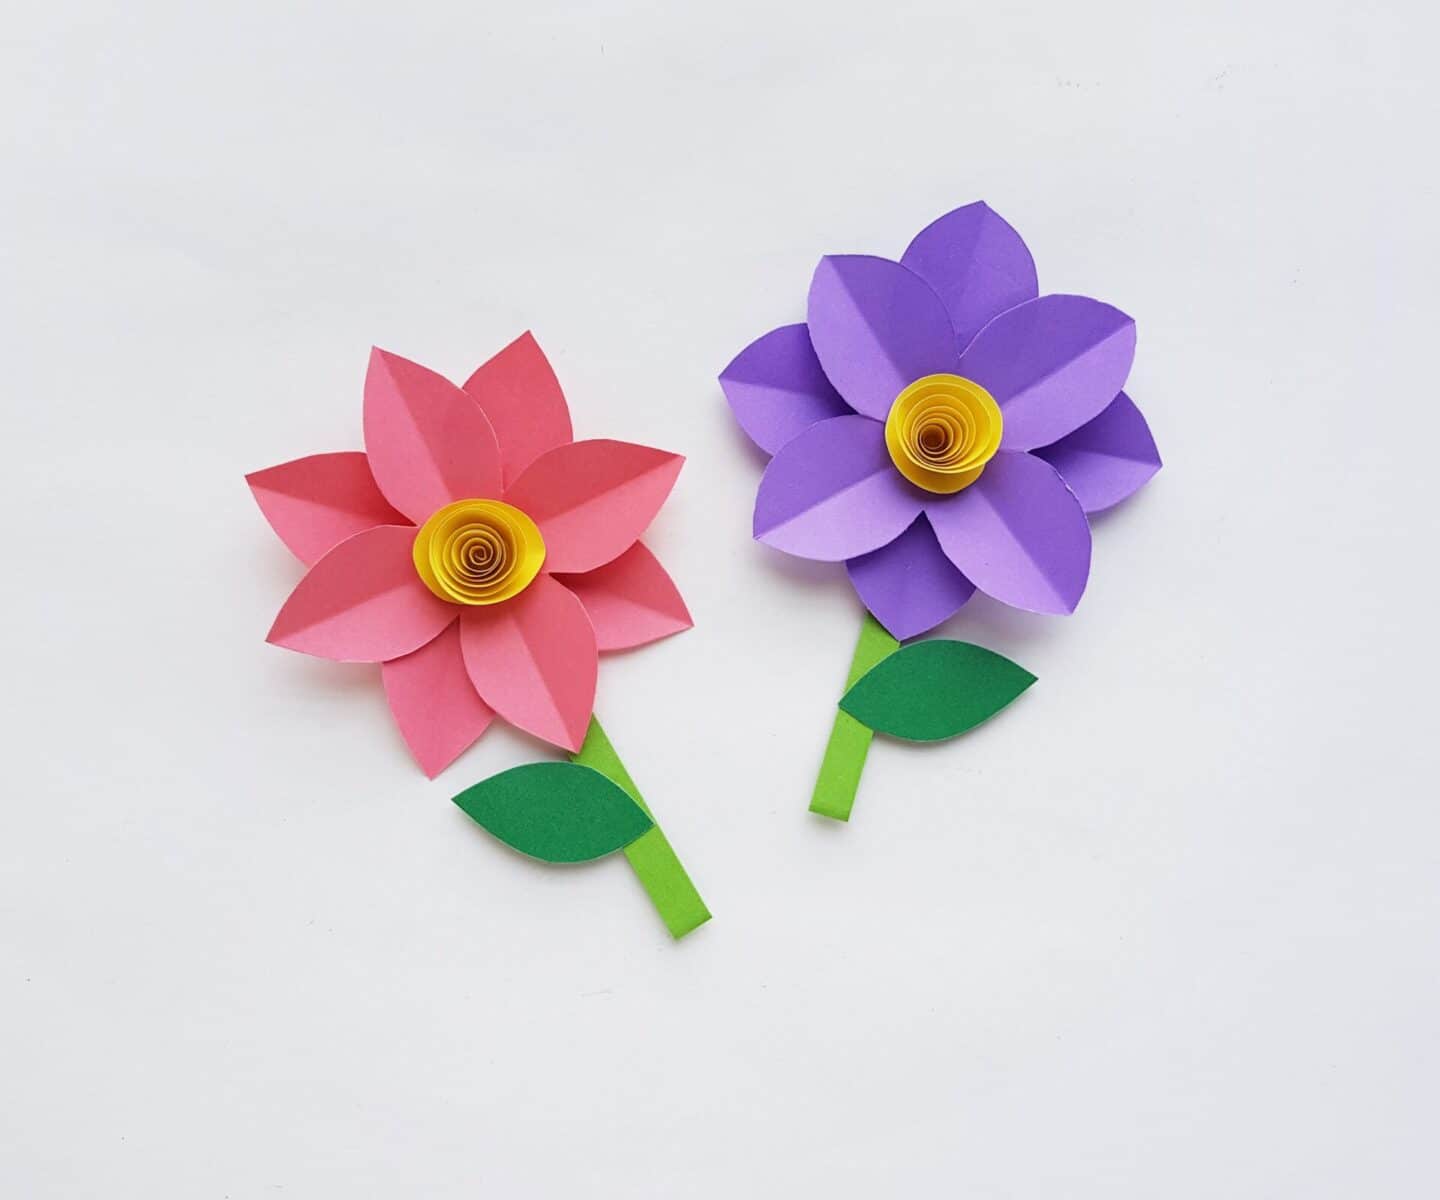
Gardening is a healthy and rewarding habit, especially for kids. Creating little papercraft flowers can be a good way of getting your children interested in real flowers!
These paper flowers are beautiful additions to a Mother’s Day card, or any kind of decoration.
If you’re having some friends or relatives over for a gathering, why not make a few papercraft flowers to use as table decorations?
As an Amazon Associate I earn from qualifying purchases. The links below may be affiliate links. Please read my disclosure policy for more information.
Decoration Ideas
This paper flowers make perfect decorations. You can stick to the pattern or use a pair of scissors to gently feather the edges. Or you could add extra layers of petals, to make the flowers look more different.
Photo Backdrop Booth
Have your child pick out the colors for the flowers. While these designs are very simple and easy for a child to make, you could try some complicated ideas.
When you have a good amount of paper flowers, have your child help you set up a photo wall.
This is a great idea for parties and celebrations. Take a blank wall and decorate it, giving the partygoers a beautiful backdrop for their photos and selfies.
Arrange the paper flowers so that they’re sprawling over the wall. Your more complicated designs could go over the top and sides of the photo backdrop area, with your child’s papercraft flowers along the bottom and lower sides.
This can give the impression of a meadow. You could even cut thin, tapering strips of green paper to look like grass.
Making a bunch of Flowers
Flowers are lovely, but a bunch of flowers tends not to last very long. Fortunately, these papercraft flowers can last for much longer!
Together, make plenty of paper flowers with your child. Use a variety of different colors and sizes. You can make each paper flower look unique; try making the stem longer and thinner, perhaps with more leaves, or no leaves at all. When you’re cutting out the petal pattern, shape the petals differently.
Broad, rounded petals in red paper with a black center can give the illusion of poppies, for example. Or you could add more layers of petals to create a fuller-looking flower or feather the ends with a pair of scissors.
You and your child can search for inspiration together. Take a walk in the garden, go to a nearby park, or just flick through a gardening book. Ask your child what flowers they like, and together you can try and create your paper flowers based on those colors and shapes.
Once you have your flowers created, it’s time to add greenery. Cut out long, tapering strips of green paper, and add leaves sparingly. You can add those strips among the bouquet to give the impression of greenery.
Gather the flowers and the greenery together in a bouquet. You might want to glue them together, once you’ve collected your papercraft flowers in the shape you want. As a finishing touch, add a piece of string or a ribbon around the stems, and you’re finished!
A paper bouquet can be a wonderful, long-lasting gift.
How to Make a Papercraft Robot
Instructions:
Step 1:
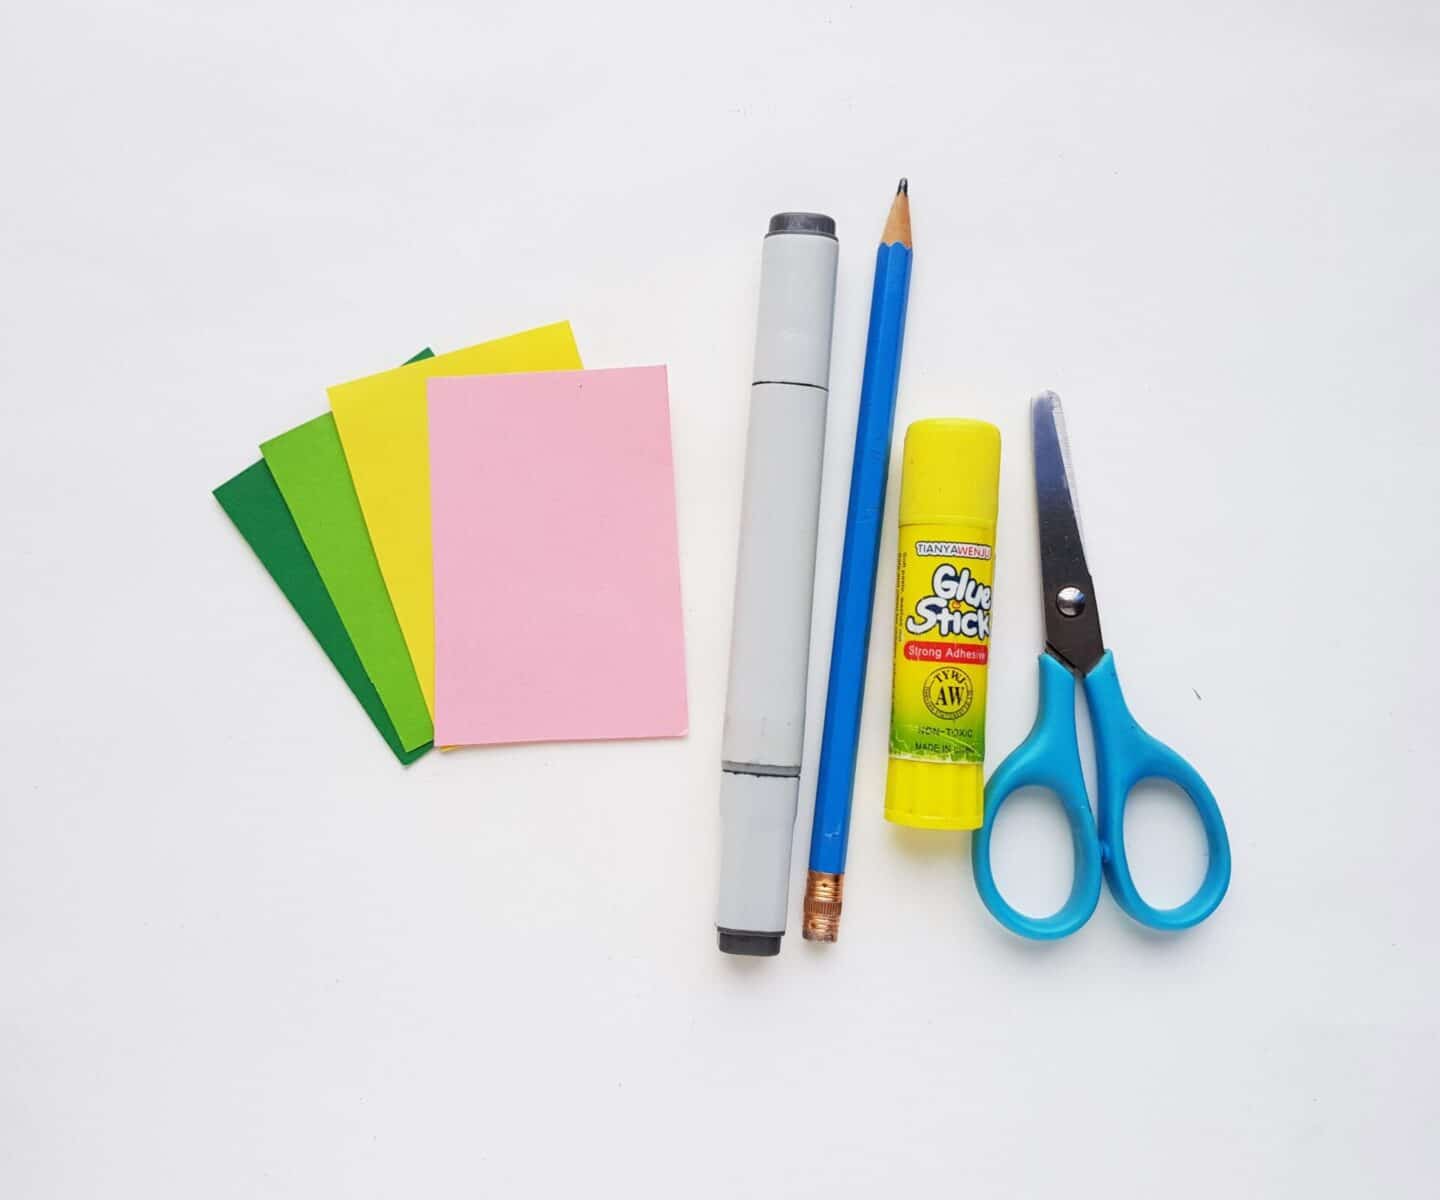
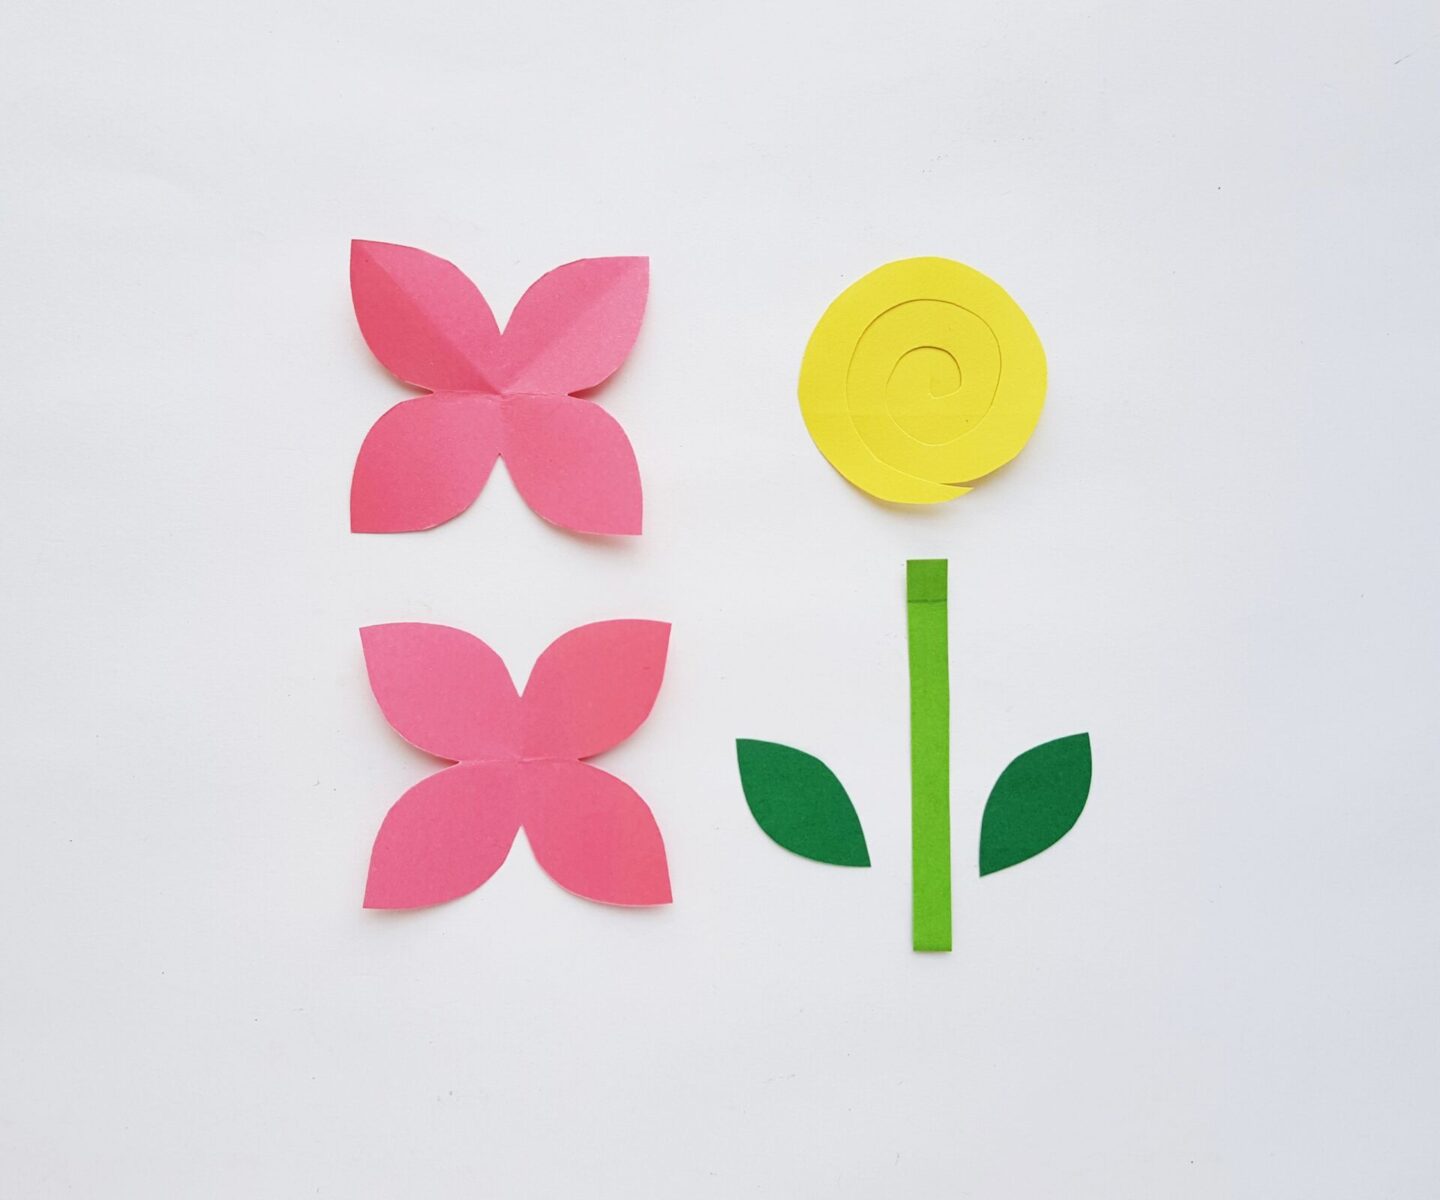
Select 1 or 2 different colored craft papers for the flower patter. Select yellow (or any color you want) for the spiral, select green colored craft paper for the leaves and green colored cardstock paper for the stem. Trace and cut out the patterns.
Step 2:
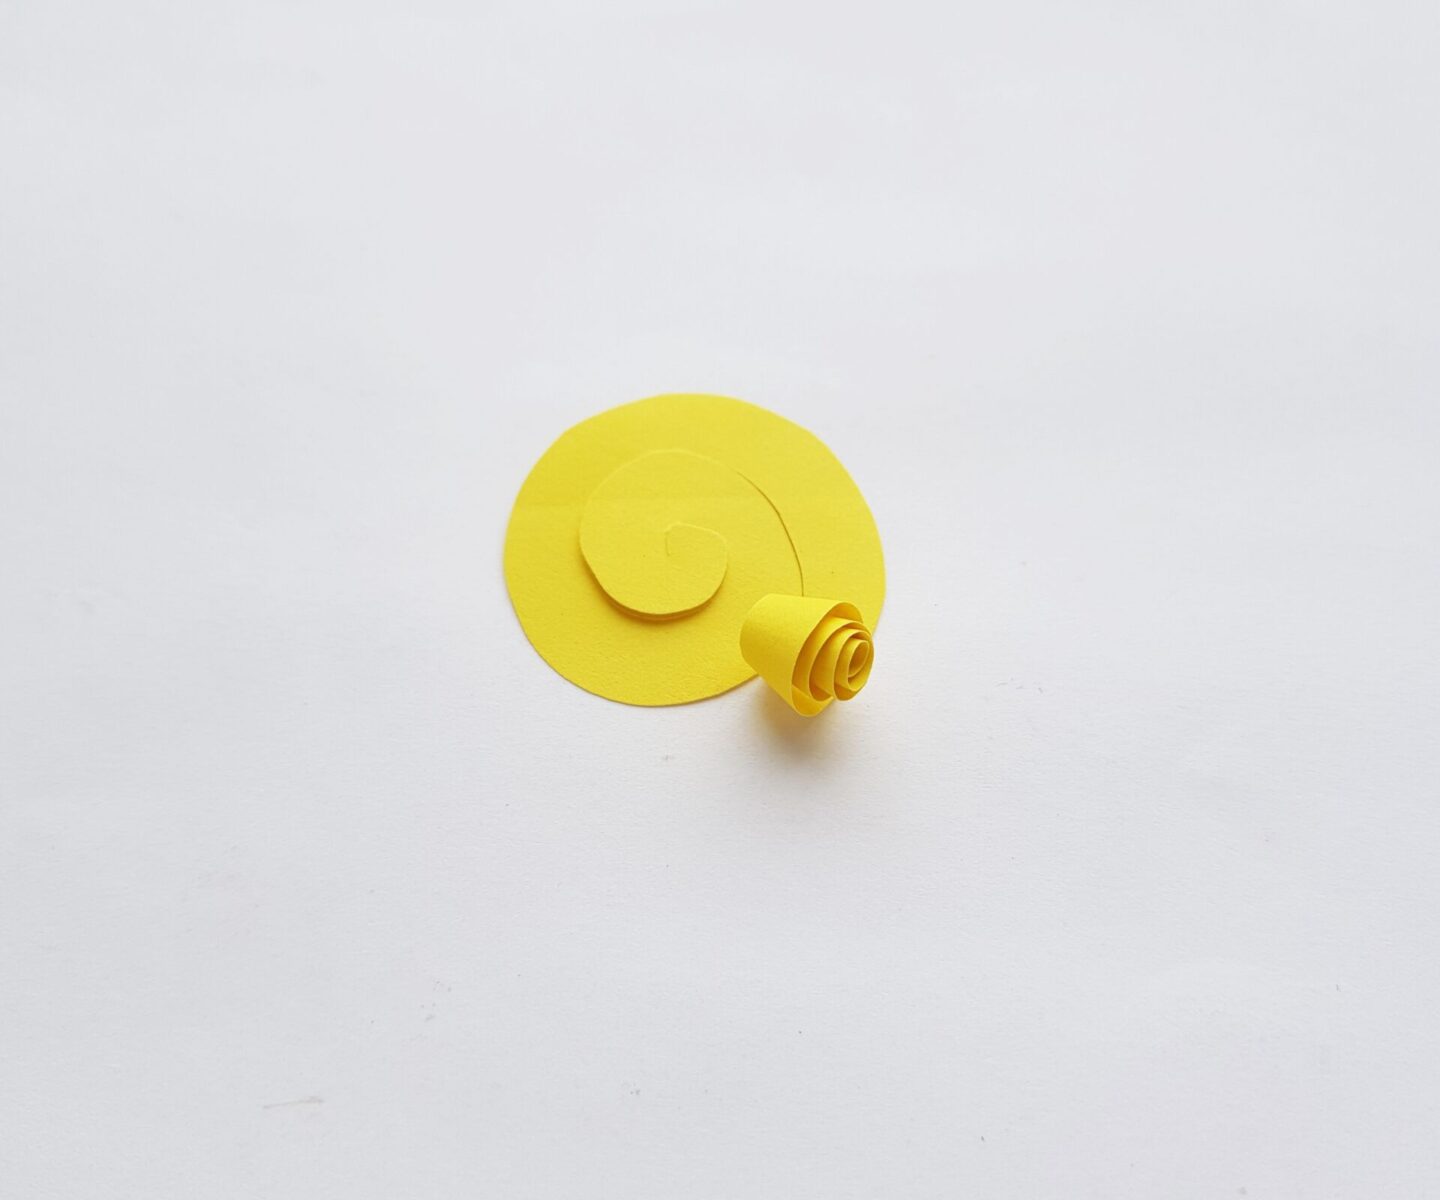
Take the spiral cutout and start to roll the cutout from its outer edge. Continue to roll the spiral towards the center.
Step 3:
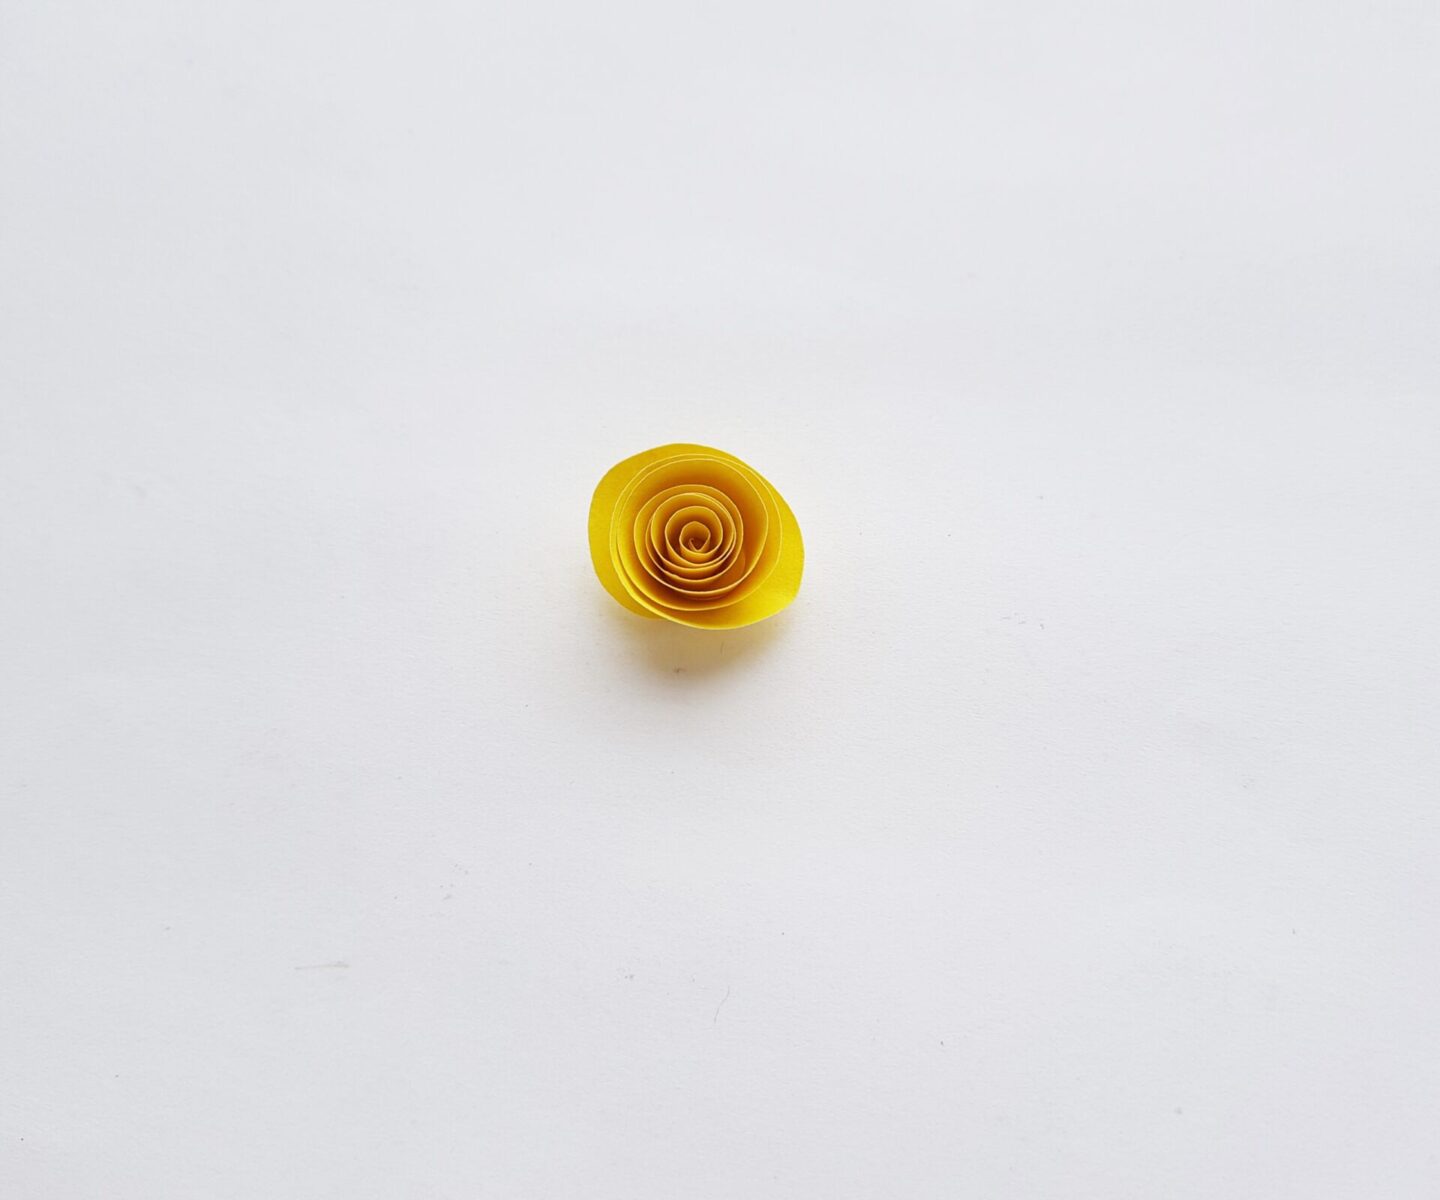
When the paper rolling reaches the center of the spiral pattern, apply glue on the center and fix the rolled paper with the center. This coiled spiral is the pistil of the paper flower.
Step 4:
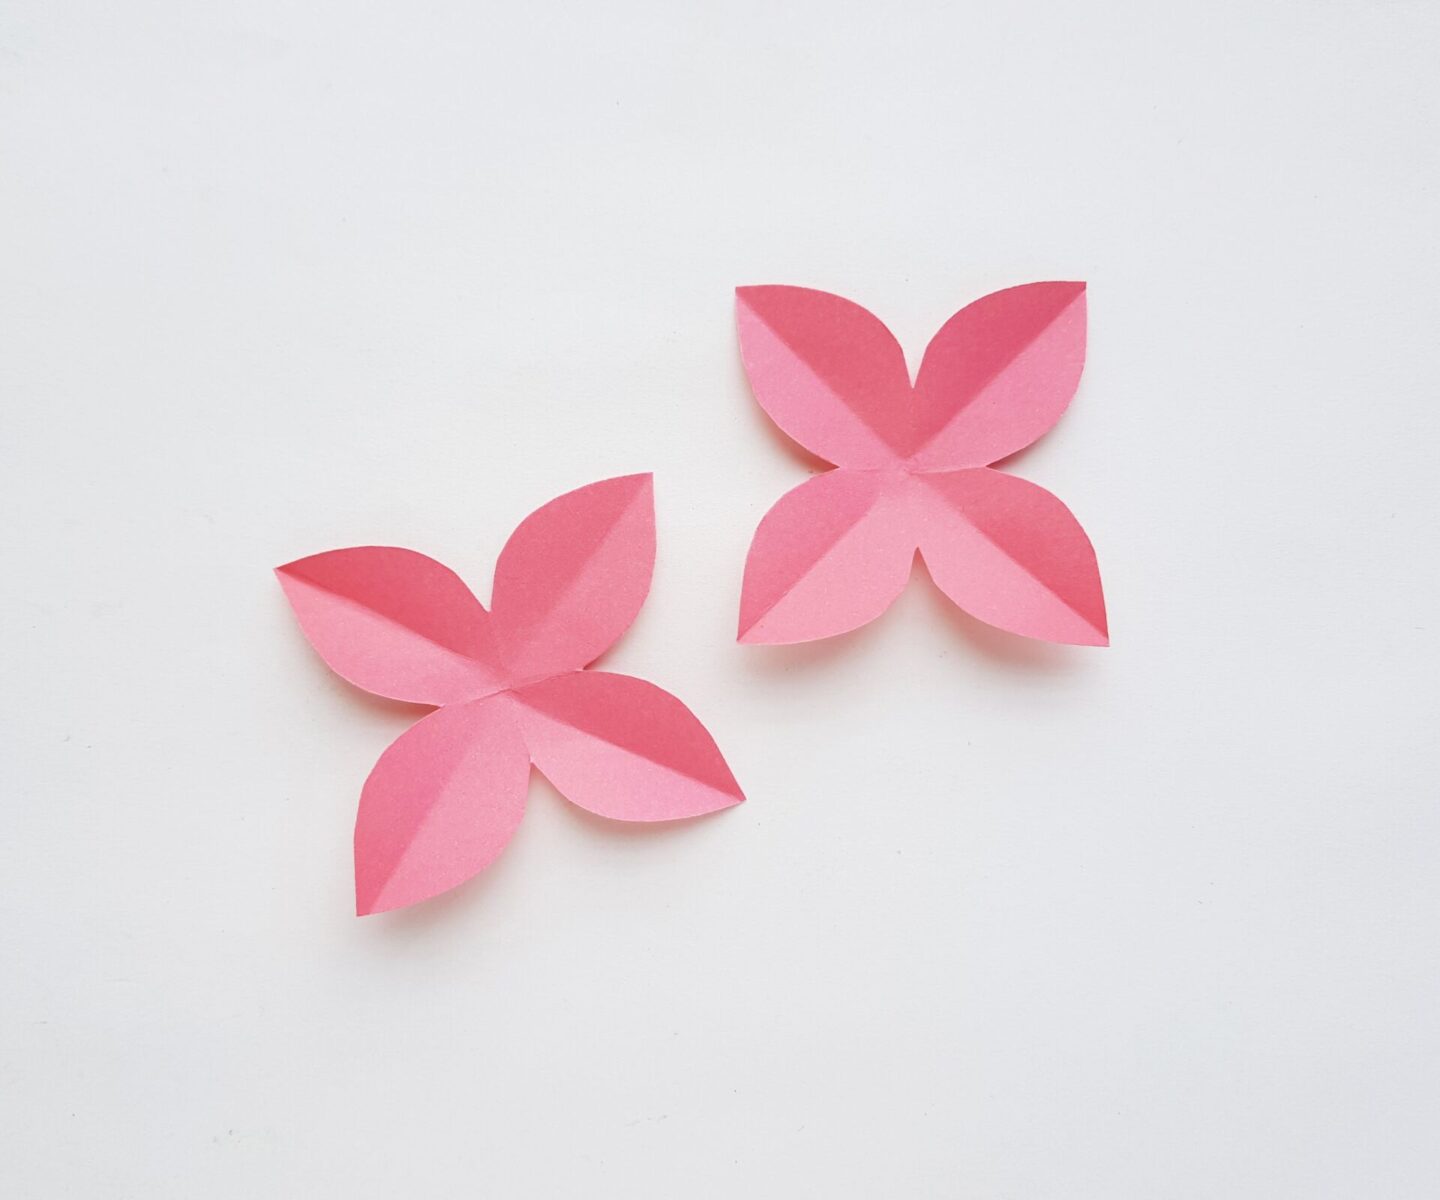
Take the flower pattern cutouts and make creases along each petal. Make creases from the tips of the petals and towards the center of the flower pattern.
Step 5:
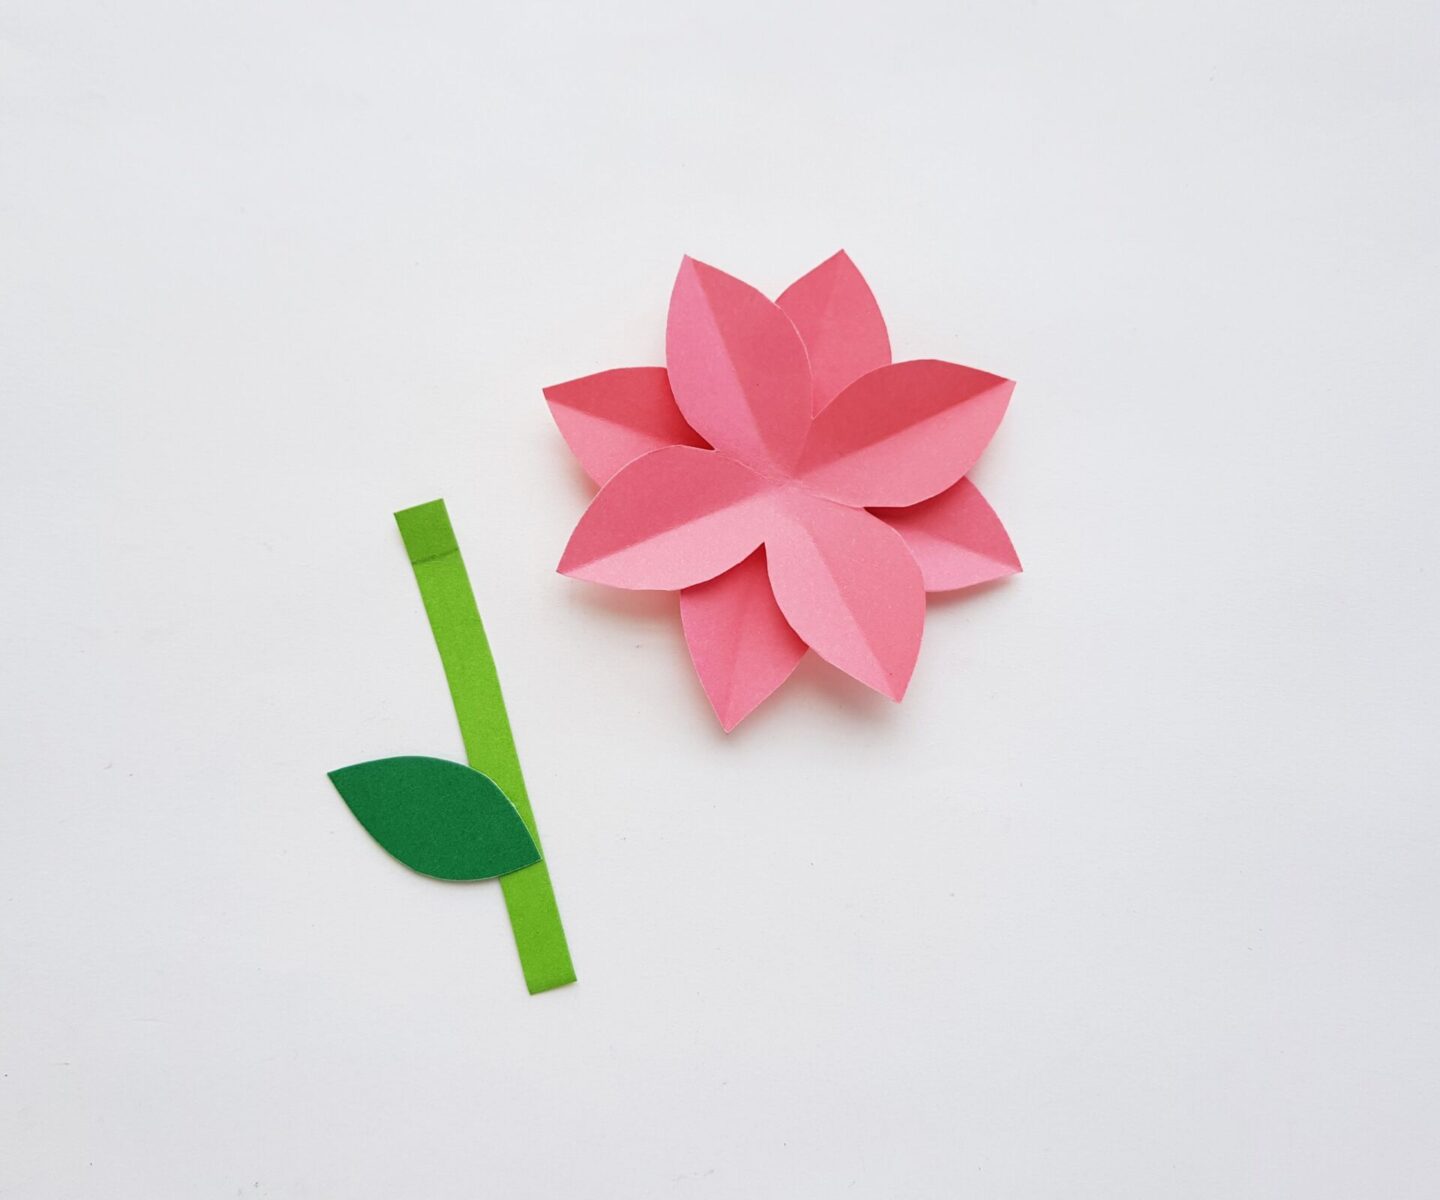
Stick the 2 flower cutouts together, criss-cross wise. Stick the paper leaf on the cardstock stem cutout.
Step 6:
Stick the paper flower on the top end of the stem. You can use different colored papers for variations.
