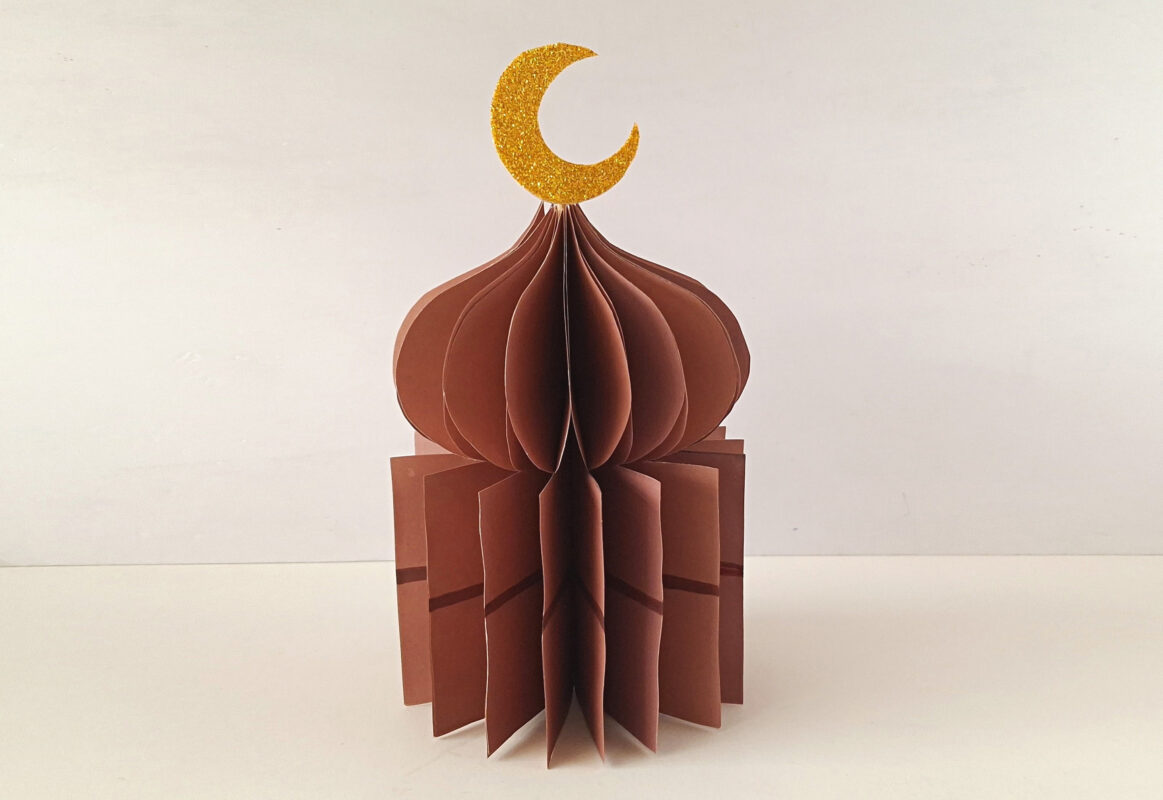
This Eid Mosque Paper Lantern is a simple yet beautiful decoration that adds a meaningful touch to any celebration. Designed with a layered paper structure and topped with a classic crescent moon, it captures the elegance of traditional Islamic architecture in an easy DIY craft.
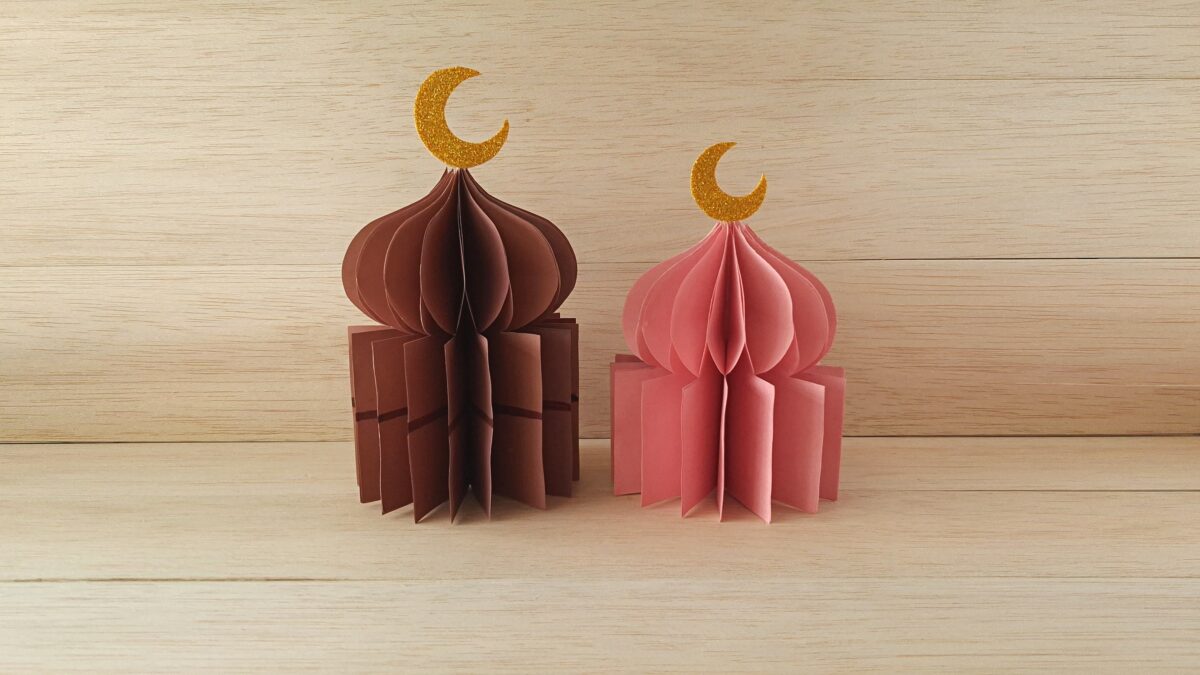
Perfect for both Eid al-Fitr and Eid al-Adha, this lantern works wonderfully as a table centerpiece, shelf decoration, or hanging ornament. It’s especially great for creating a warm, festive atmosphere at home while also being simple enough for children to help make.
Using just a few basic materials, this craft comes together quickly but looks impressive once assembled. Whether decorating for a family gathering or preparing activities for kids, this paper mosque lantern is a versatile and eye-catching addition to any Eid celebration.
Supplies:
Download the Free Mosque Paper Lantern Template Here
Instructions:
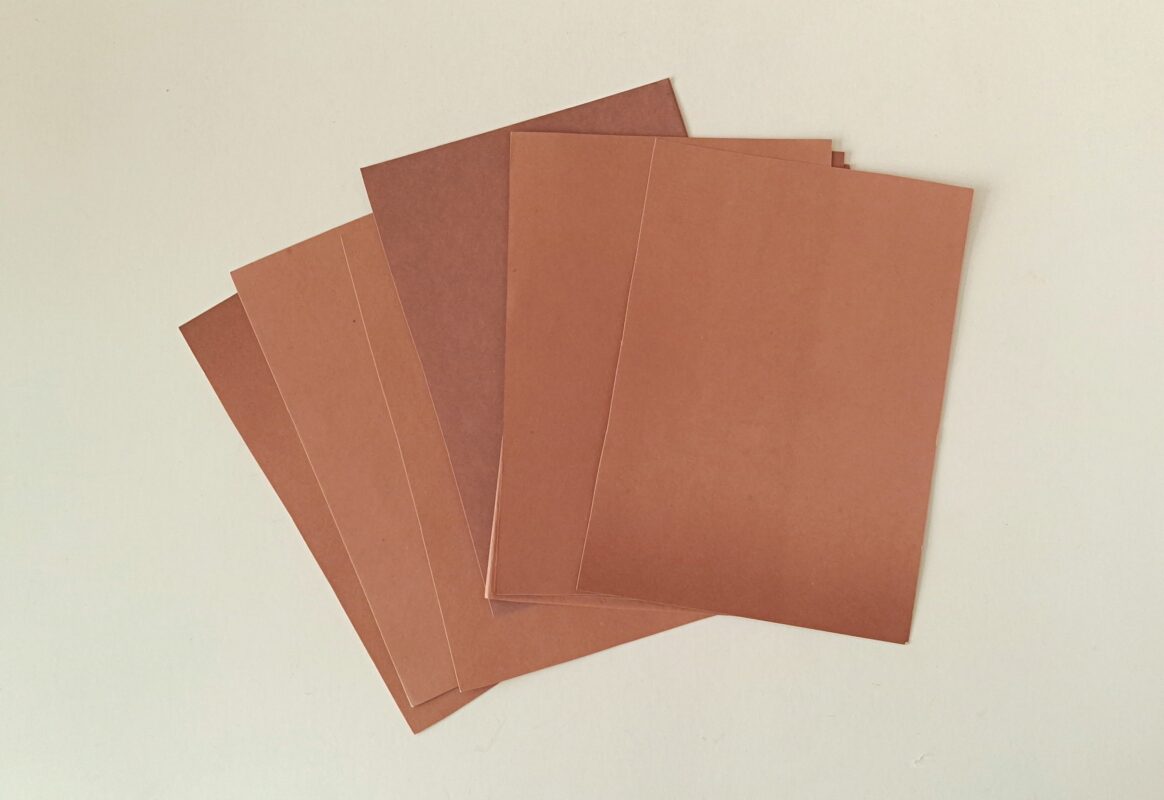
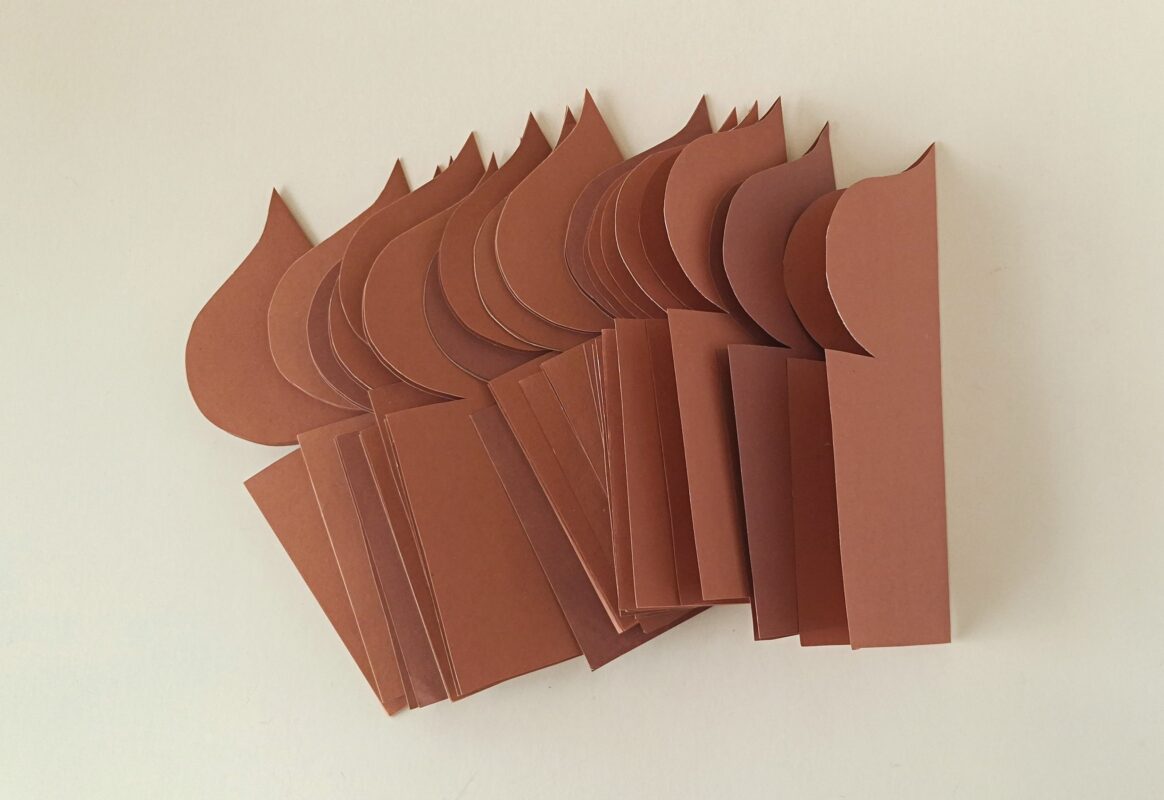
Prepare 16-18 papers of the same size. It’s better if the papers are of rectangle ratio. We’re using 16 cm x 10 cm sheets.
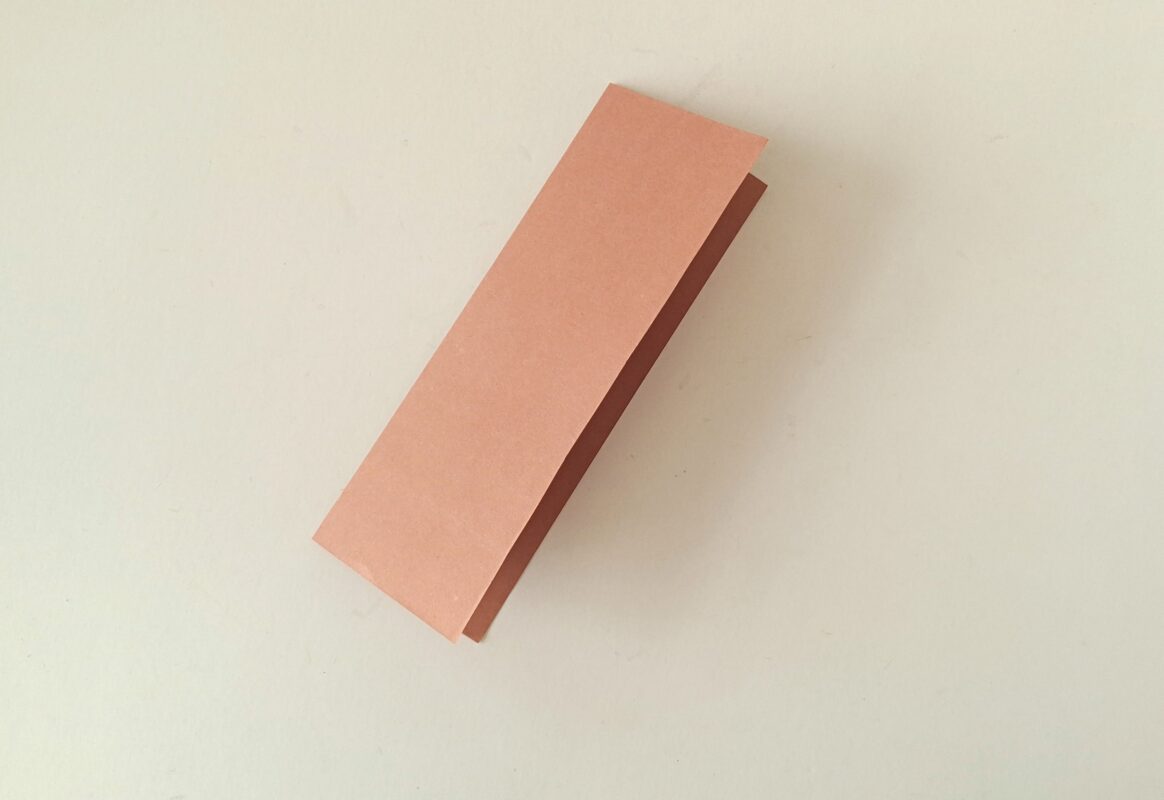
Take any one of the prepared paper and fold it in half lengthwise. Similarly, prepare all the sheets (16-18) in half.
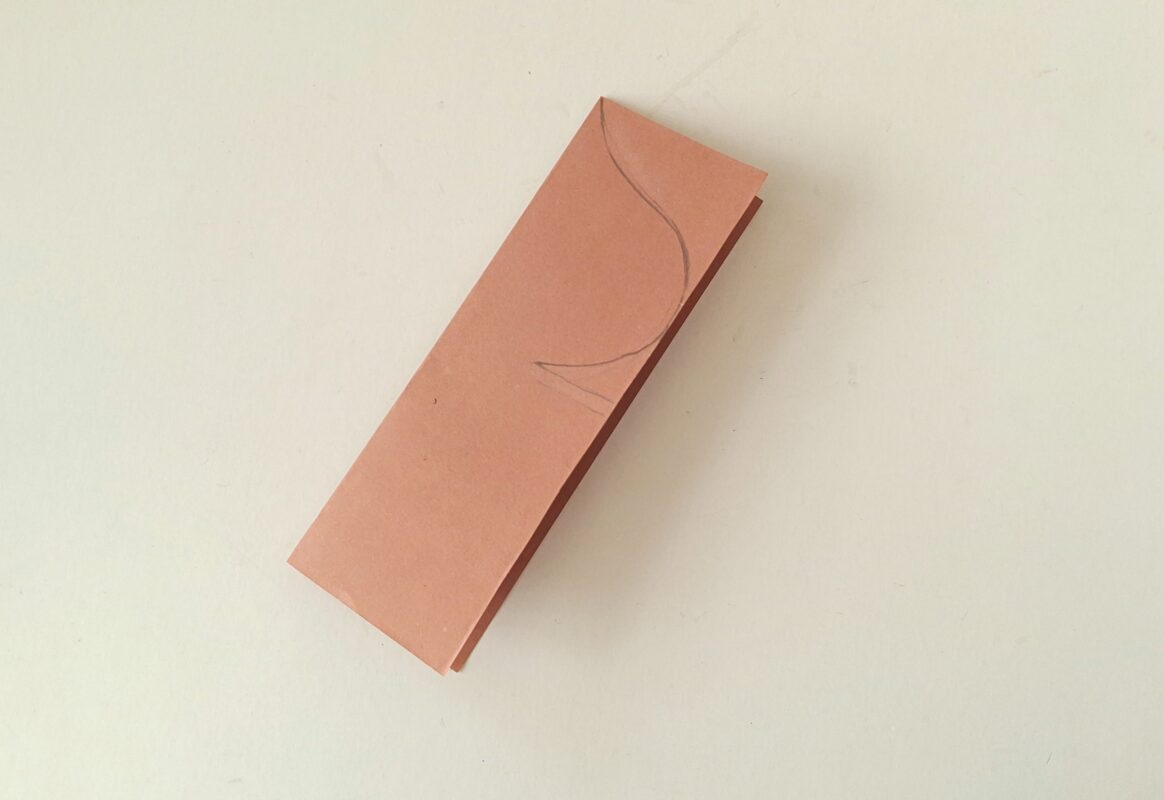
Take the template cutout and align the straight side of the template along the closed side of a half folded paper. Use a pencil to trace the template on the open sides.
Use scissors to cutout the half folded paper along the traced pattern.
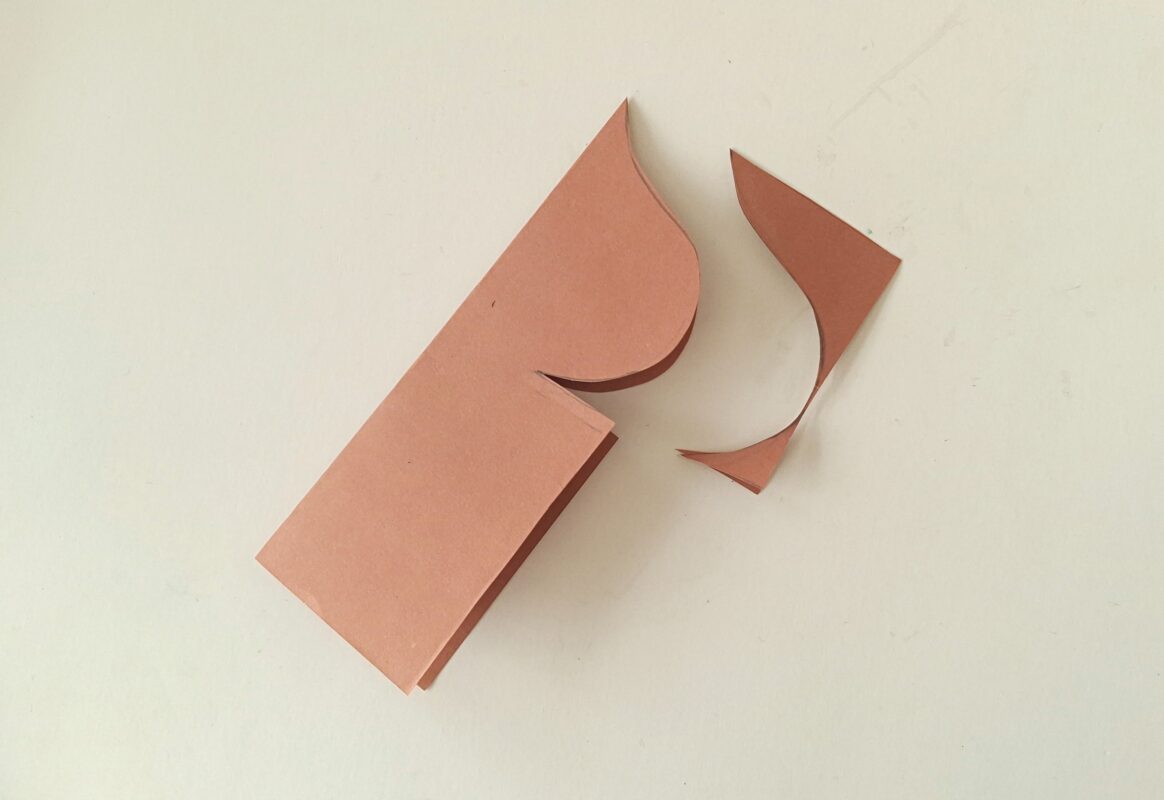
Similarly, prepare all the half folded papers.
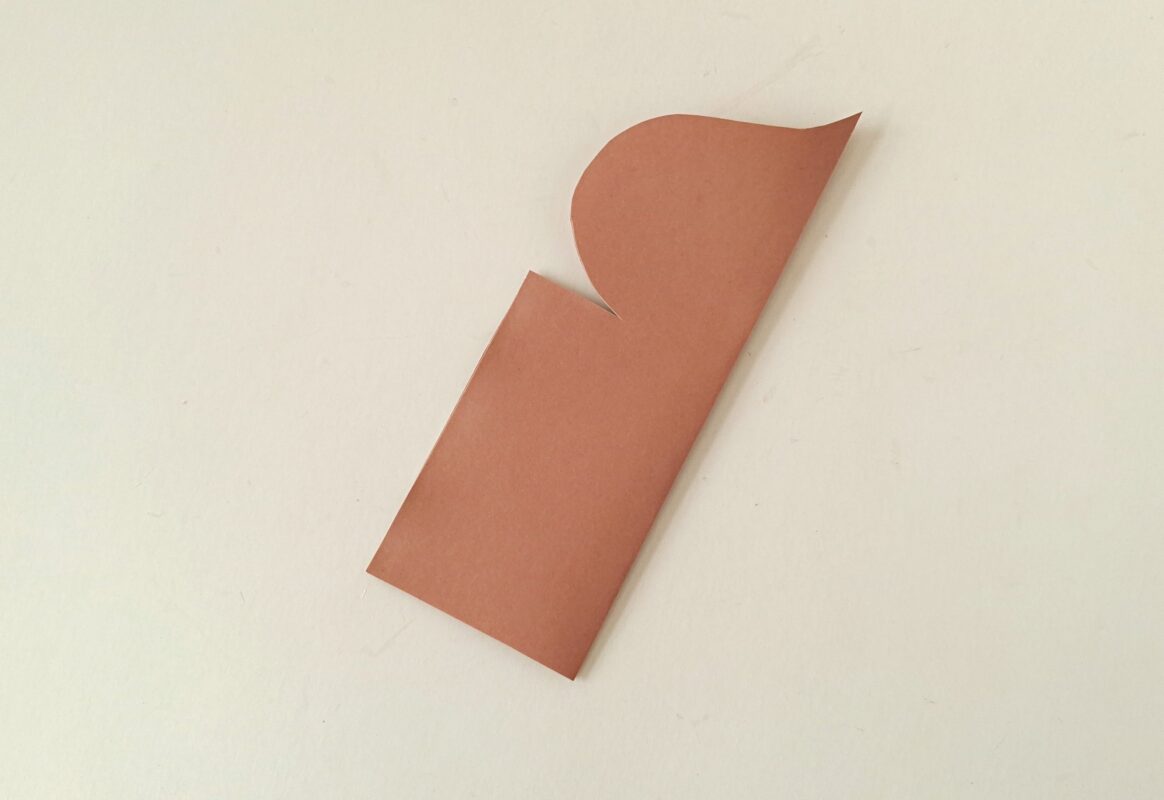
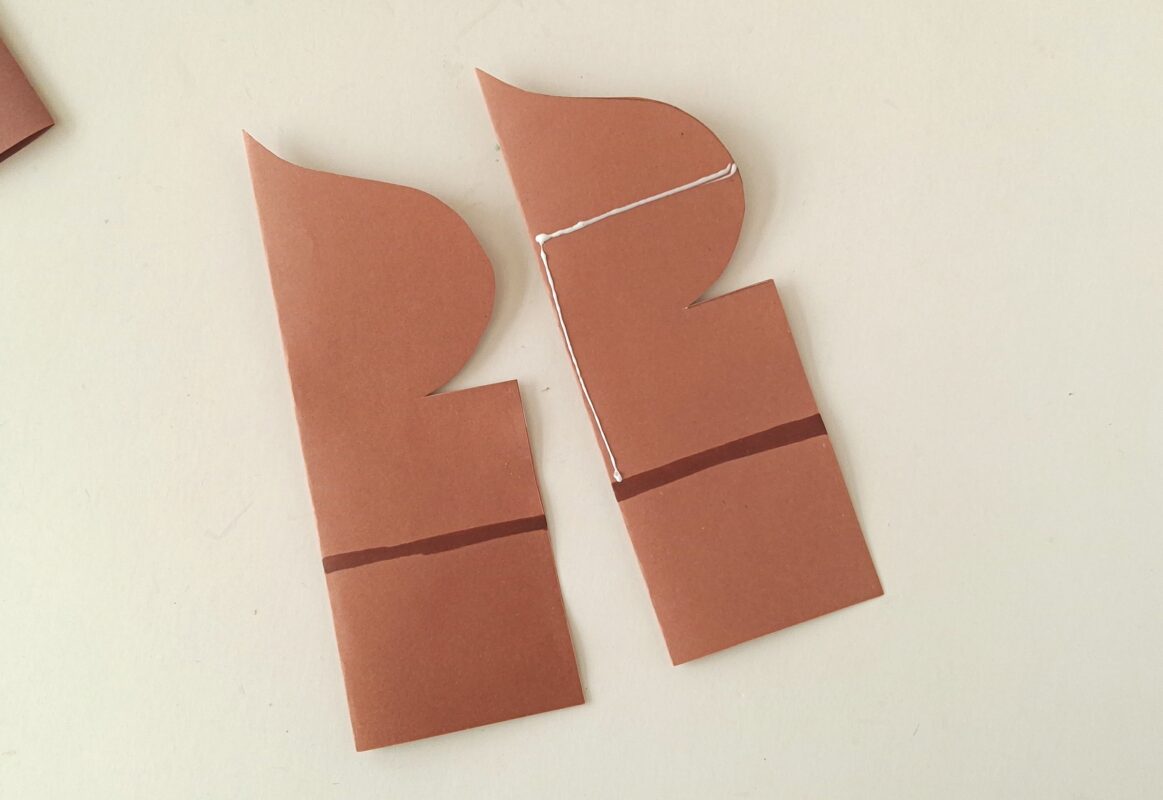
Take any one of the pattern cutouts and unfold it. Apply glue along any one of the 2 straight sides below the dome part.
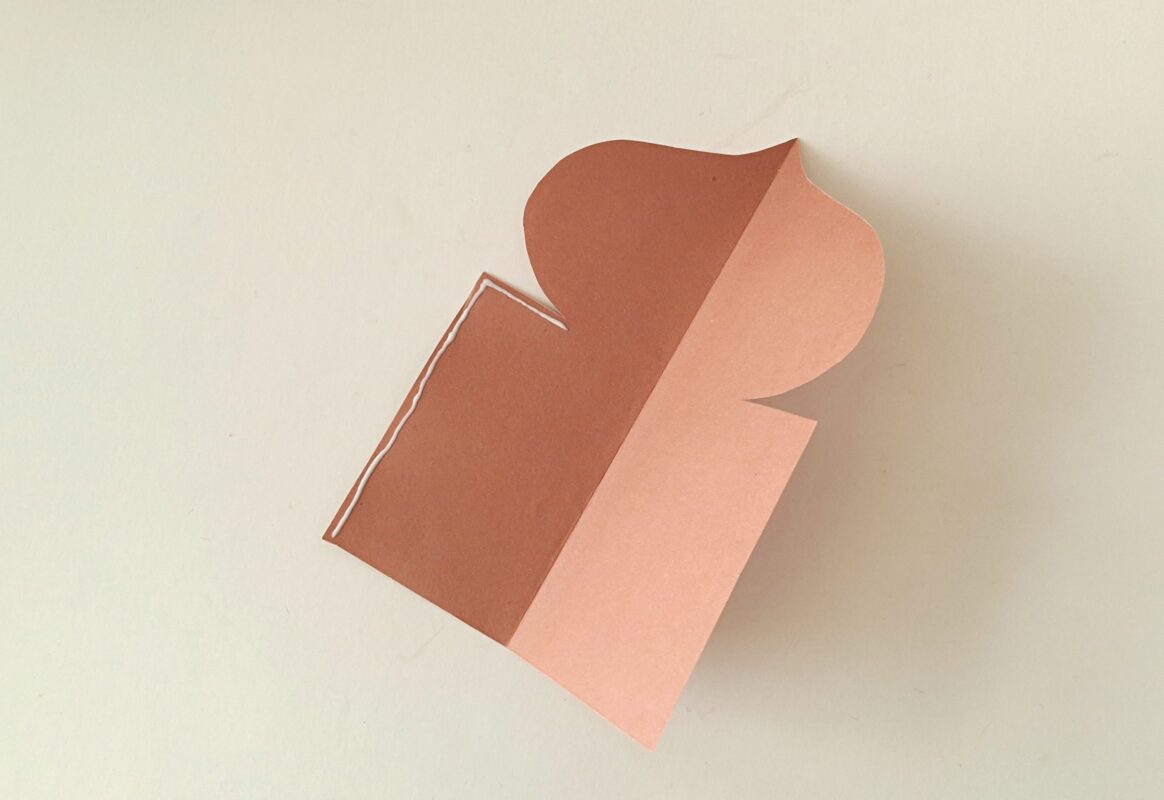
Fold the paper in half again; this will join the bottom sides of the dome.
Similarly, prepare all the patterns.
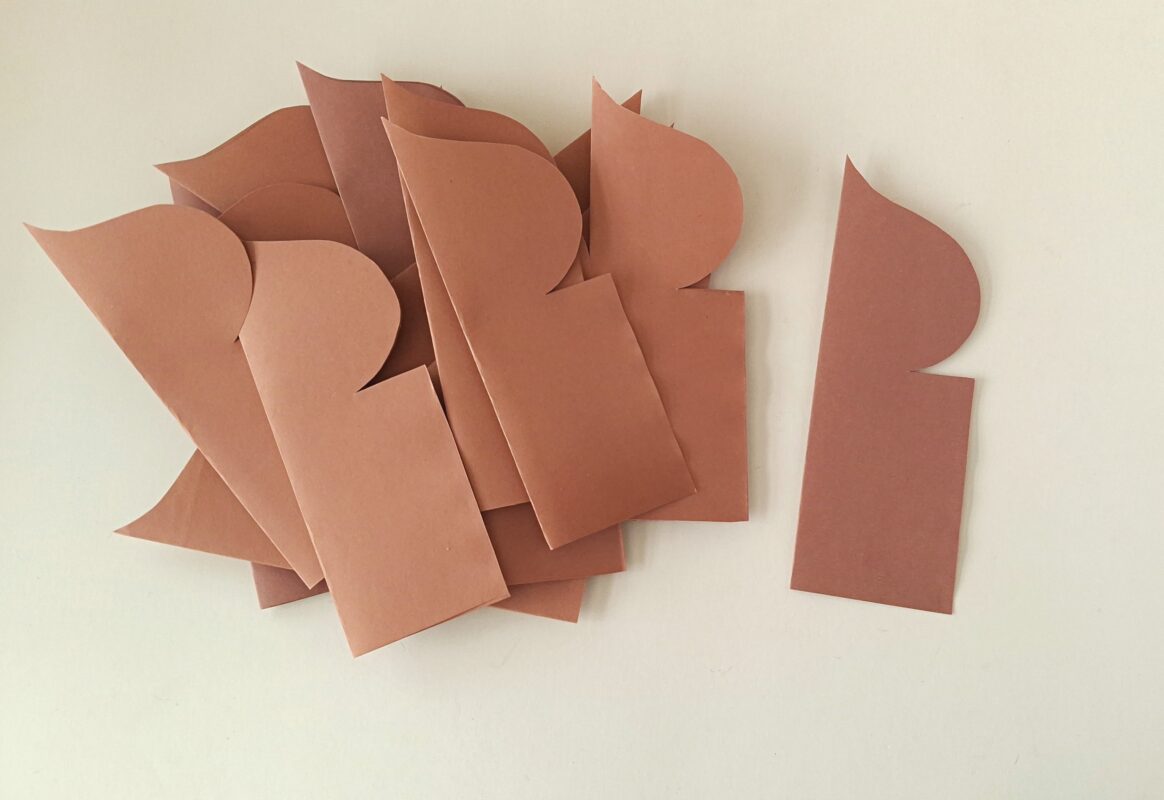
You can keep the paper patterns plain or you can add a border or line like we did. Take any 2 current patterns and apply glue horizontally along the middle of the dome part.
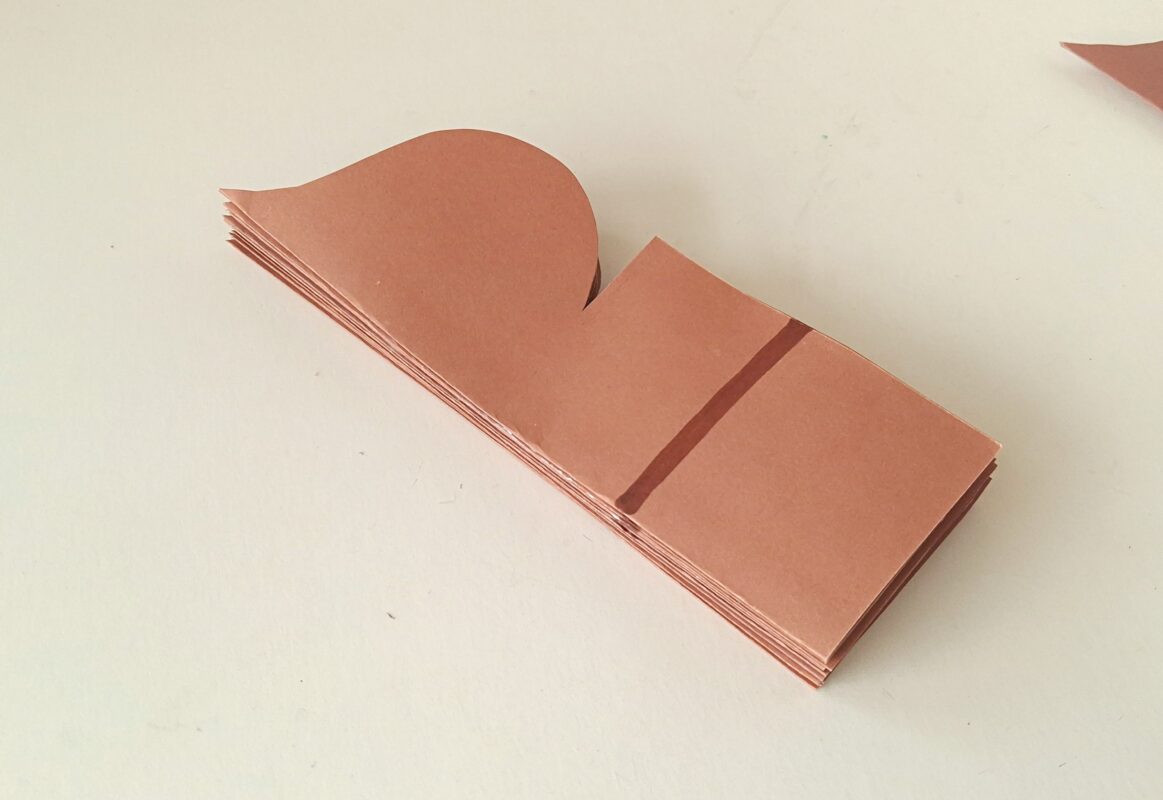
Place the 2nd pattern on top of the glued one, making sure that they’re aligned neatly.

Continue to glue all the prepared (side attached patterns) patterns by applying glue along the middle of the dome part. Be careful not to apply glue on any other parts of the patterns. Allow the glue to dry completely before moving to the next step.
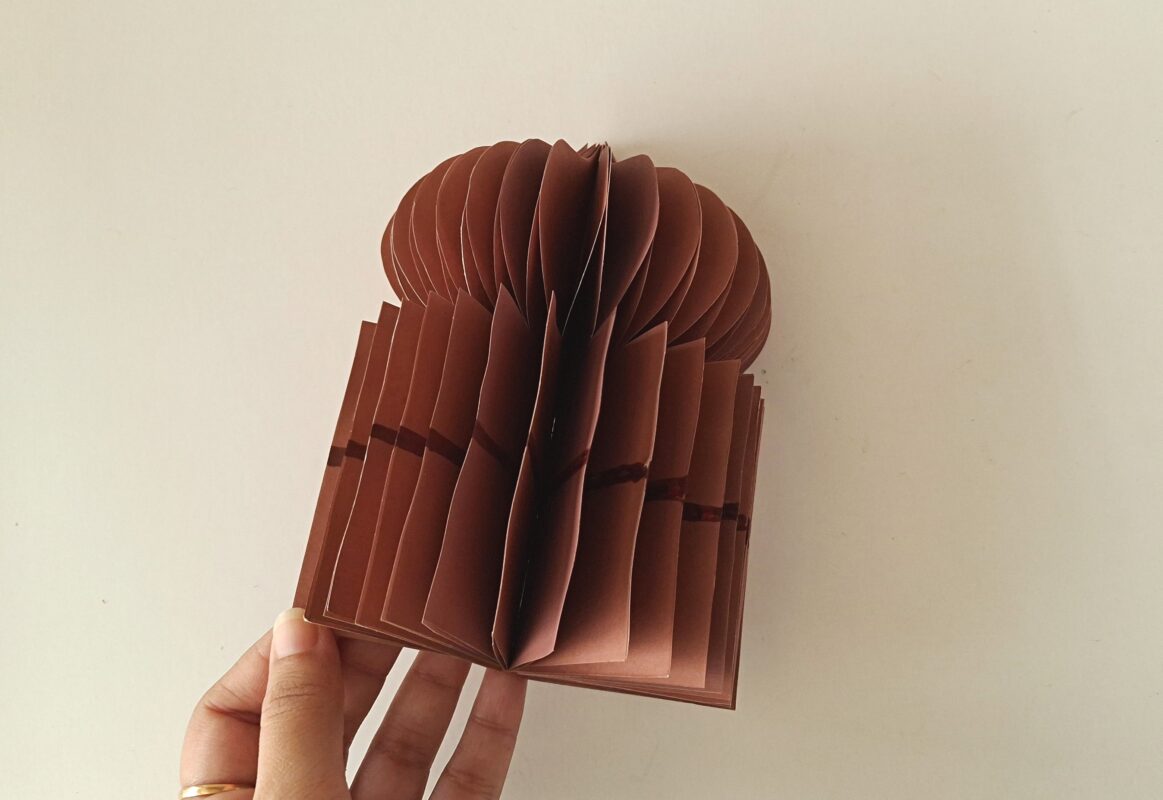
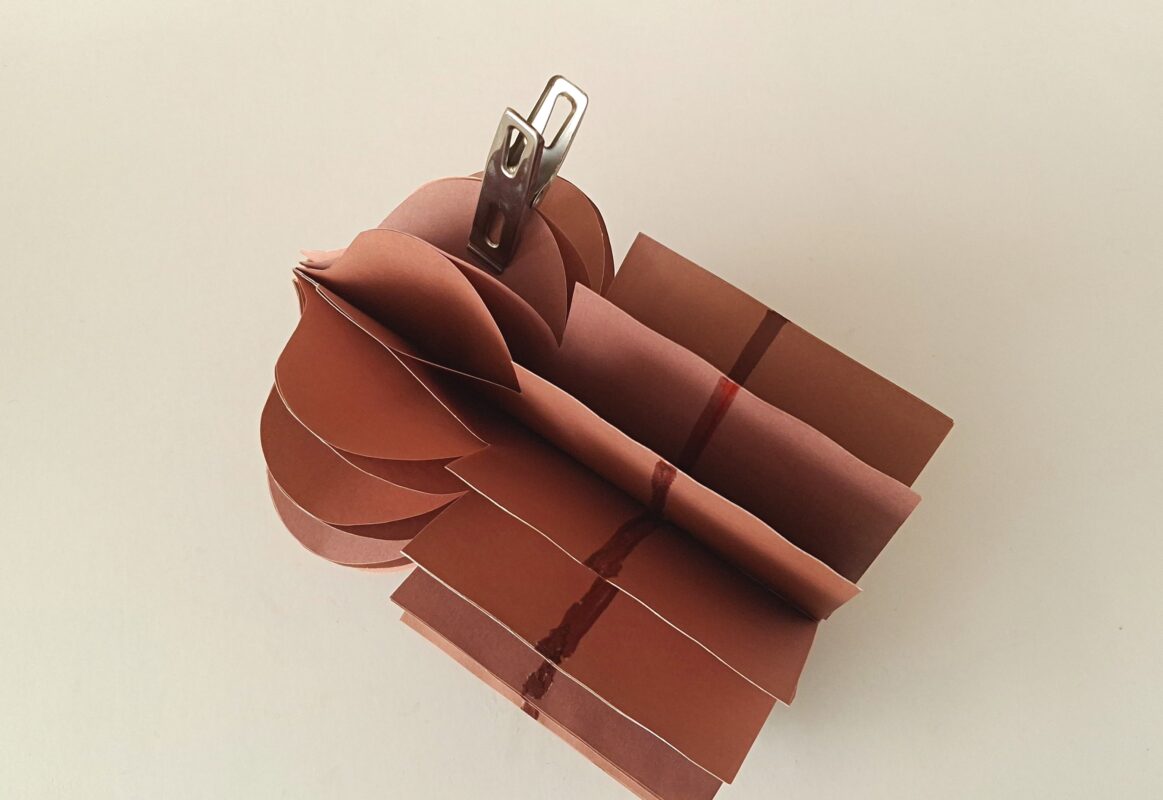
Hold the 2 patterns/layers on both open sides and bring them closer. This will unfold the paper decor pattern.
Apply glue along the middle of any one of the side pattern’s dome.
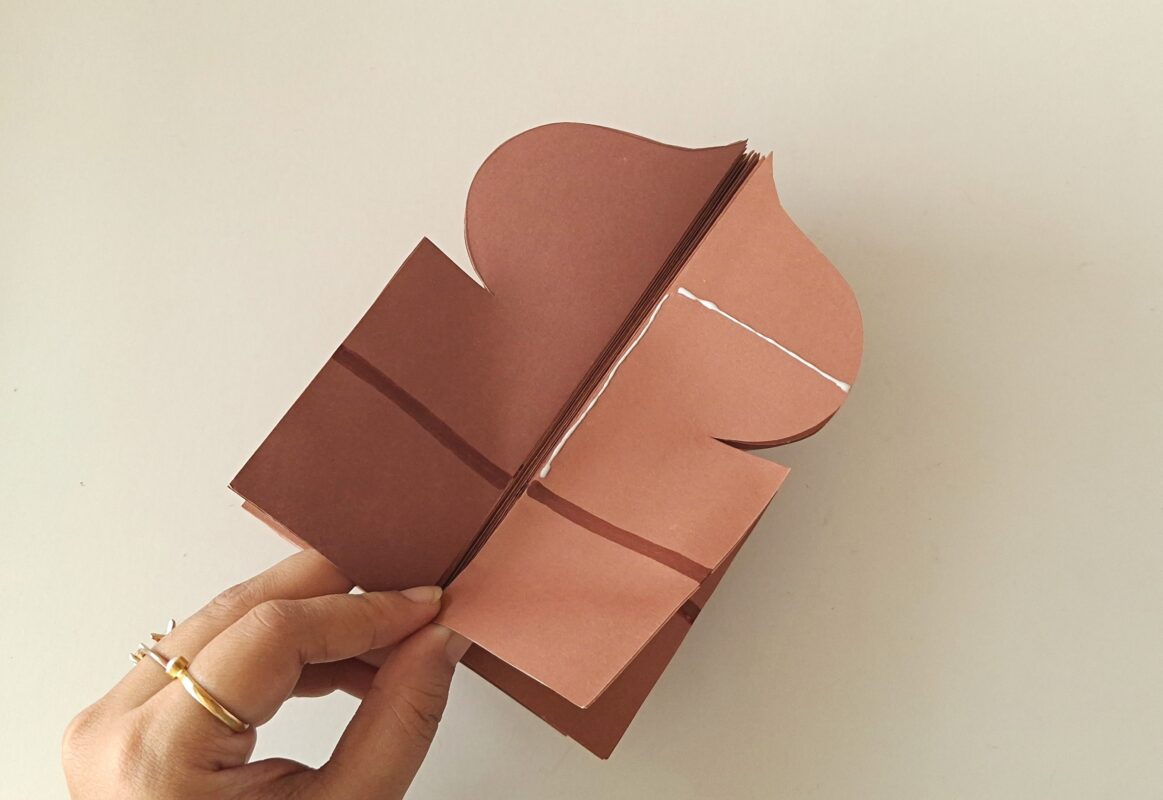
Attach the 2 side patterns along the glued part and use a clothes pin to secure the glued part until it dries completely.
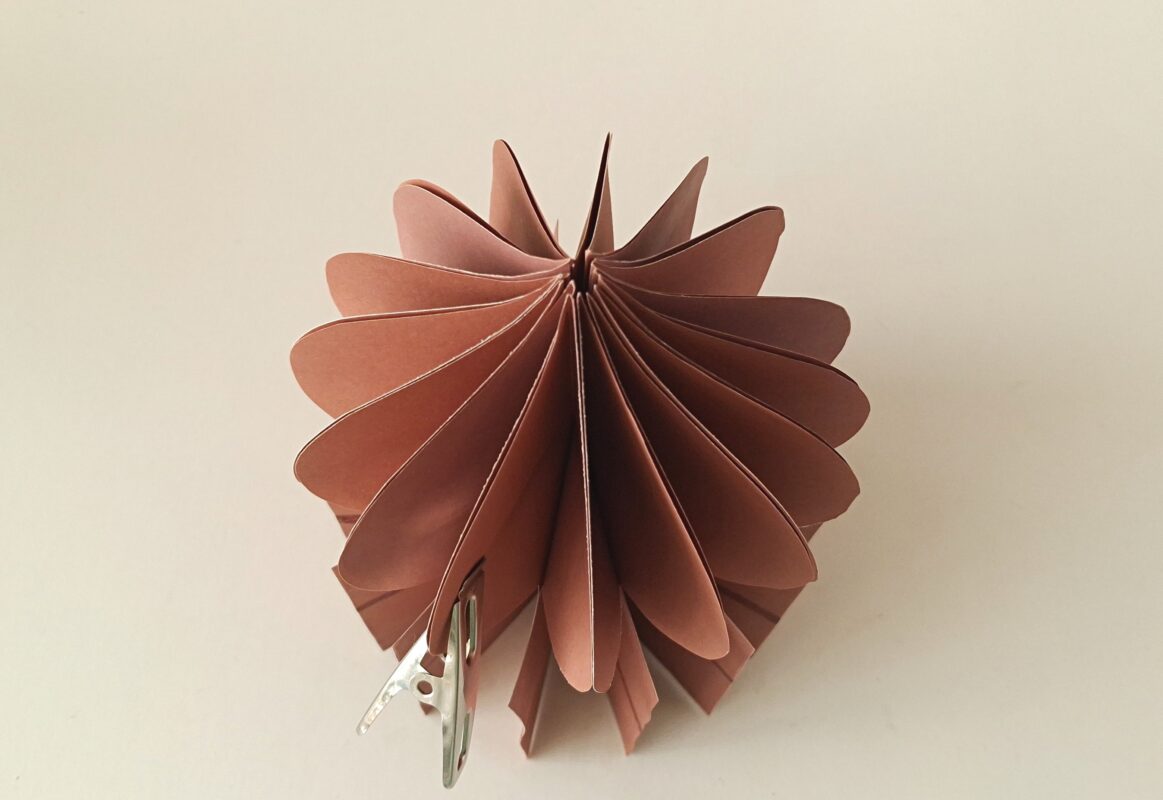
This is the top view of the lantern. There should be a small hole along the center, from the top.
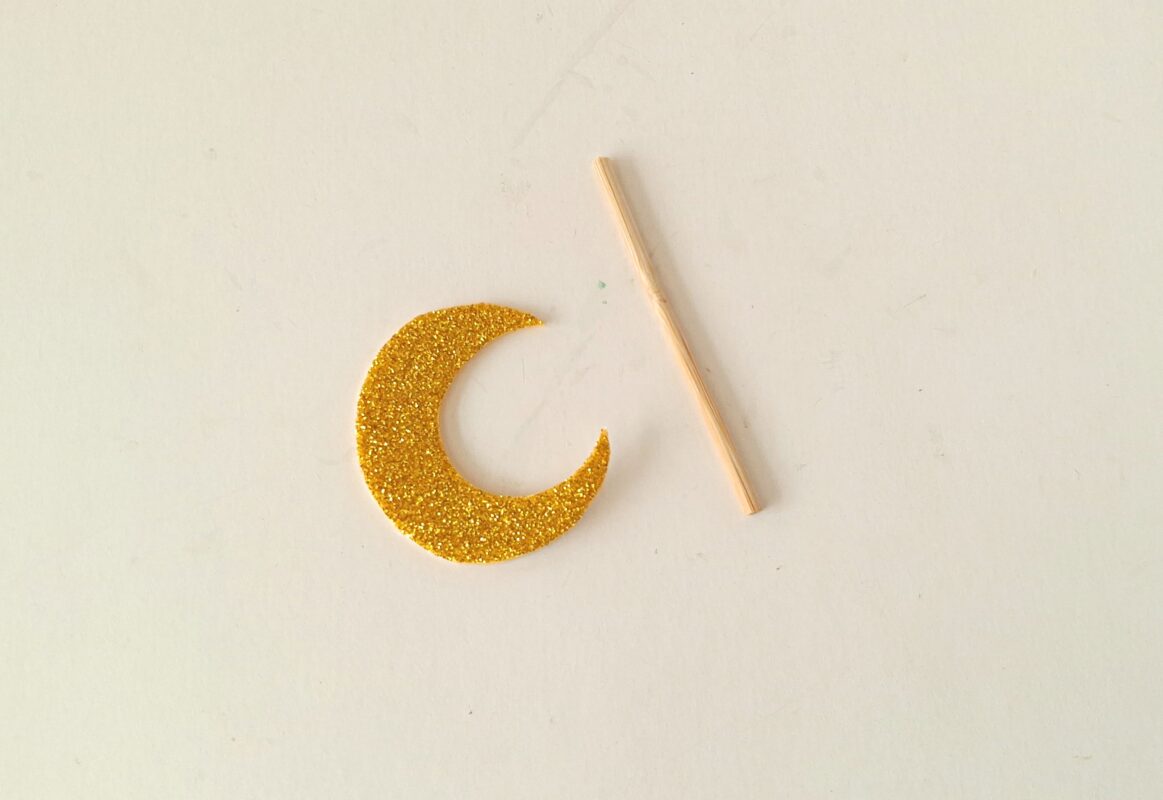
Cut out a small stick and prepare a crescent moon shape from a glittery paper.
Attach the crescent moon cutout to the edge of the stick.
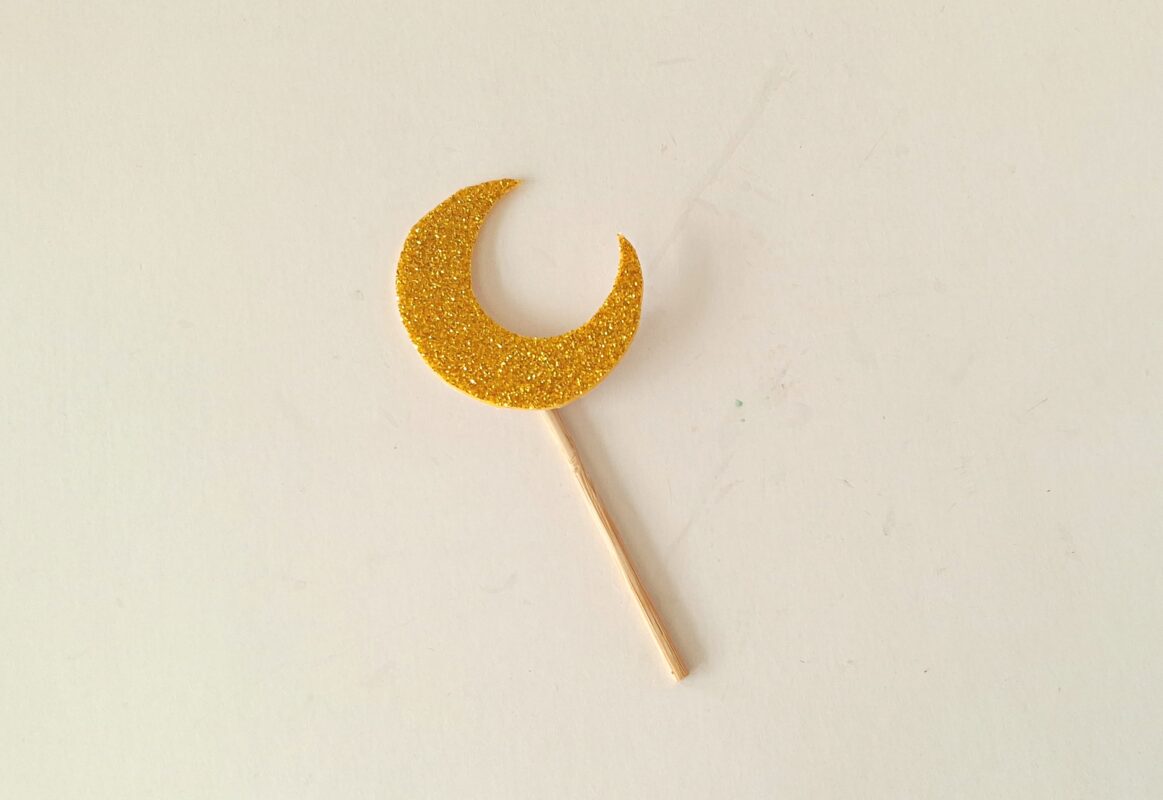
Insert the bottom end of the stick through the top, center hole of the paper pattern. Applying glue isn’t necessary but you can apply a few drops of glue to fix the moon’s position. And that’s it!