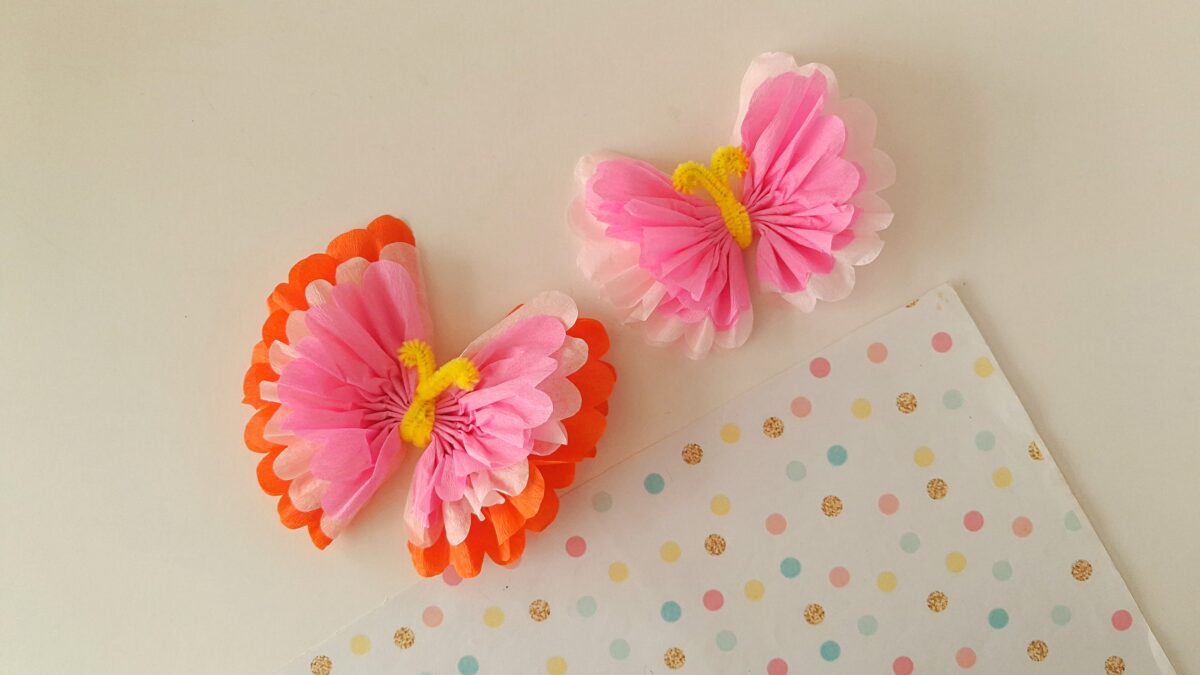
This Craft Tissue Butterfly is a simple and colourful project that turns everyday materials into something bright and eye-catching. With just a few sheets of tissue paper and a pipe cleaner, children can create delicate butterfly wings full of texture and movement.
It is a fun hands-on activity that helps develop fine motor skills while encouraging creativity through colour choices and shaping. Perfect for spring crafts, classroom activities, or a quiet afternoon at home, these butterflies can be used as decorations, added to cards, or even turned into a playful display.
To get the best results from this craft, use a mix of two or three different coloured tissue papers to make the butterfly more vibrant. Thinner tissue paper will create a softer, fluffier effect, while careful and even folding will help the wings look neat and symmetrical. Make sure to twist the pipecleaner tightly in the centre so the butterfly holds its shape.
Instructions:
Step 1:
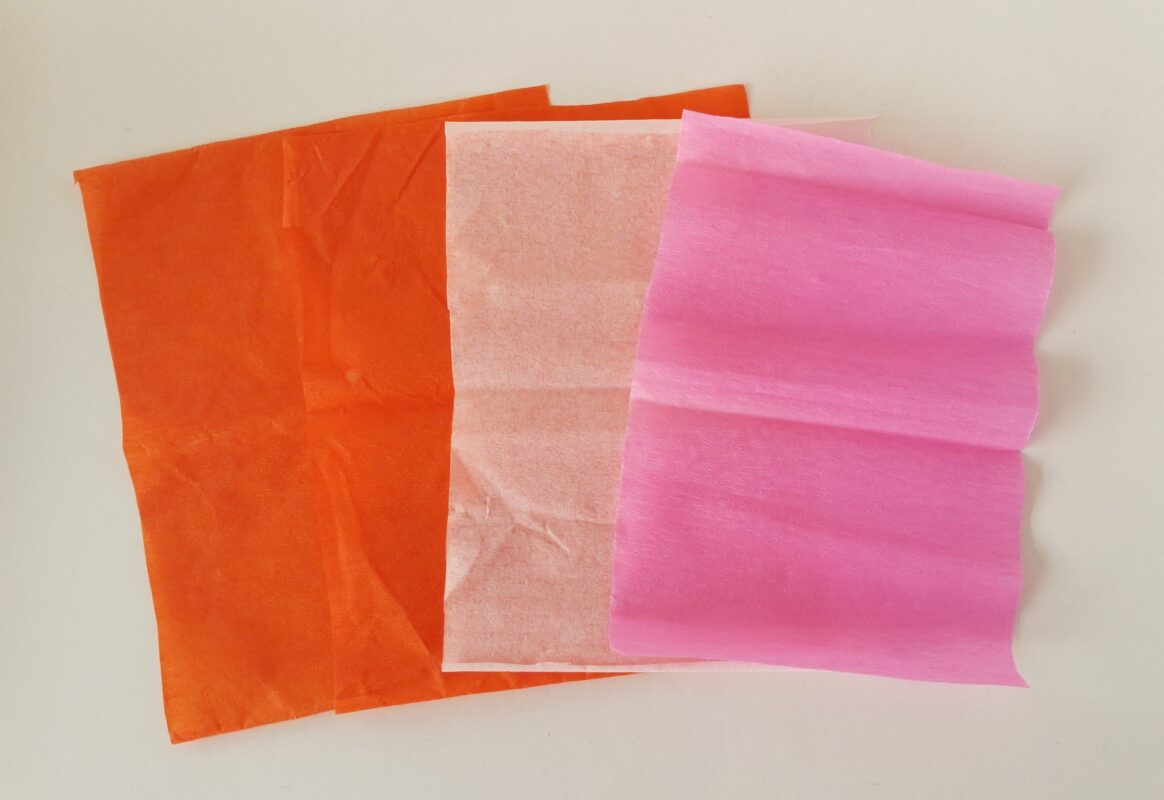
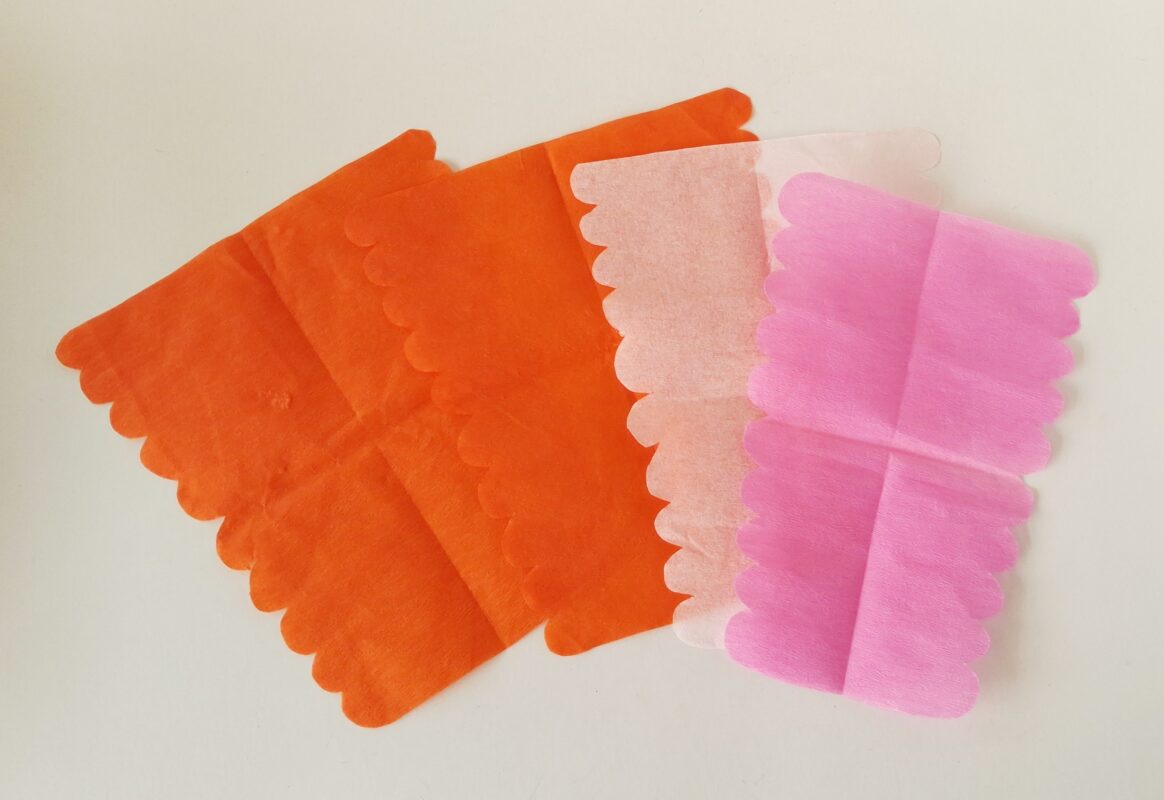
This craft does not require any template. You can simply measure and cut out 3 pieces of craft tissue papers of the same length but slightly different widths. Use at least 2 different colored papers.
Step 2:
Take any one of the papers.
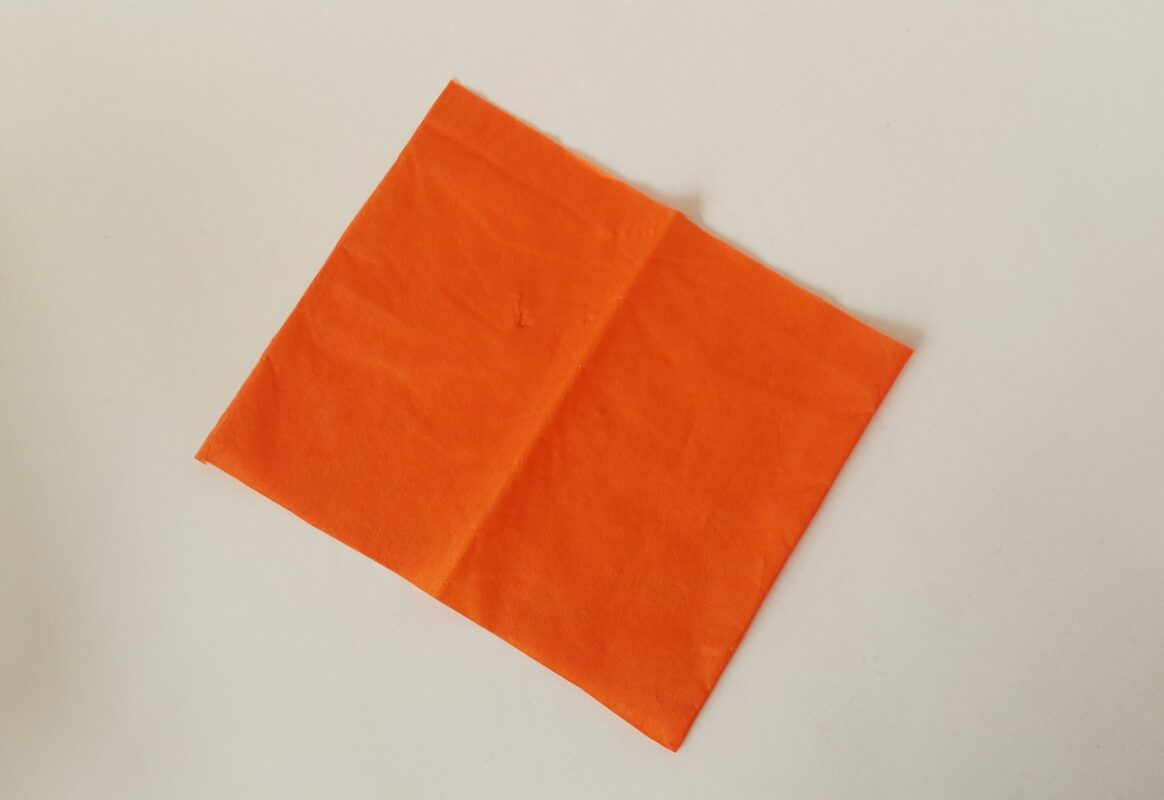
Step 3:
Fold the paper in half, along the longer side.
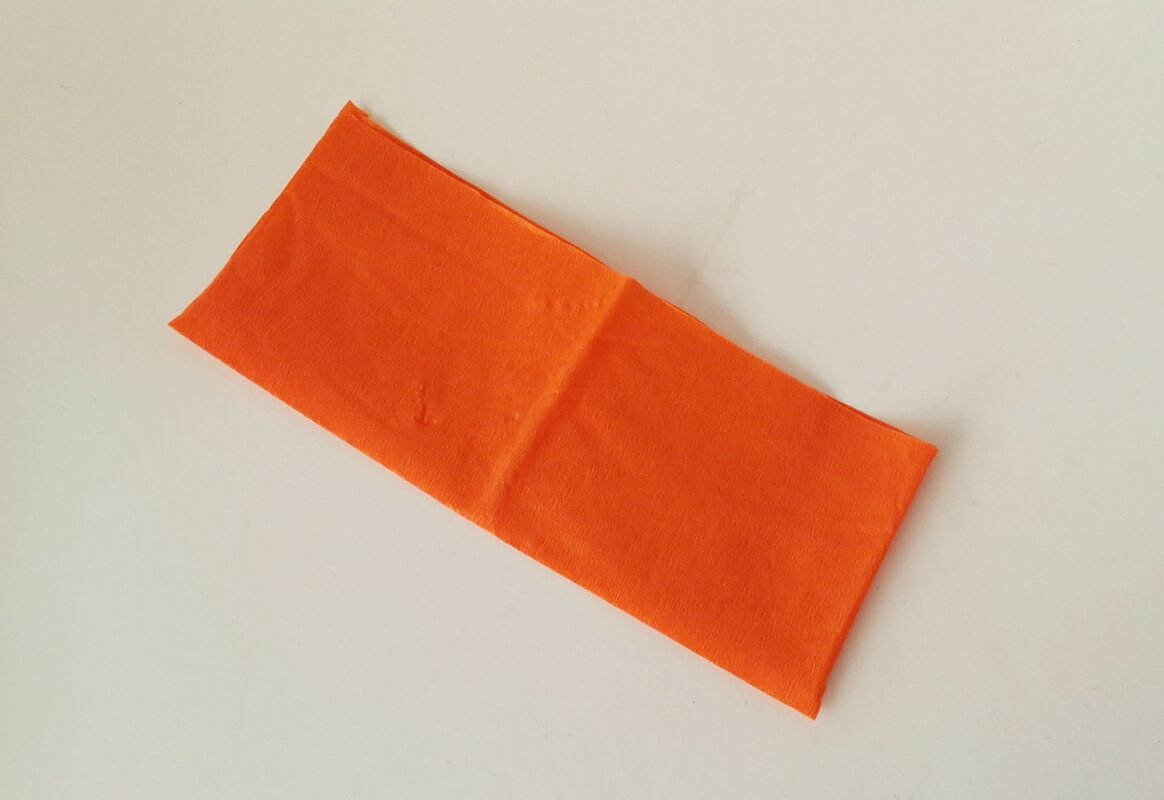
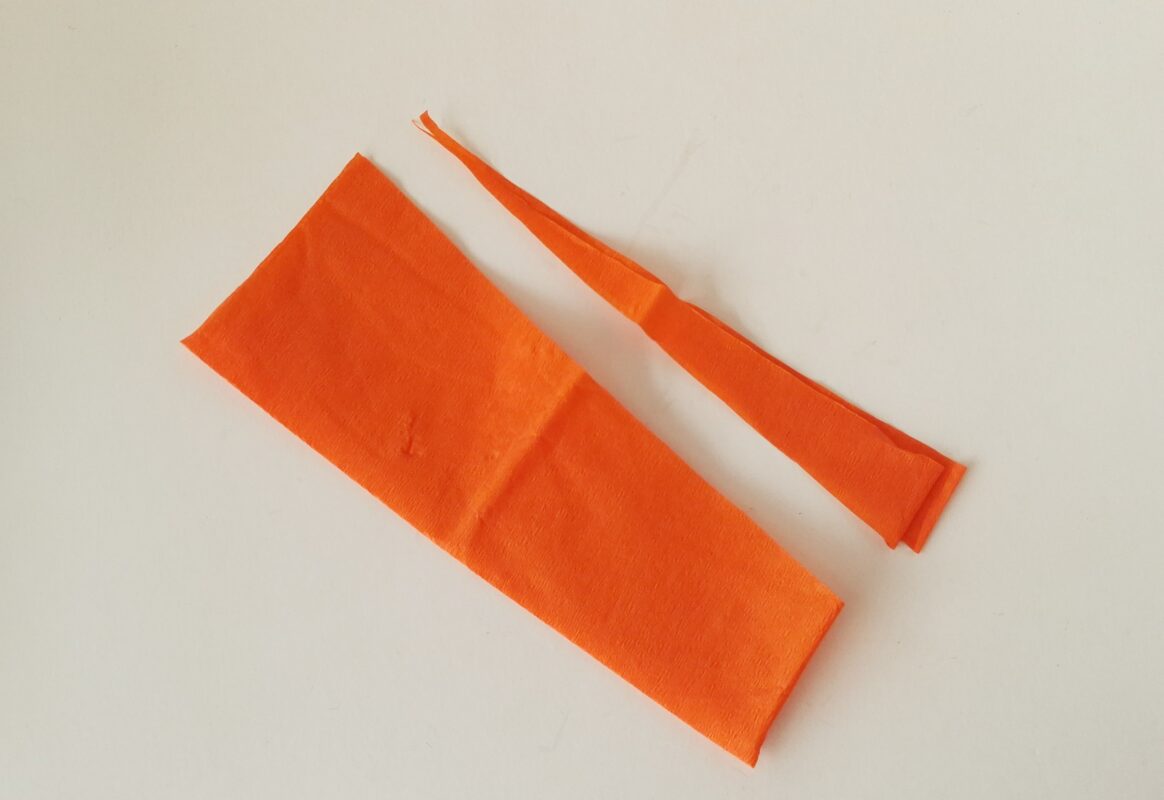
Step 4:
Make a thin (1cm) diagonal cut along the open sides.
Step 5:
Cut scalloped border along the open sides.
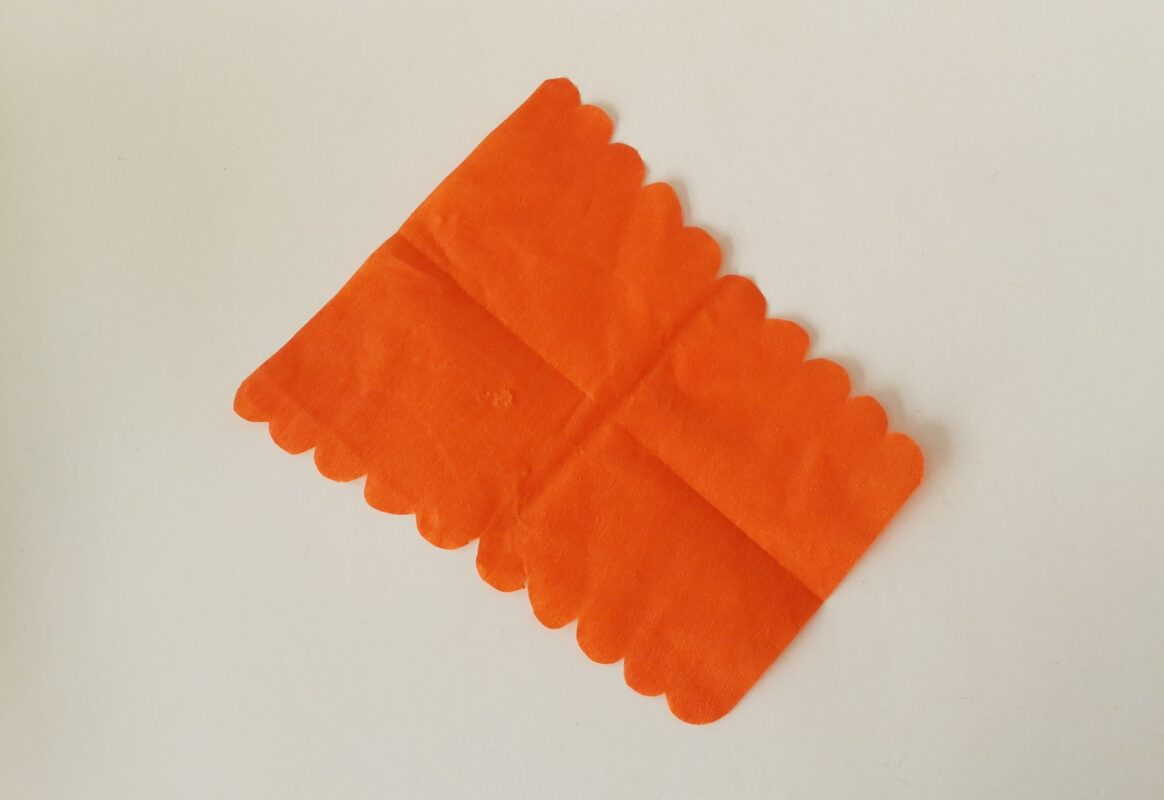
Step 6:
Similarly, prepare the rest of the craft tissue papers. Making each one slightly smaller.
Step 7:
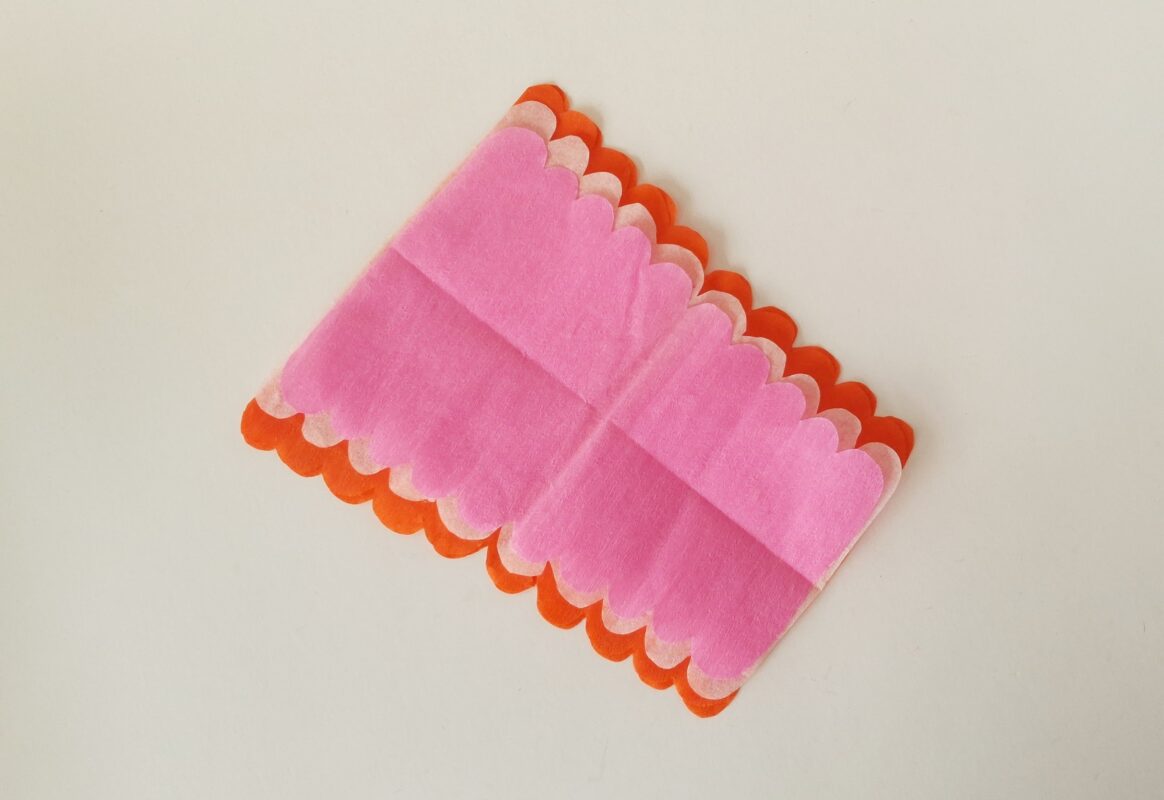
Place the prepared papers together, with the smaller ones on top.
Step 8:
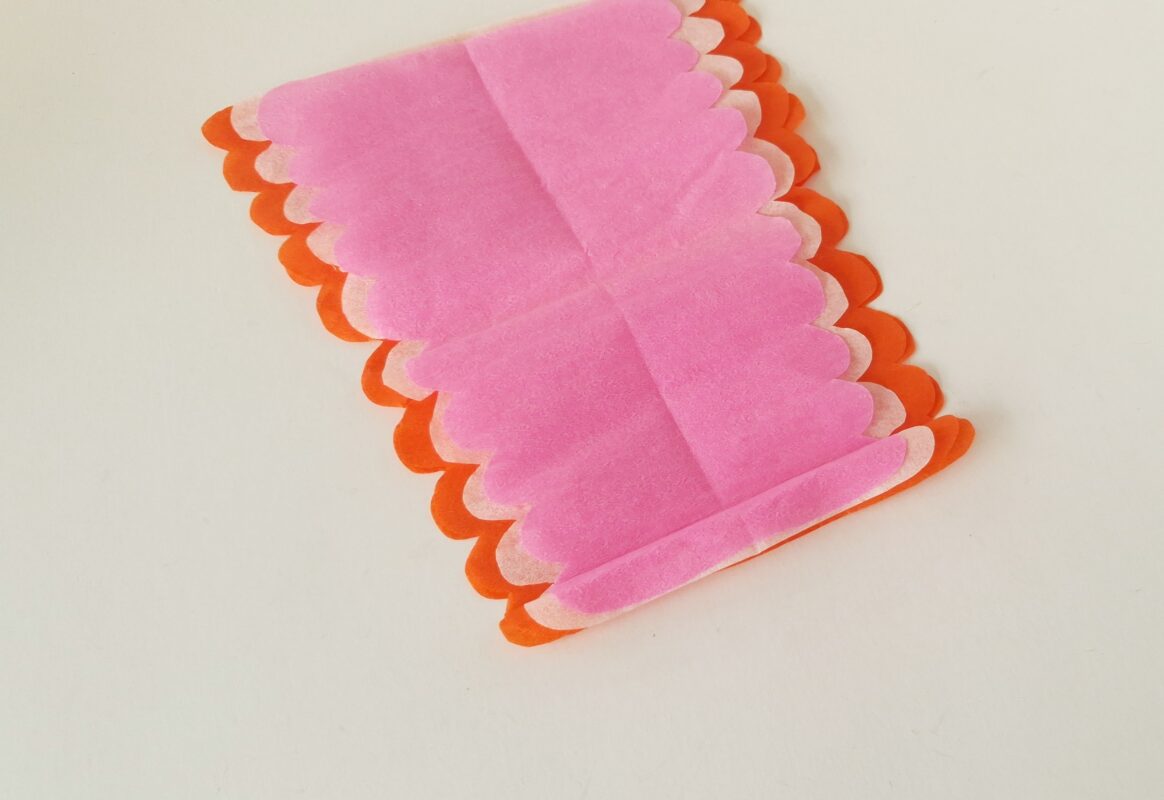
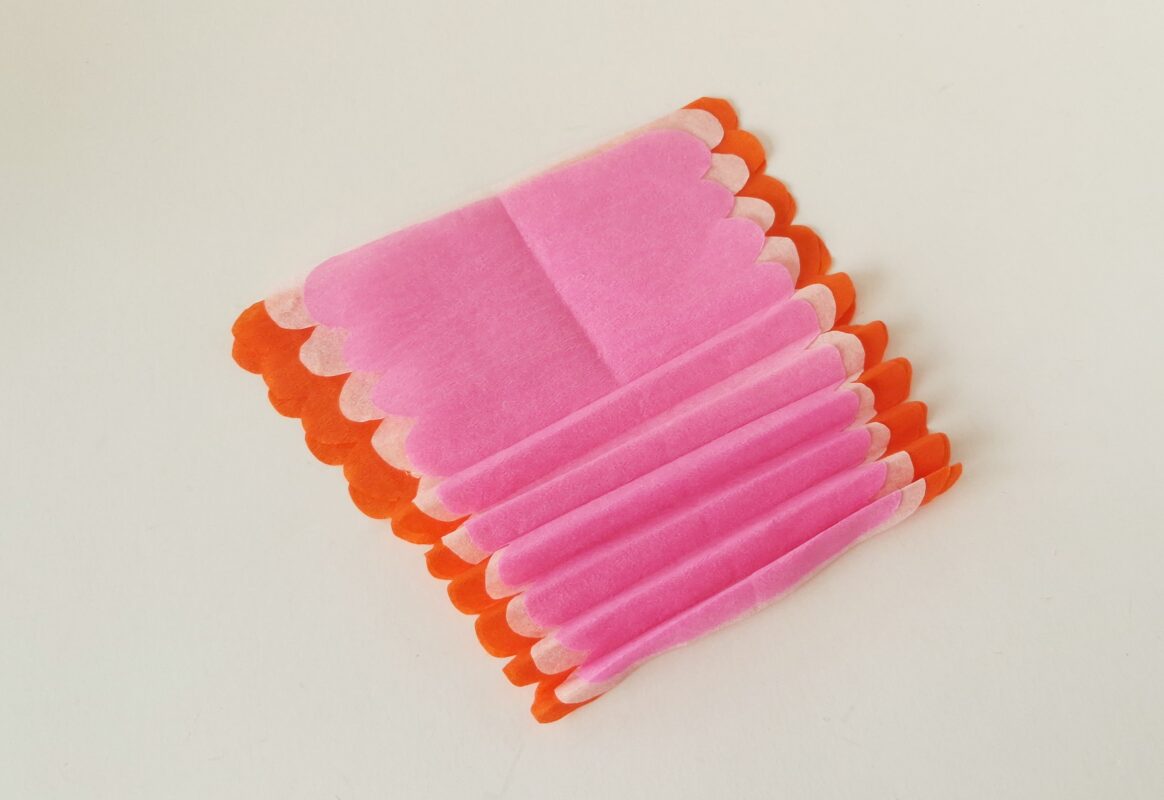
Hold all the papers together firmly and start doing accordion folds along the width.
Step 9:
Use the scalloped parts of the border as guideline while making the accordion folds.
Step 10:
Hold the accordion folded papers together in the middle and use a pipecleaner to tie them in the center.
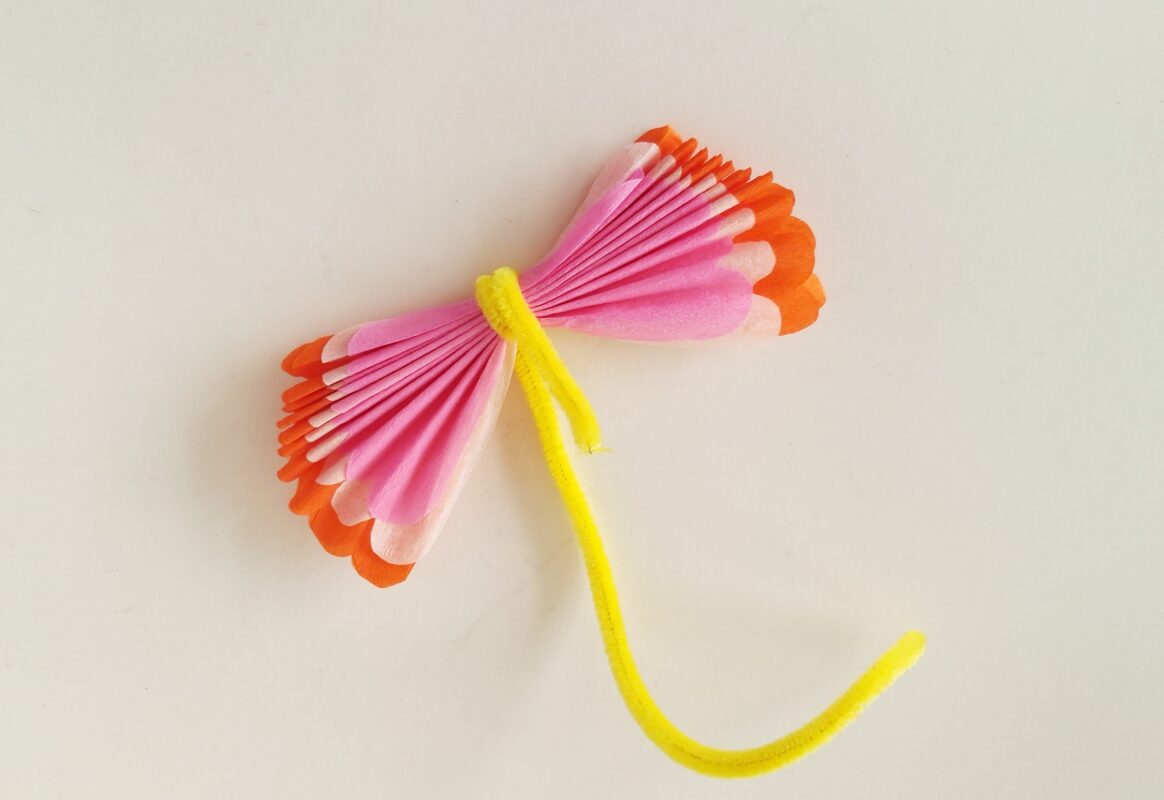
Step 11:
Coil the pipecleaner around the middle twice and then bring the open ends to the top (wide side of the paper pattern).
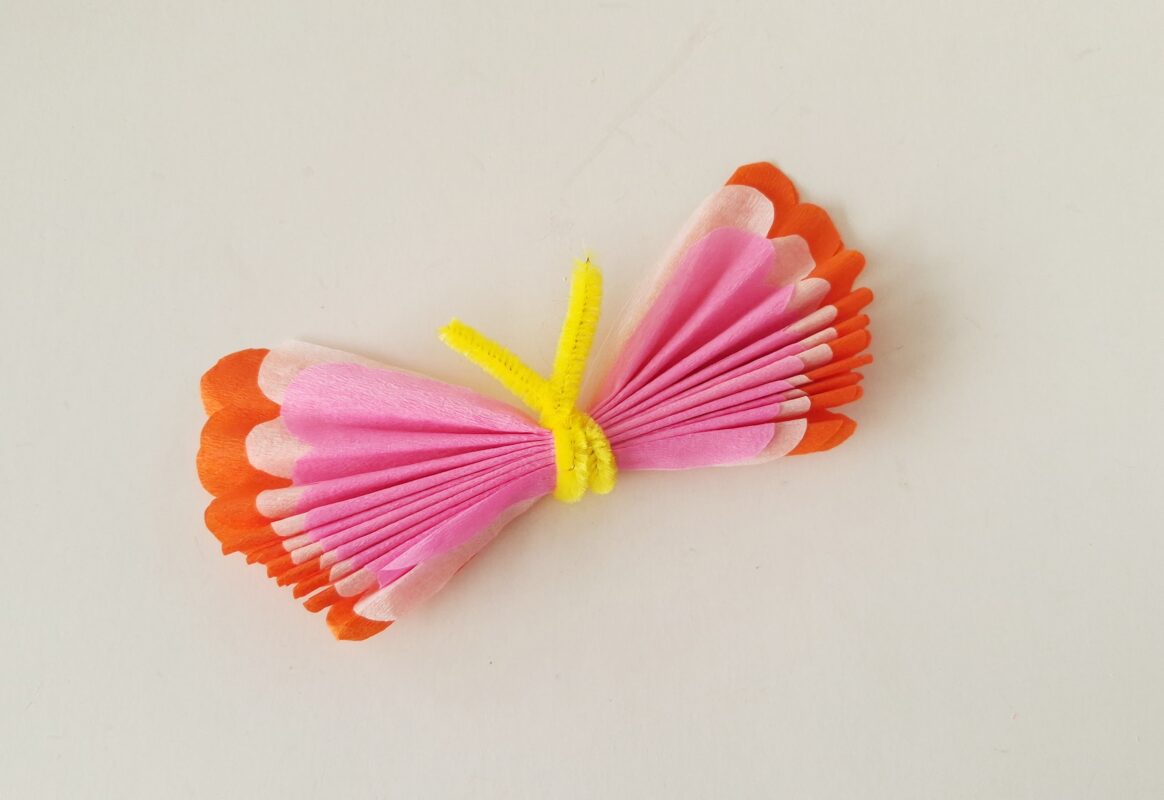
Step 12:
Make small twirls at the open ends of the pipecleaner.
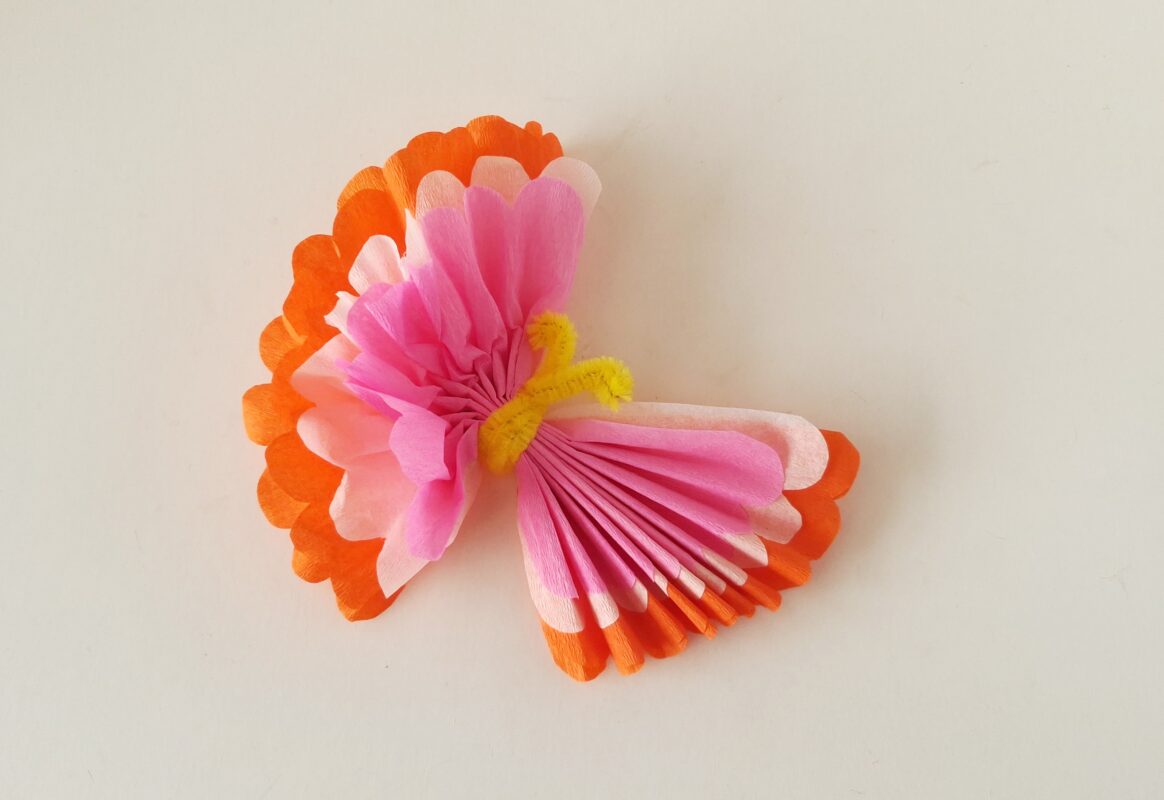
Step 13:
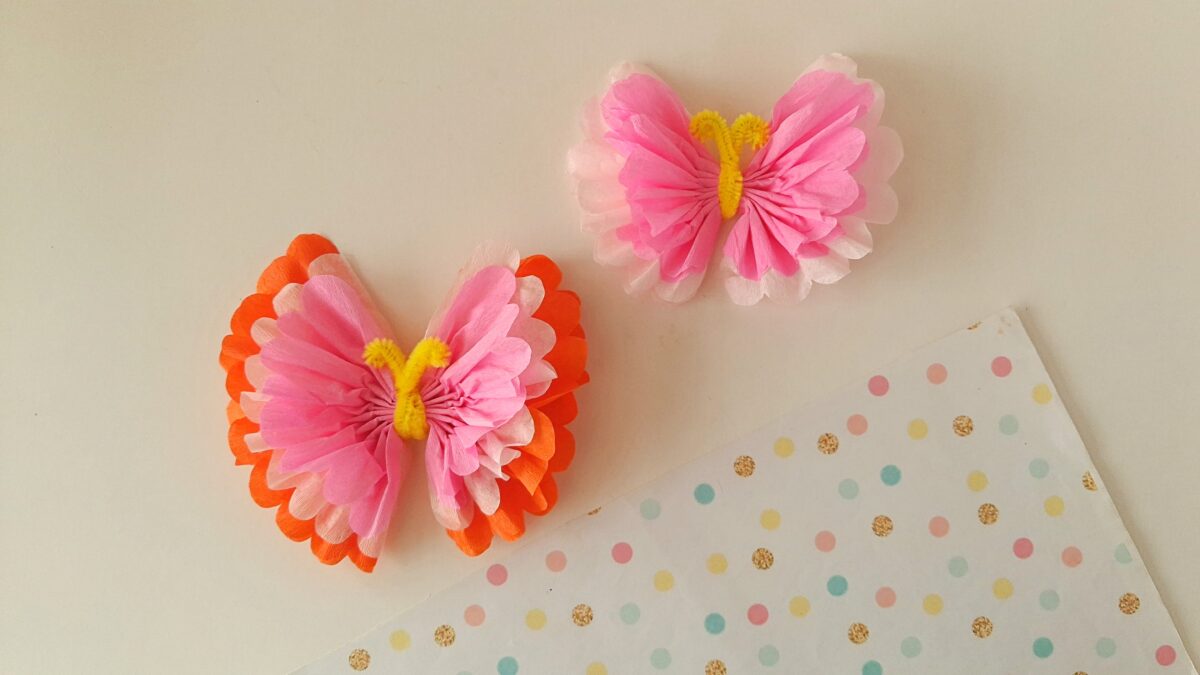
Unfold the open sides of the accordion folded papers to form the wings of the butterfly.
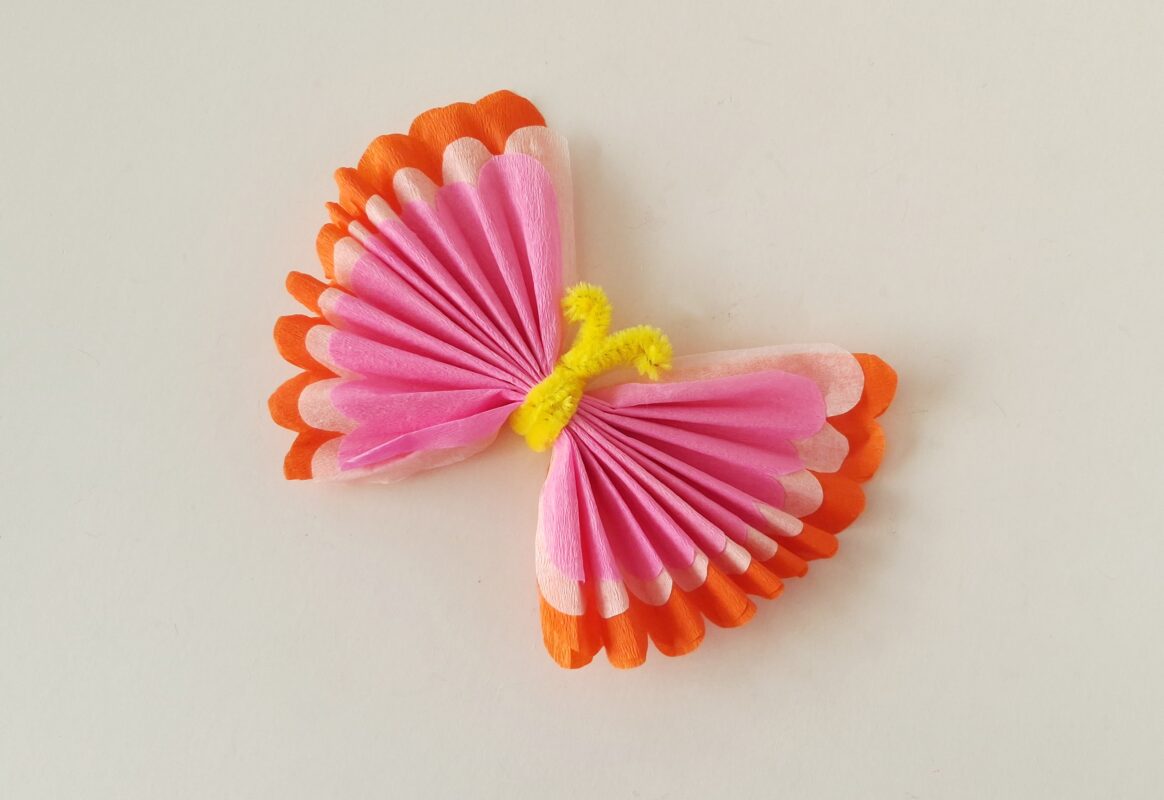
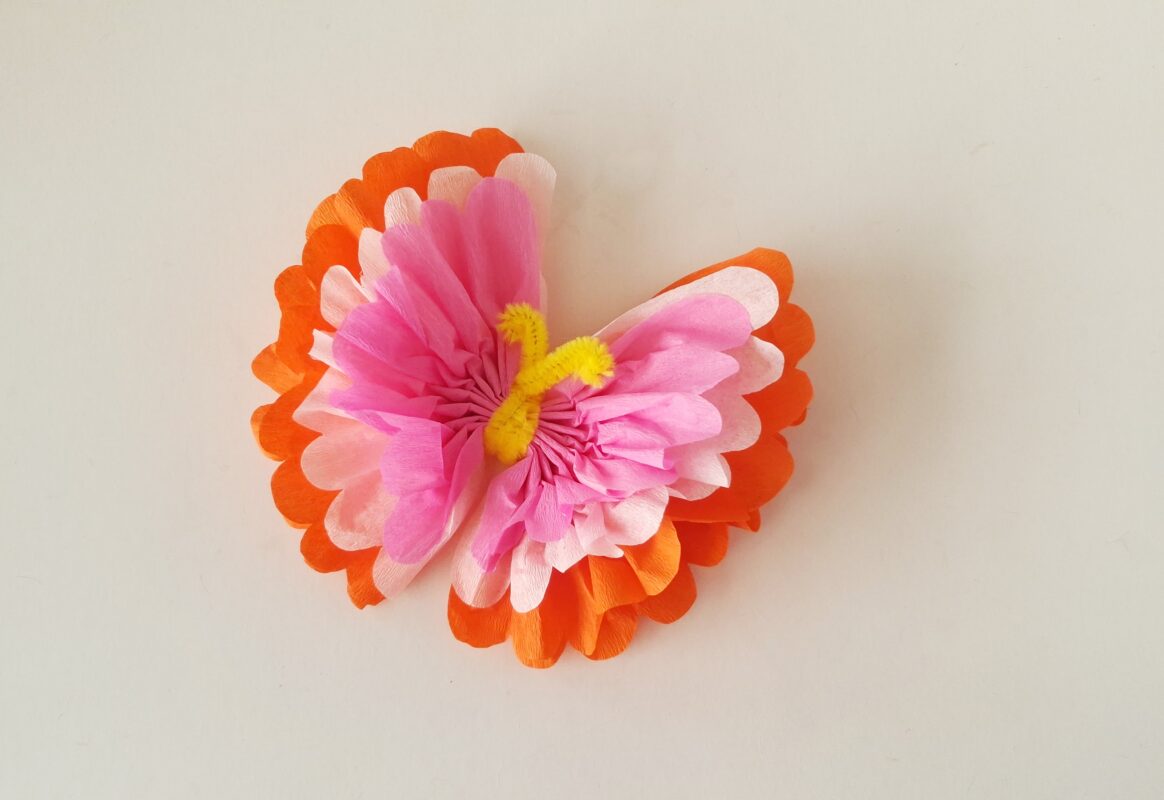
Step 14:
Now, carefully start separating the craft tissue paper layers to give the wings a fluffy pattern.
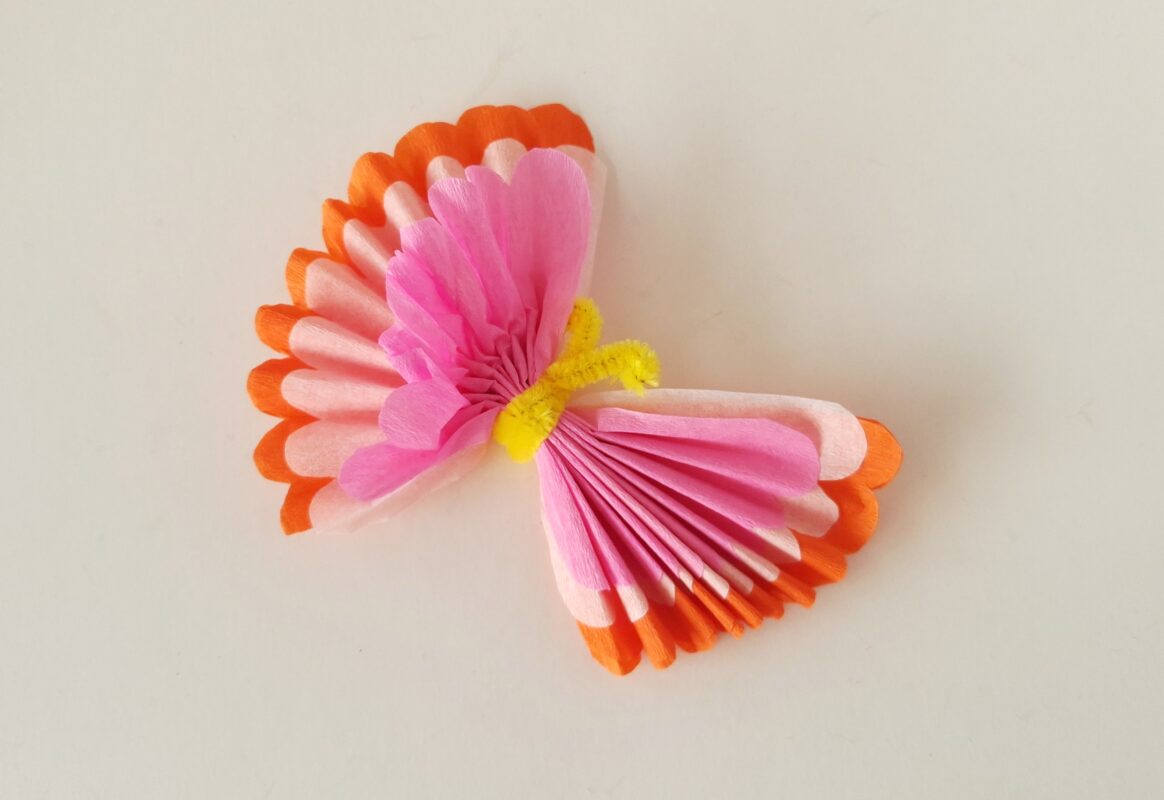
Step 15:
Be careful not to torn the papers while separating the layers.
Variations to Try
This simple craft can easily be customised in different ways. Try adding a light layer of glue and sprinkling glitter over the wings for a sparkly finish. Smaller pieces of tissue paper can be used to create mini butterflies, perfect for cards or decorations. You can also mix patterned and plain tissue paper for a unique look, or choose natural shades like green, yellow, and orange for a more realistic butterfly style.
Skills Kids Will Learn
This craft is not only fun but also helps children develop important skills. Folding and shaping the paper improves fine motor skills and hand-eye coordination, while following the steps encourages focus and patience. It also gives children the chance to express their creativity through colours and design.

Ways to Use Your Butterfly
Once finished, these tissue paper butterflies can be used in many creative ways. They make beautiful wall or window decorations and can be added to greeting cards or gift wrapping for a handmade touch. They are also perfect for party décor, especially for spring or garden-themed events, or can be strung together to create a colourful butterfly garland.
Safety Note
Adult supervision is recommended when using scissors. Be gentle when separating the tissue paper layers to avoid tearing.