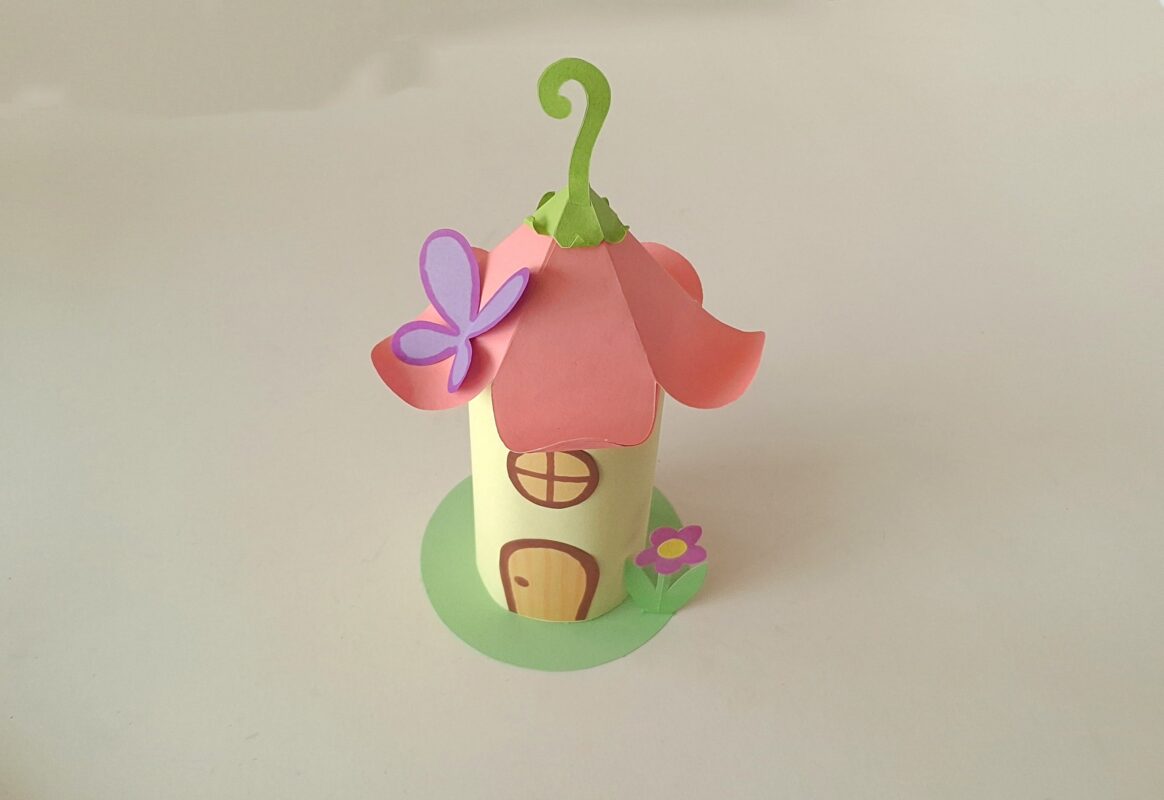
Turn an ordinary toilet paper roll into a magical fairy house your kids will love creating. This fun and easy craft uses simple materials like coloured paper, glue and markers to bring a whimsical little home to life.
Perfect for rainy days, school projects or creative afternoons, this TP roll fairy house encourages imagination while keeping little hands busy. With its flower-shaped roof, tiny windows and charming details, it is a craft that feels just as special to make as it does to display.
Whether you are crafting with younger children or looking for a cute DIY decoration, this fairy house is a simple project with beautiful results.

Download the Free Template Here
List of Supplies:
Instructions:
Step 1:
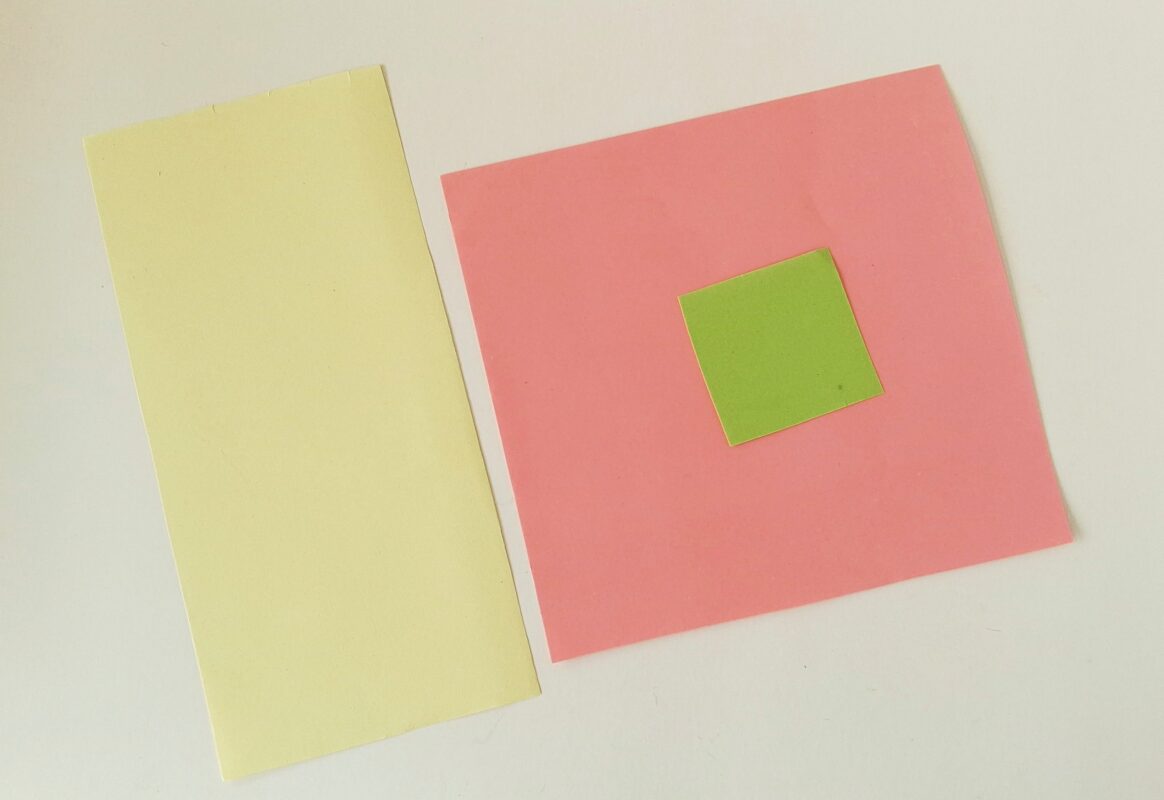
Select colored craft papers for the TP roll cover, fairy house flower roof and the sepal pattern. The size of these papers can vary depending on your choice. But, for an average TP roll craft, the flower roof paper can be around 7” x 7” and the sepal square can be 2” x 2”. Prepare a paper for the fairy house base into a size big enough to cover a TP roll.
Step 2:
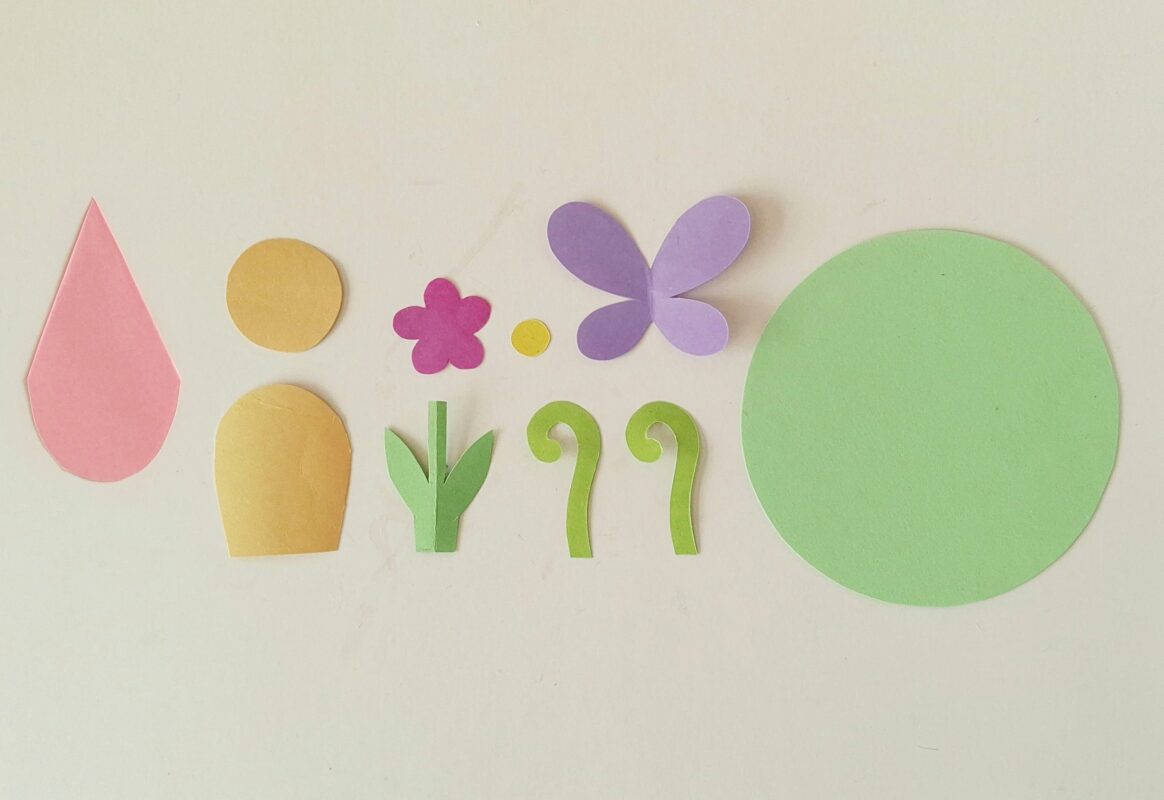
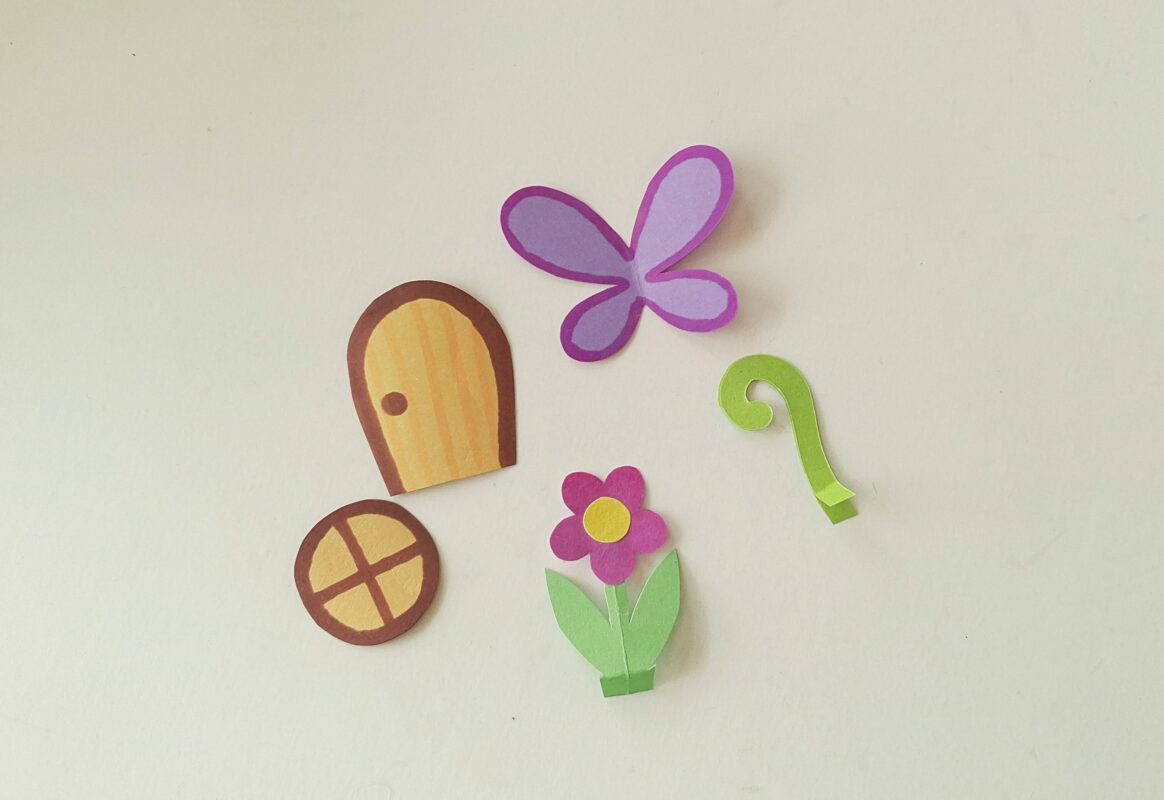
Download the fairy house template and cut out the patterns. The template includes patterns for the house bottom base, flower roof petal shape, door, window, flower, leaf-stem, vine and butterfly. Select colored craft papers, trace the patterns on them and cut out the traced patterns using scissors.
Step 3:
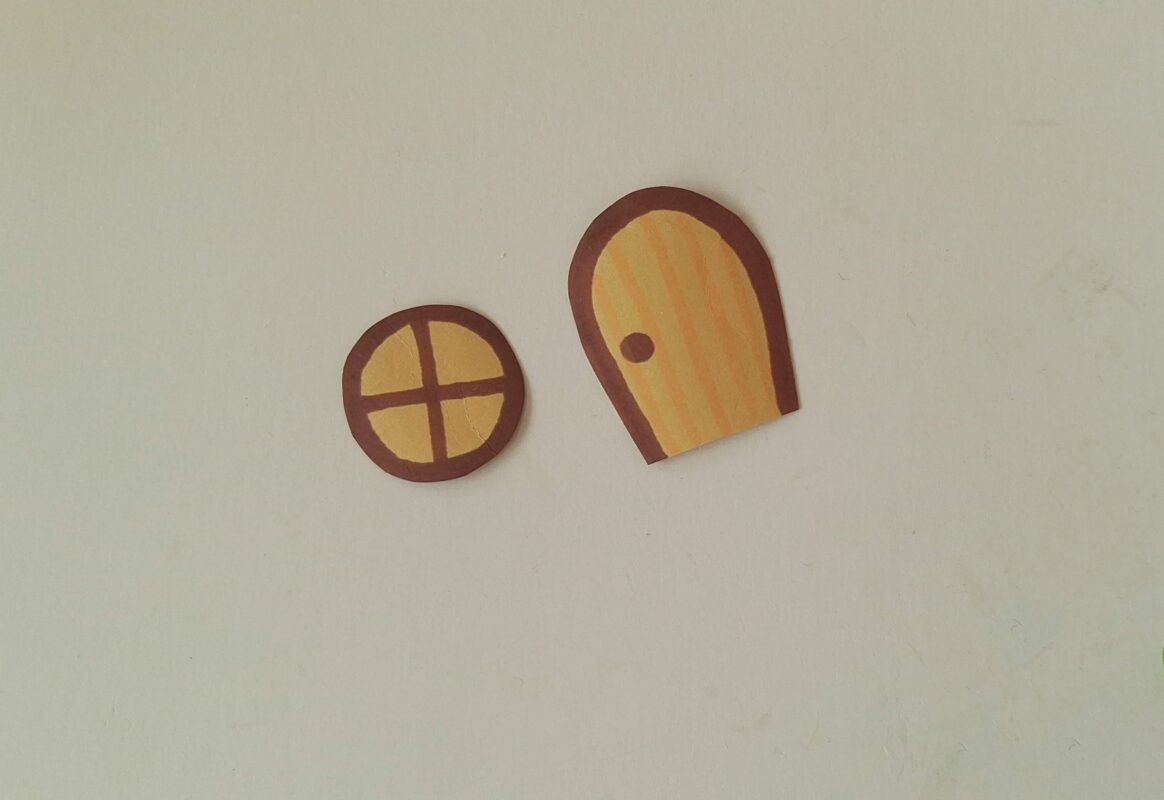
Use markers to draw outlines and textures to the door and window patterns.
Step 4:
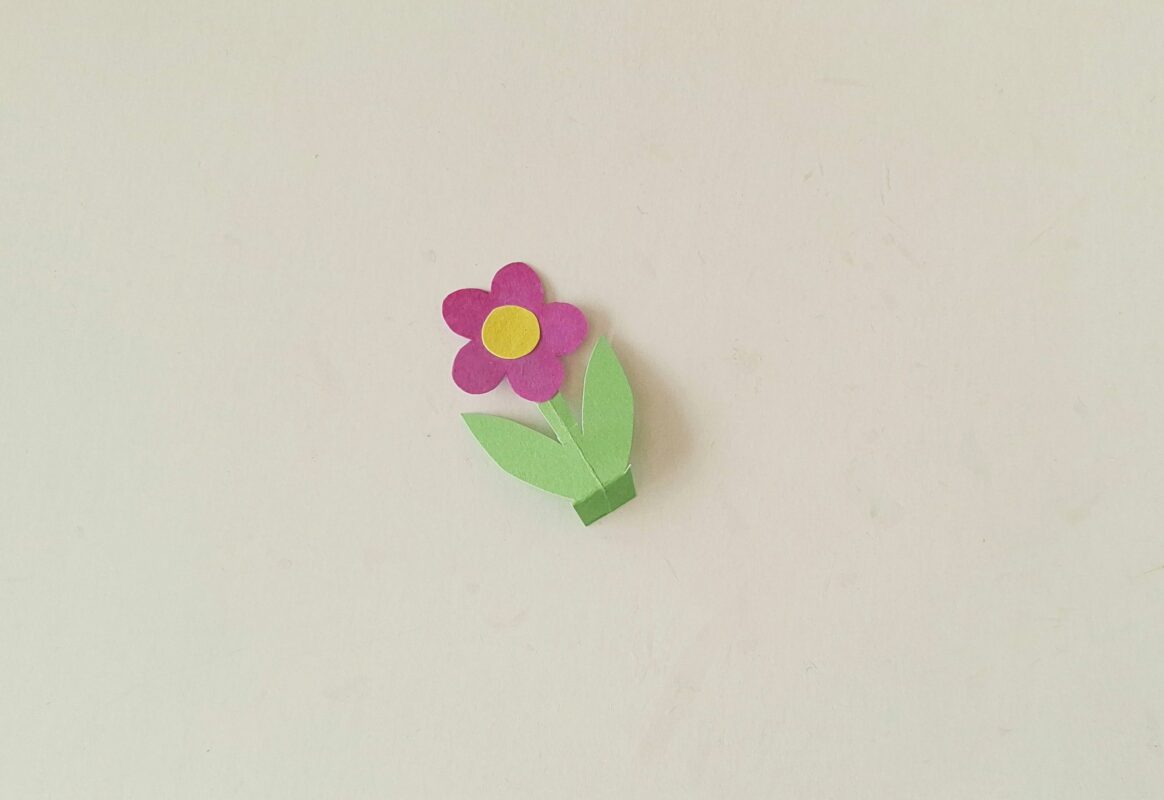
Glue the small round cutout to the center of the flower cutout. Glue the flower pattern to the top end of the leaf-stem pattern.
Step 5:
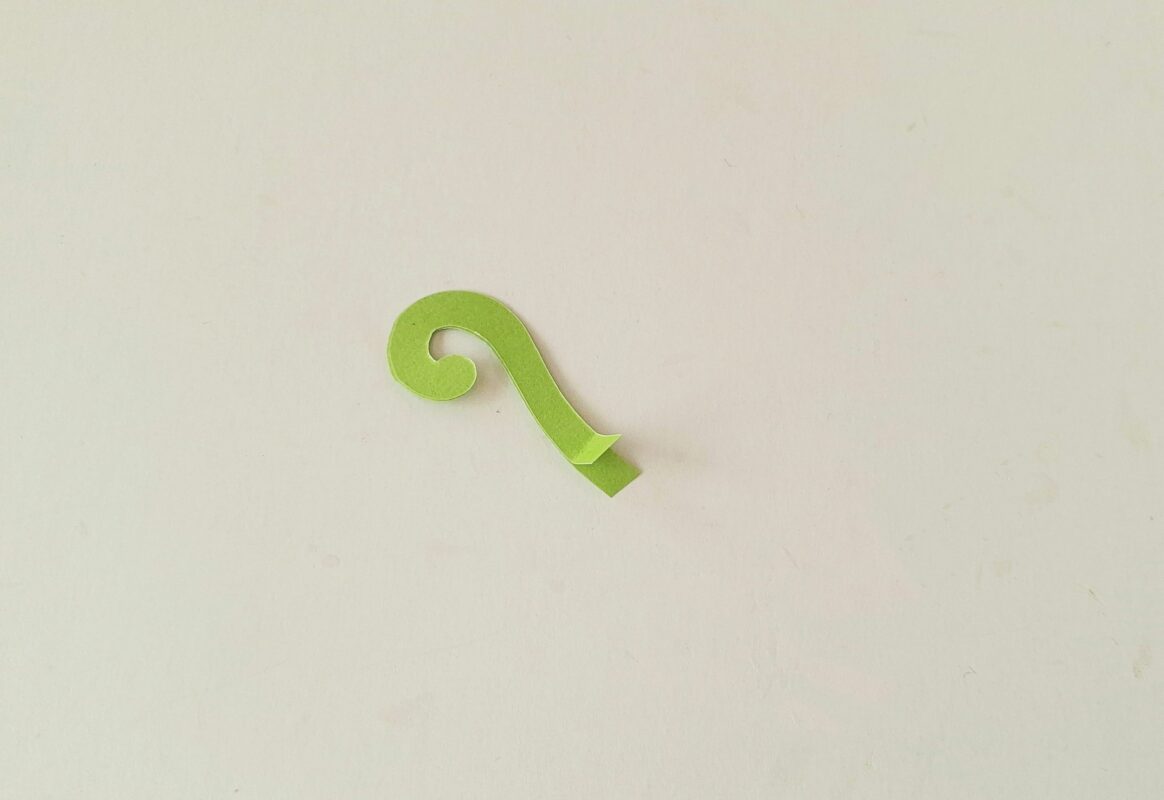
Leave 1 cm intact at the bottom end, and glue the vine cutouts together.
Step 6:
Use a darker shade of marker to draw outlines on any remaining patterns.
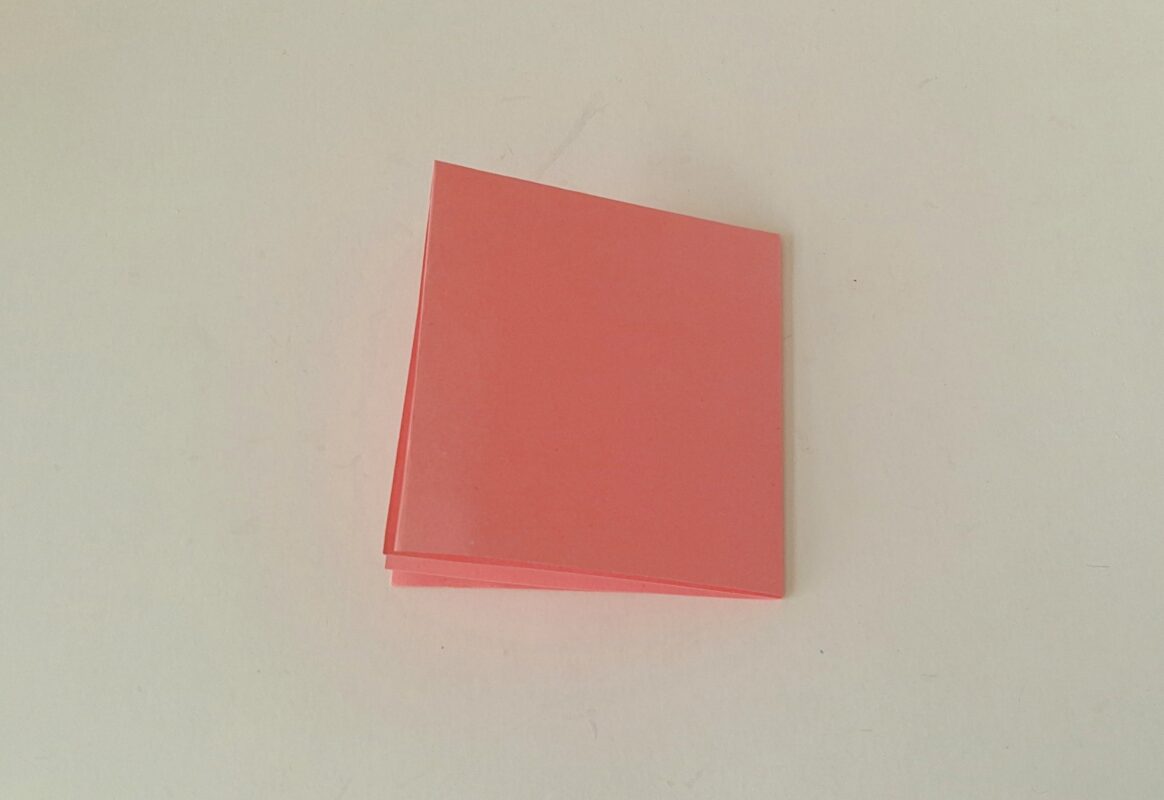
Step 7:
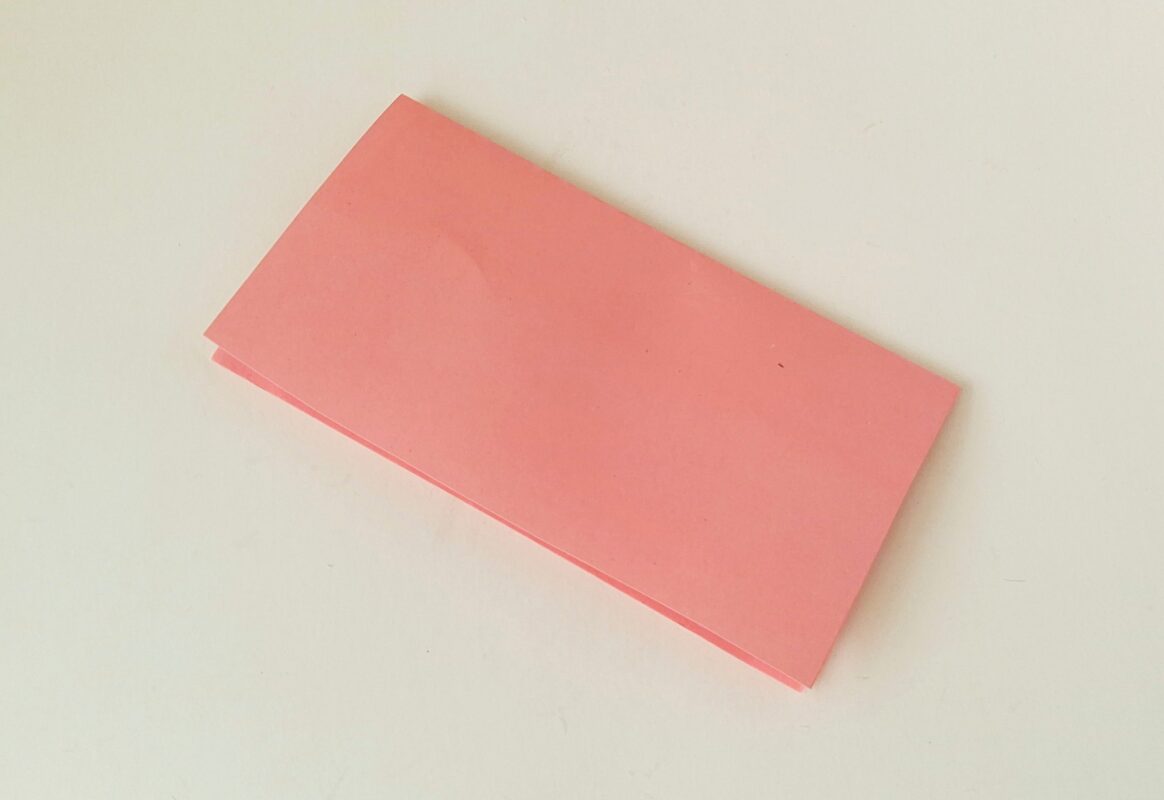
Take the big square (flower-roof square) and fold it in half vertically.
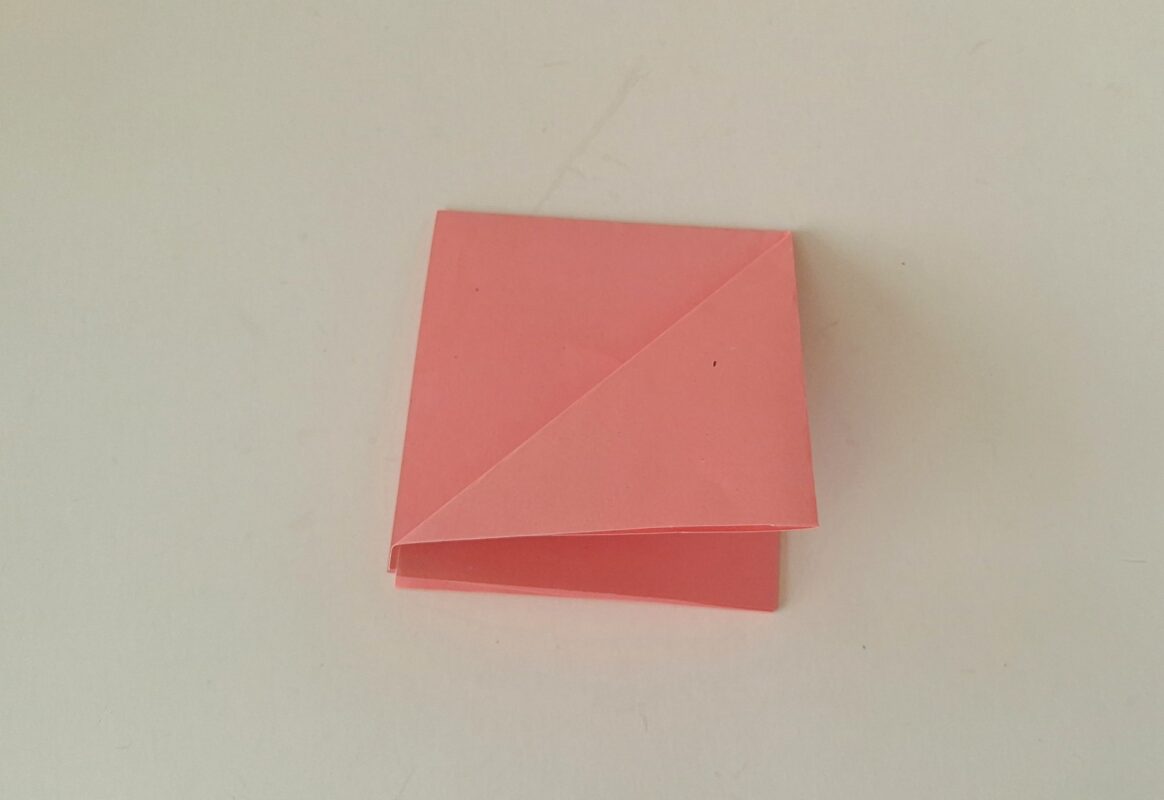
Step 8:
Now, fold it in half horizontally.
Step 9:
Fold one flap of the current pattern in half, diagonally.
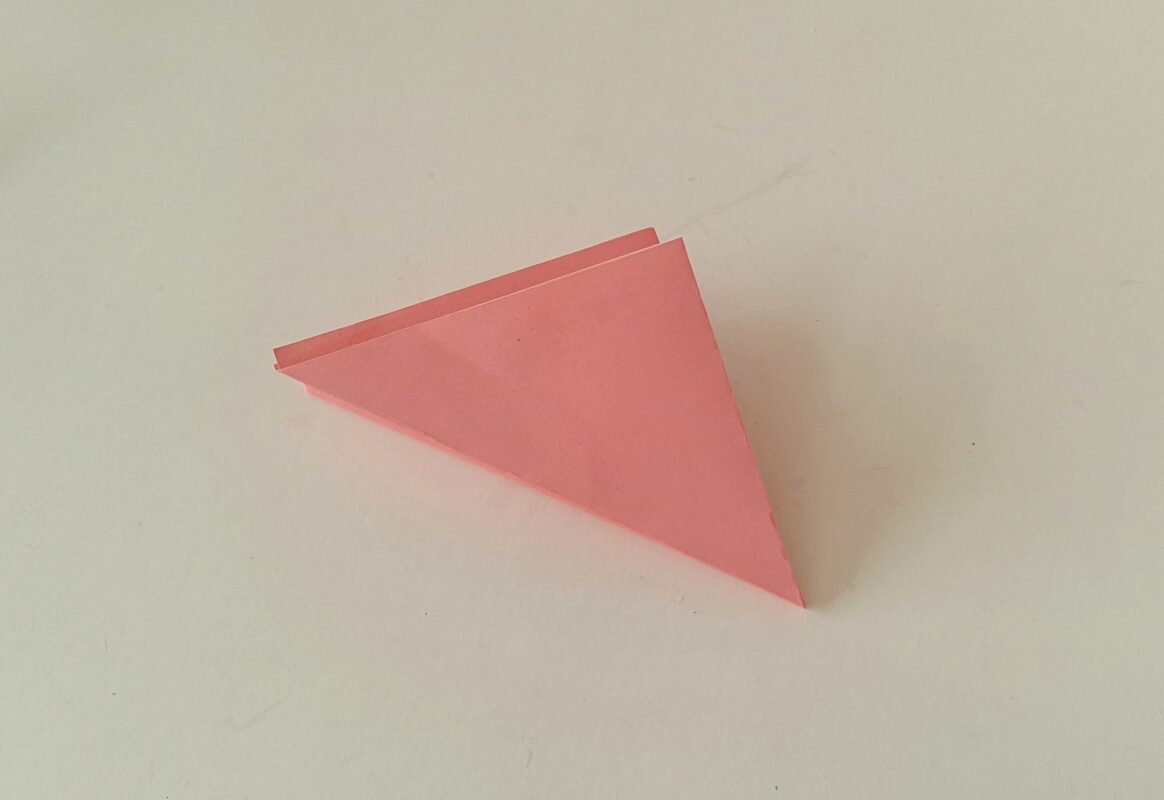
Step 10:
Fold the other half diagonally in half as well.
Step 11:
Trace the petal shape on the folded patterns and cut out the round edge of the traced folded paper.
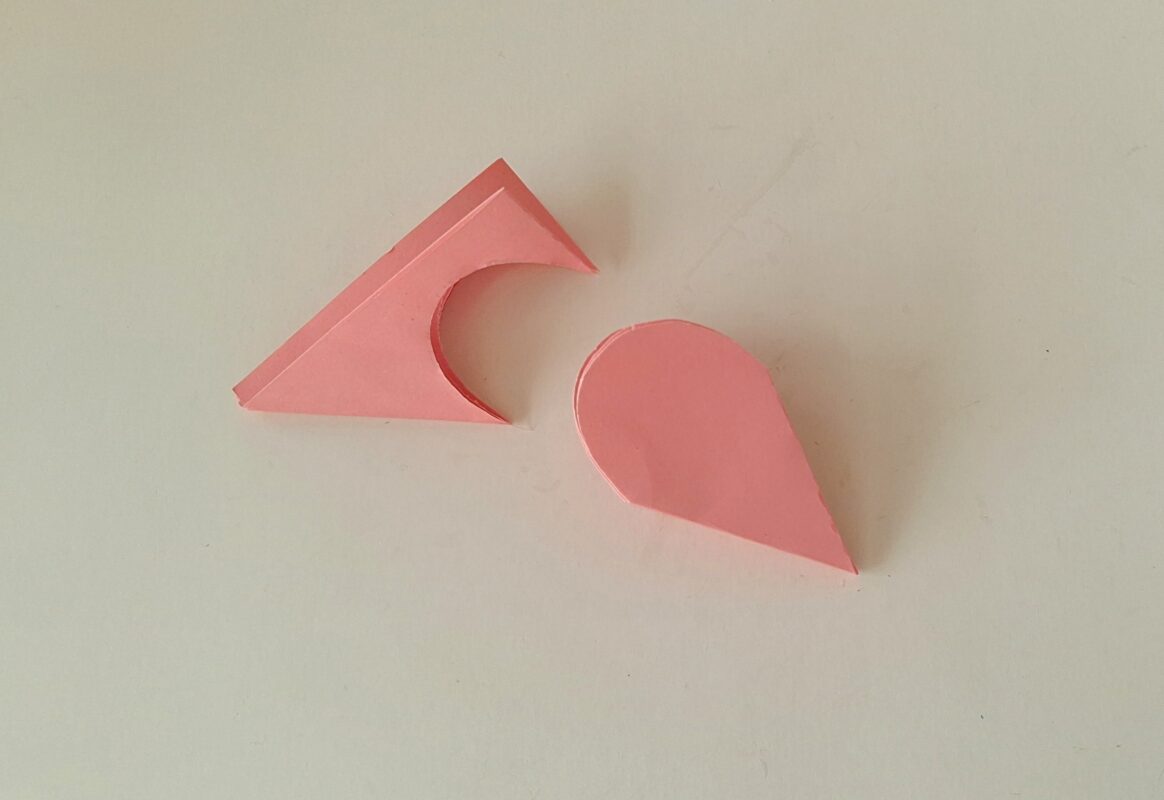
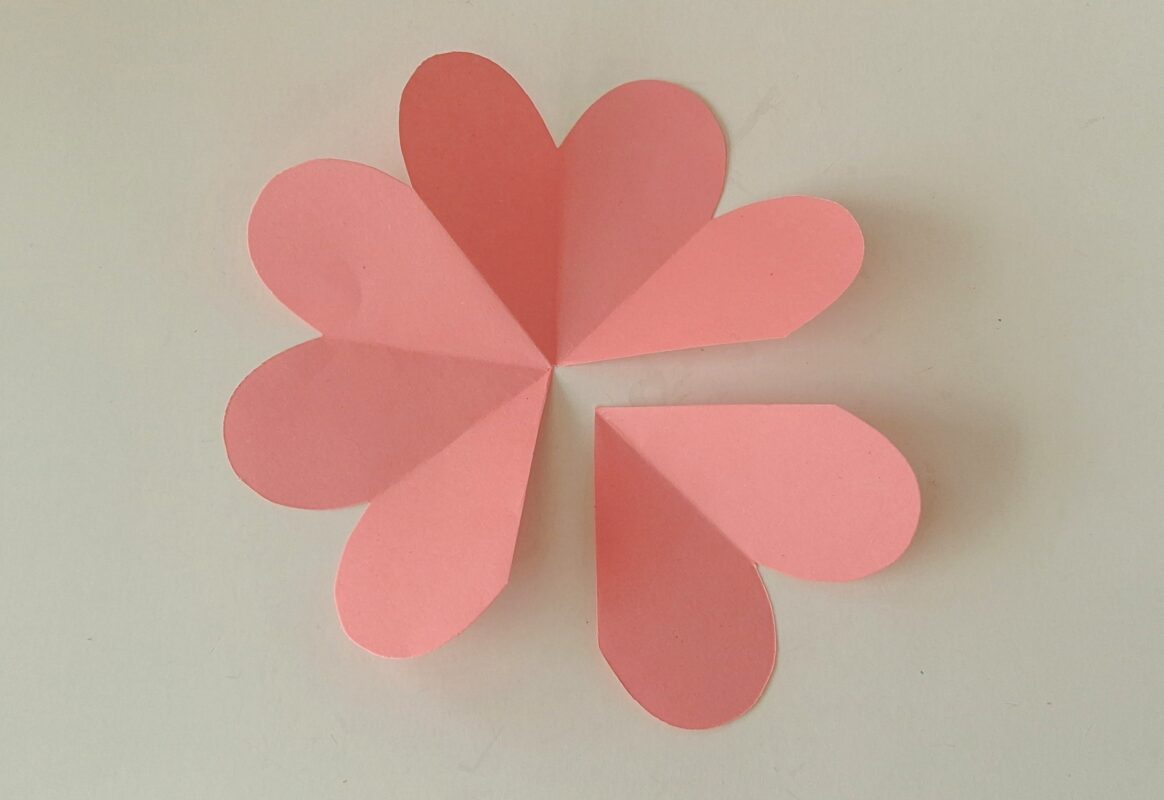
Step 12:
Unfold the pattern. There should be a total of 8 petals on the pattern. Cut out 2 petal shapes from it.
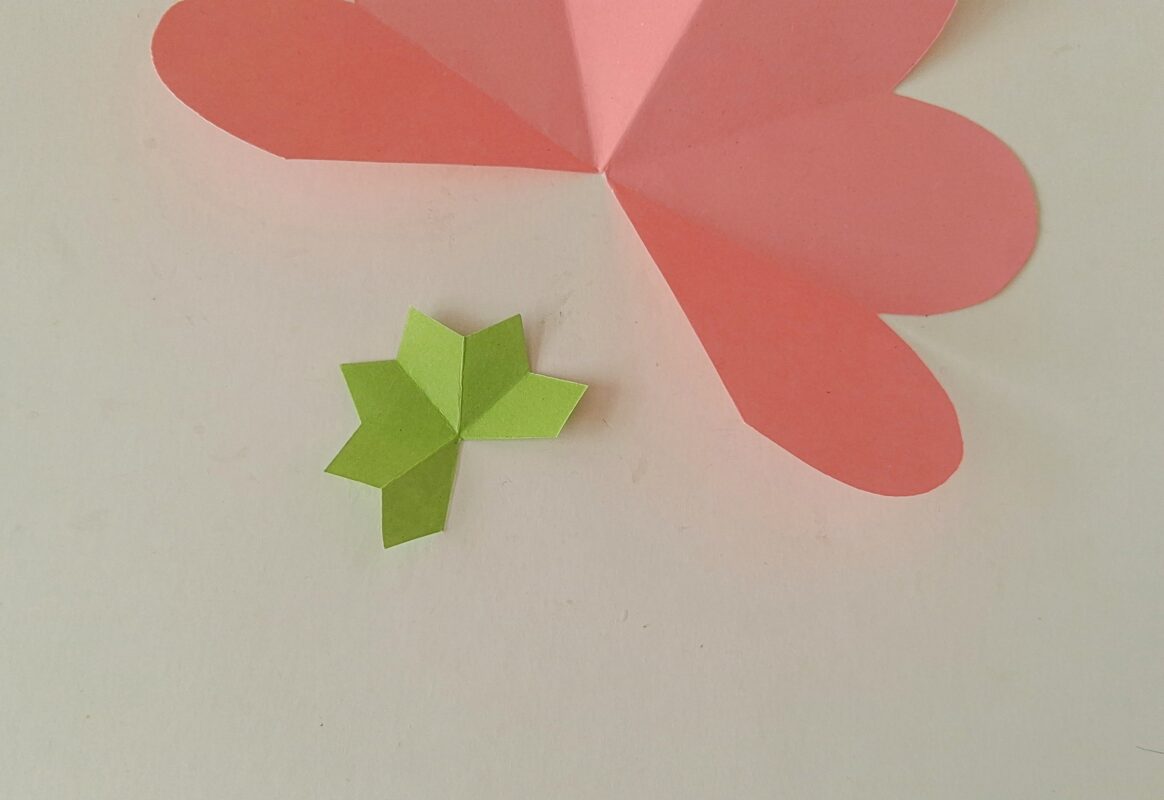
Step 13:
Similarly, fold and cut the sepal square but keep the edge pointy.
Step 14:
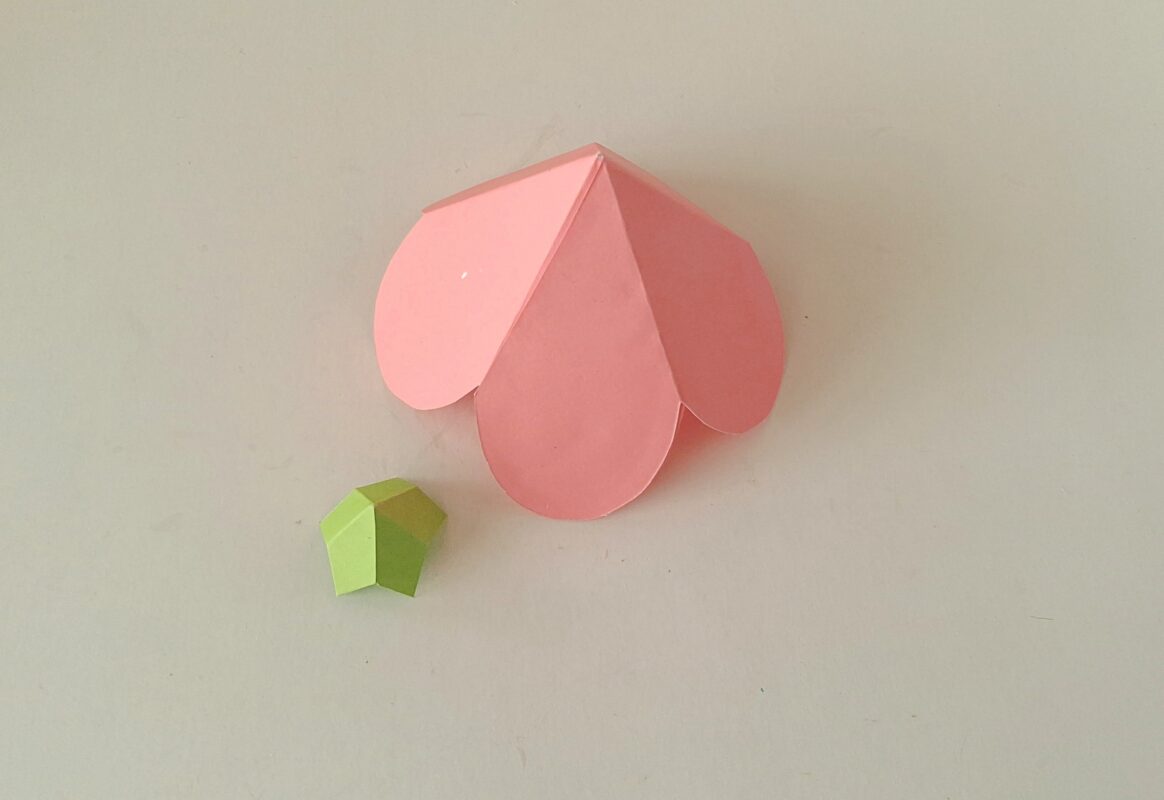
Apply glue around the edge of a petal near an end.

Step 15:
Roll and join the glued petal to the petal on the other end. Similarly, roll and glue the sepal shape.
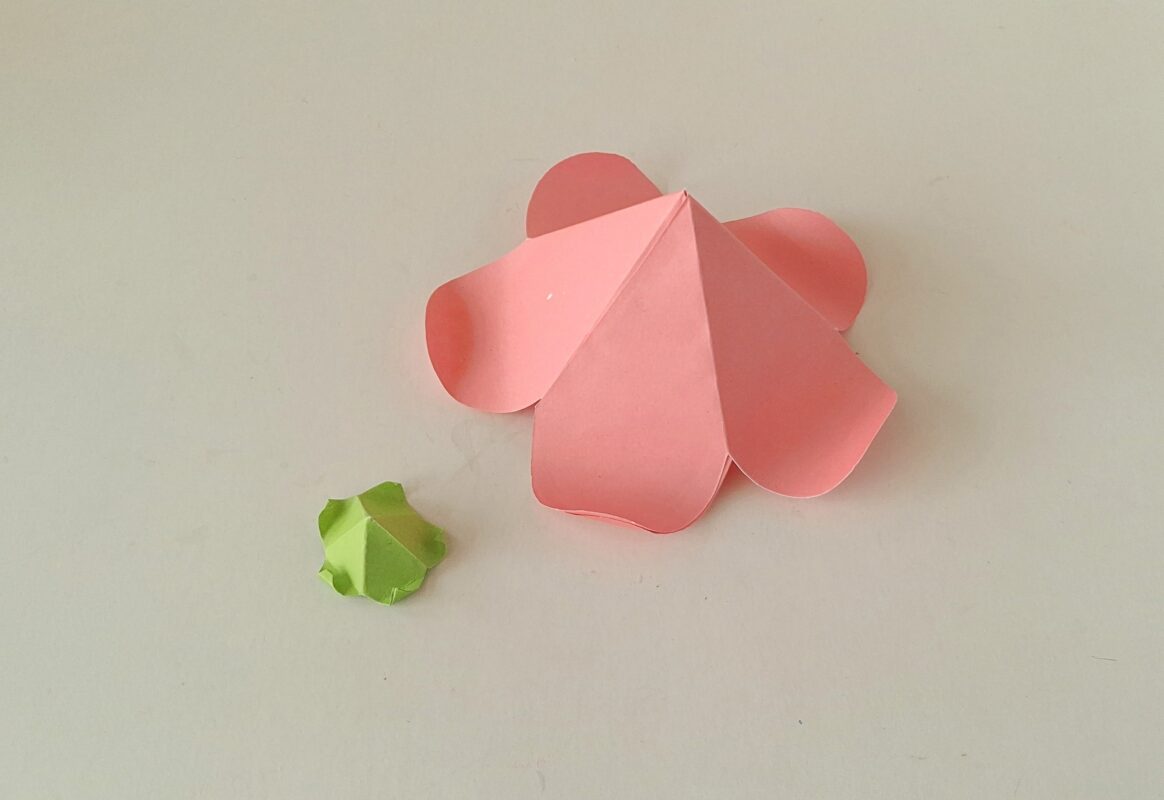
Step 16:
Use a pen or small round object to curl the open edges of the flower and sepal shape.
Step 17:
Take the vine pattern and apply glue on the bottom 1 cm open parts.
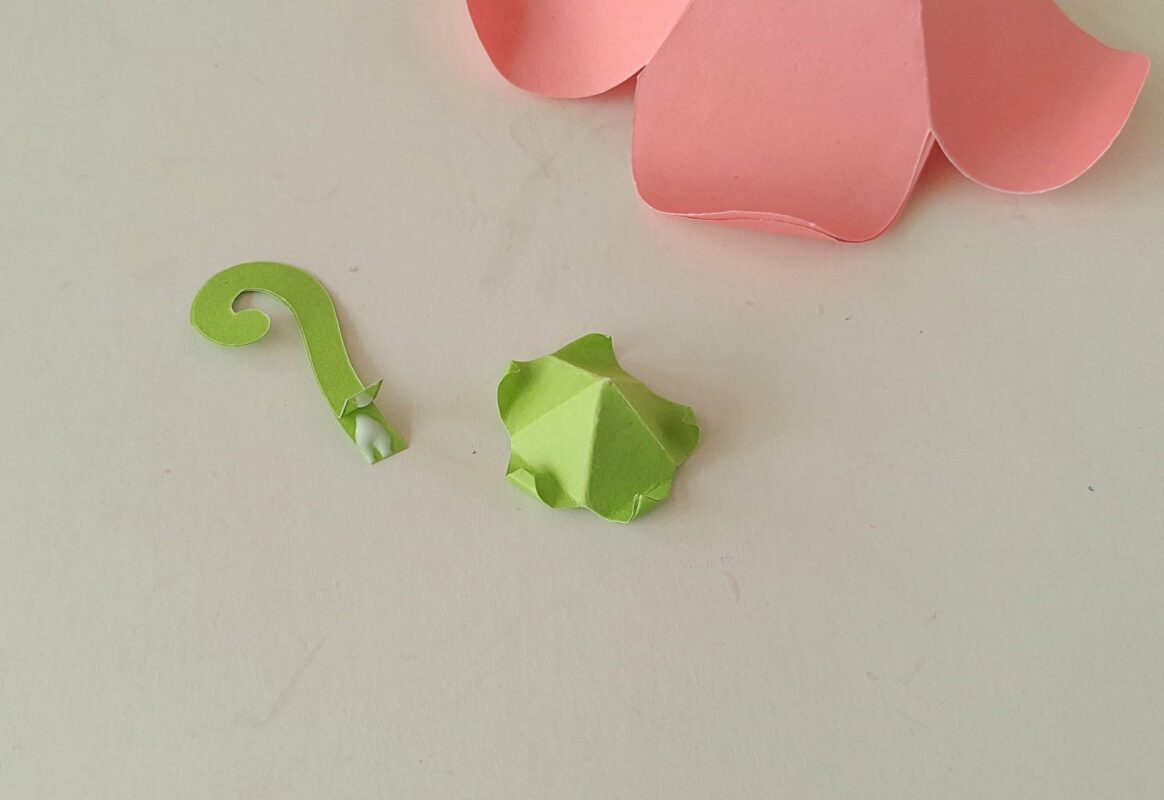
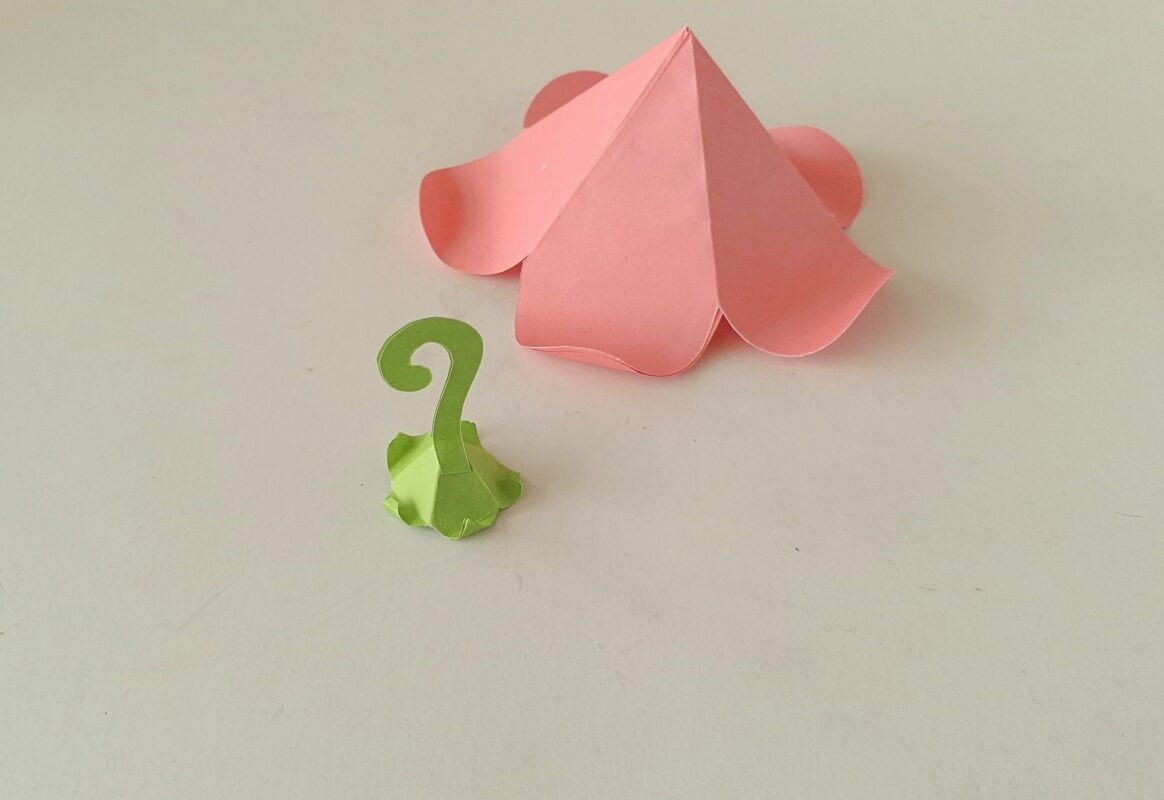
Step 18:
Glue the glued part to the pointy end of the sepal shape.
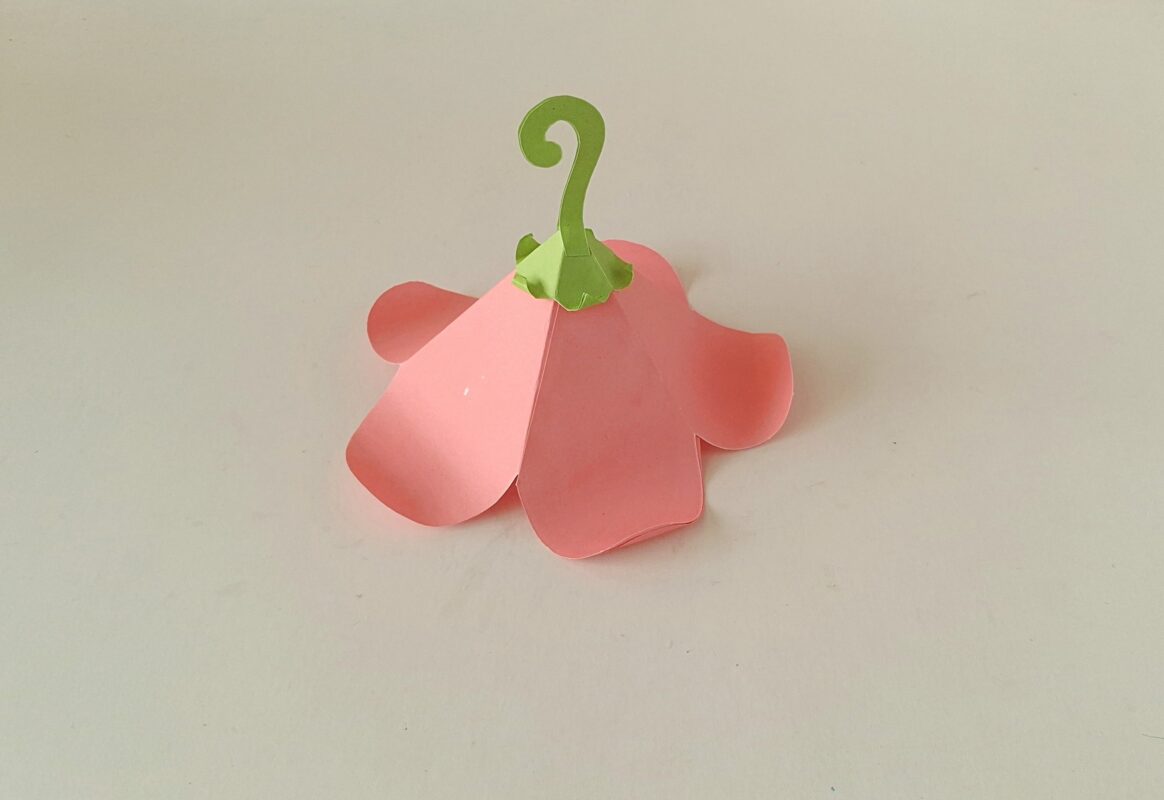
Step 19:
Glue the sepal pattern to the pointy end of the flower-roof shape.
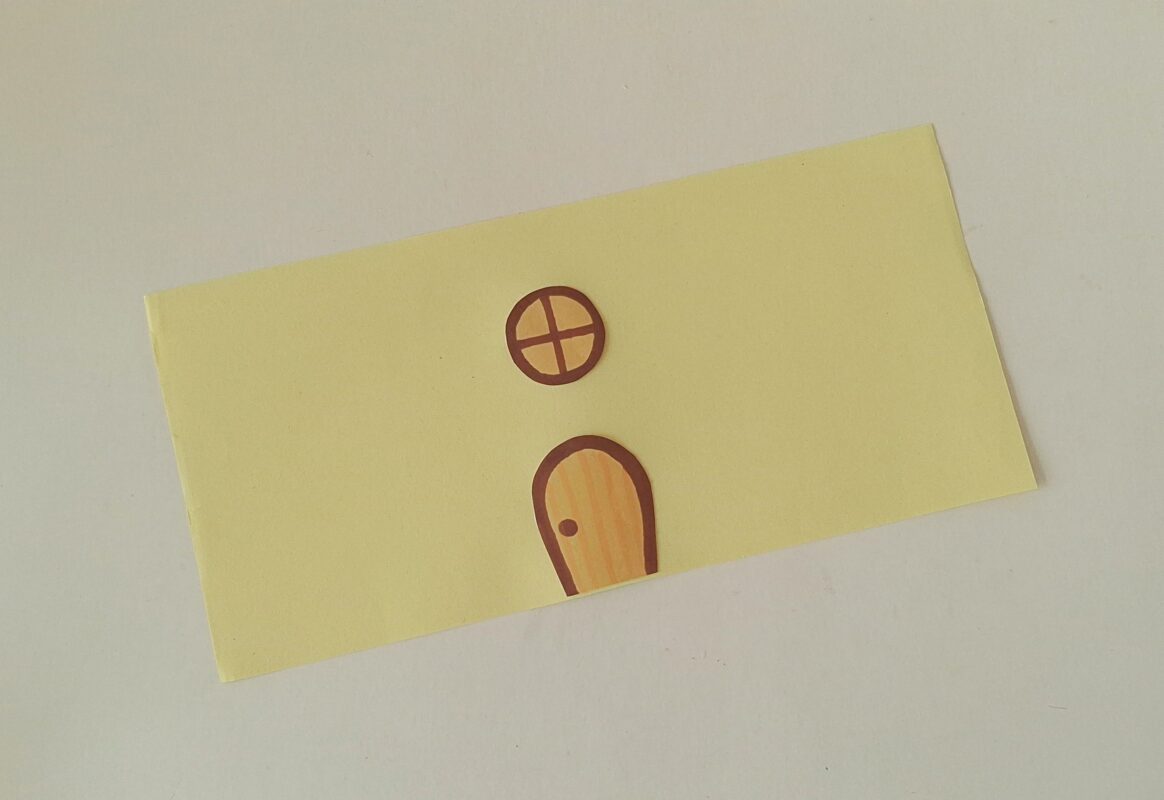
Step 20:
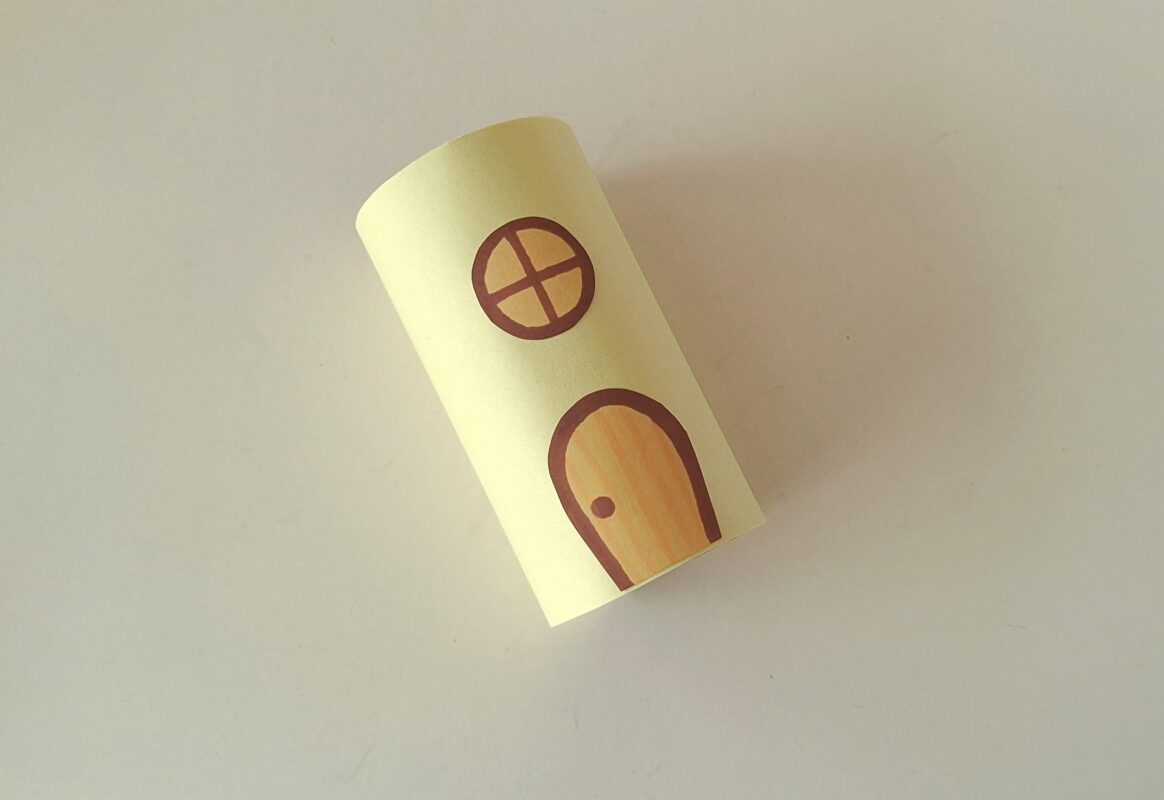
Glue the door and window patterns to the paper prepared to cover the TP roll.
Step 21:
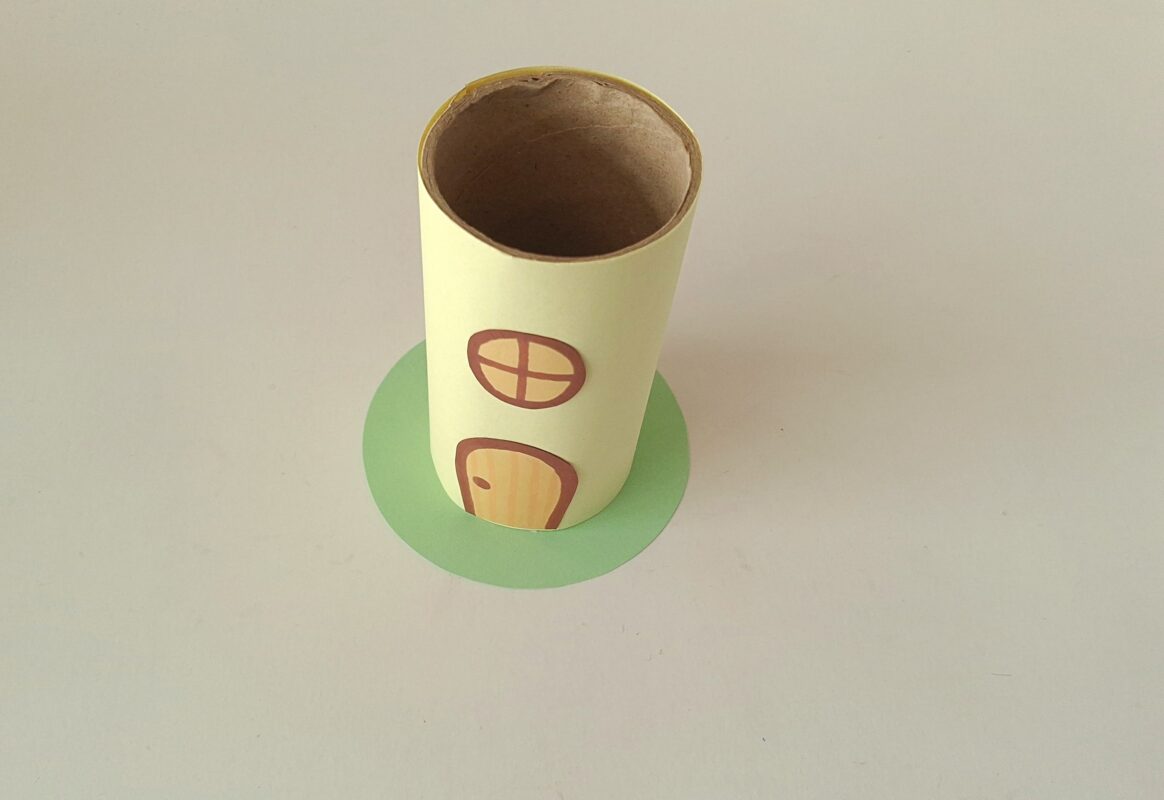
Cover the TP roll with the paper.
Step 22:
Glue the house base at the bottom side of the paper covered TP roll.
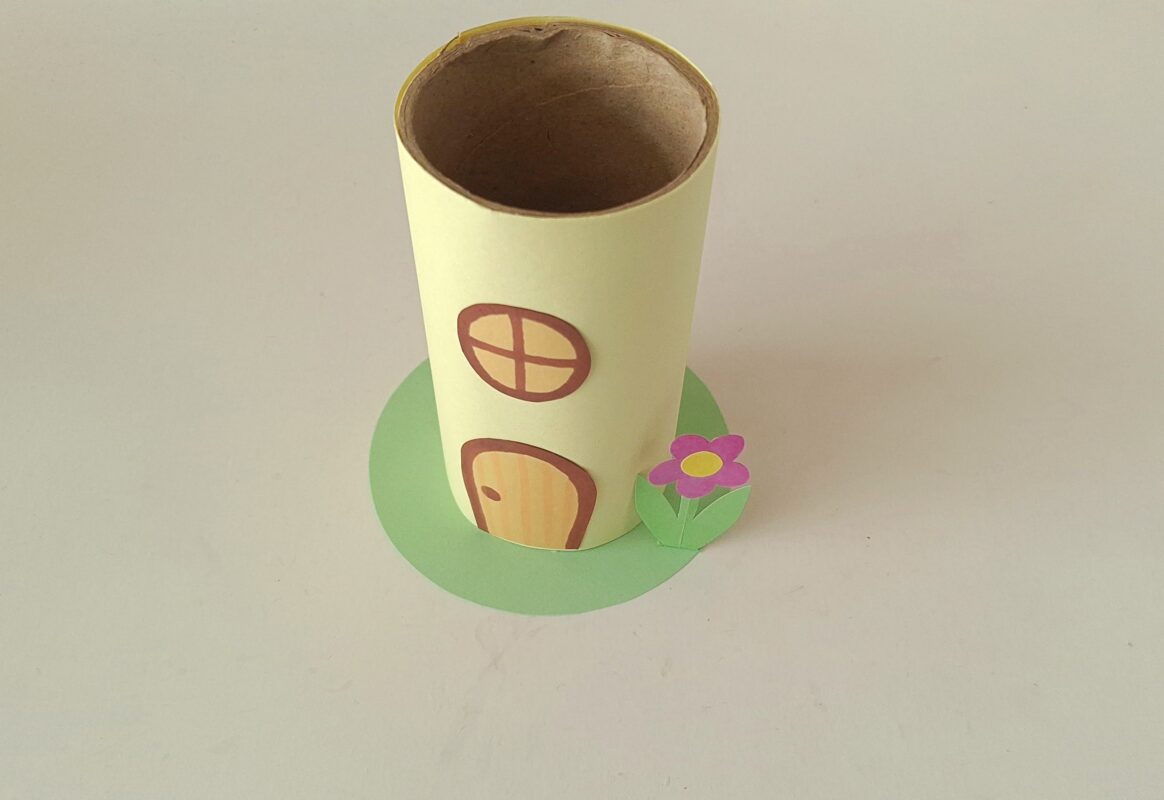
Step 23:
Glue the paper flower to the base, beside the house.
Step 24:
Glue the flower-roof to the top, open end of the TP roll and then glue the paper butterfly to the roof.