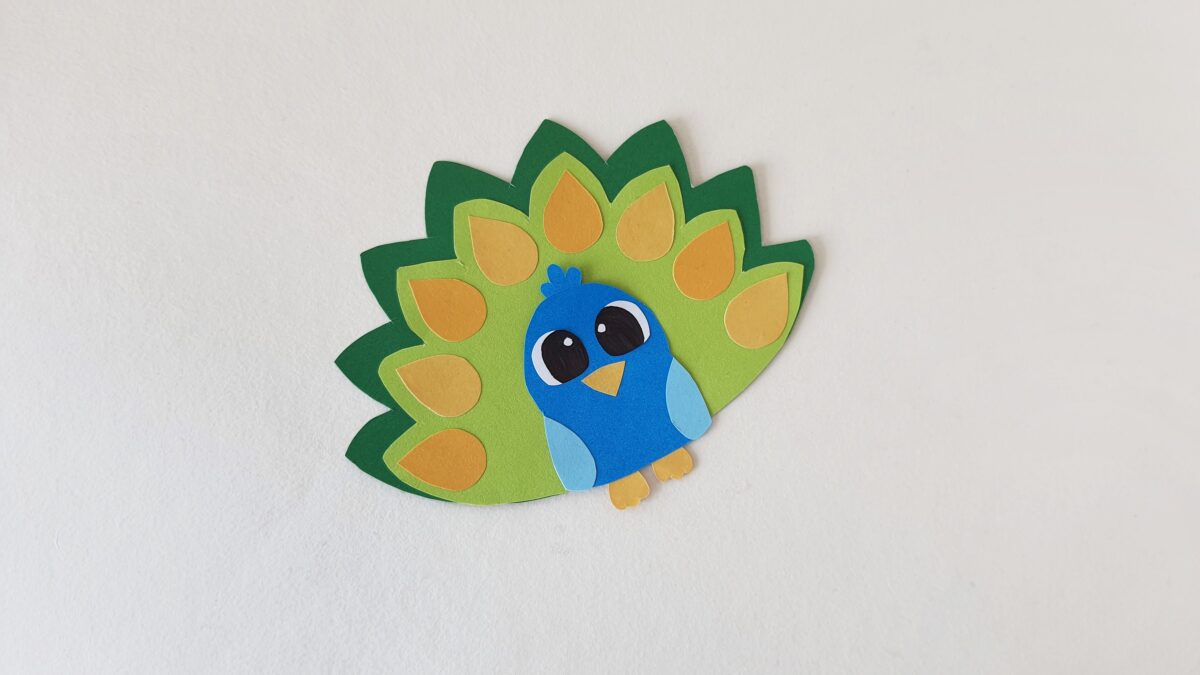
This peacock paper craft is a fun and colorful activity that helps children practice cutting, pasting, and shape recognition while creating something beautiful. Using simple craft papers and easy step-by-step instructions, kids can assemble their own bright peacock with layered tail feathers and cute details. This activity is perfect for classroom projects, art time at home, or themed lessons about birds and nature, and it encourages creativity, focus, and fine motor skills.
Download the Free Peacock Craft Template Printable Here
How to Make a Papercraft Peacock
Instructions:
Step 1:
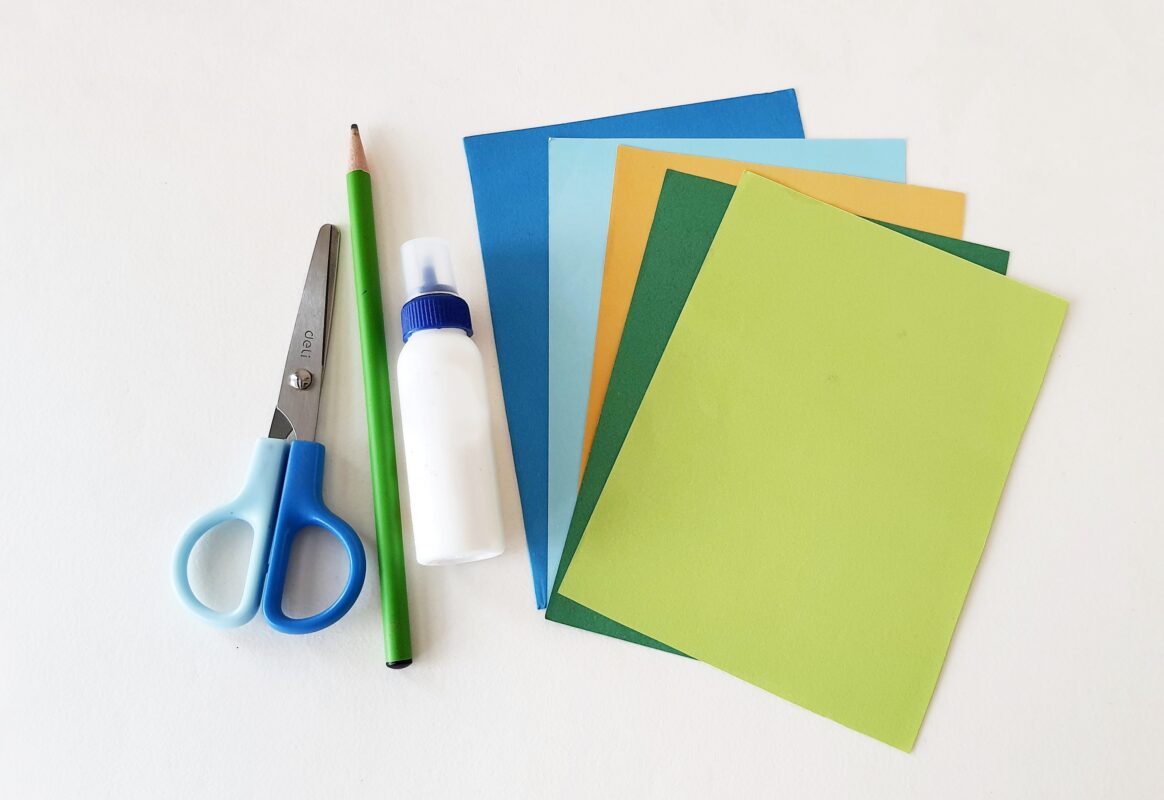
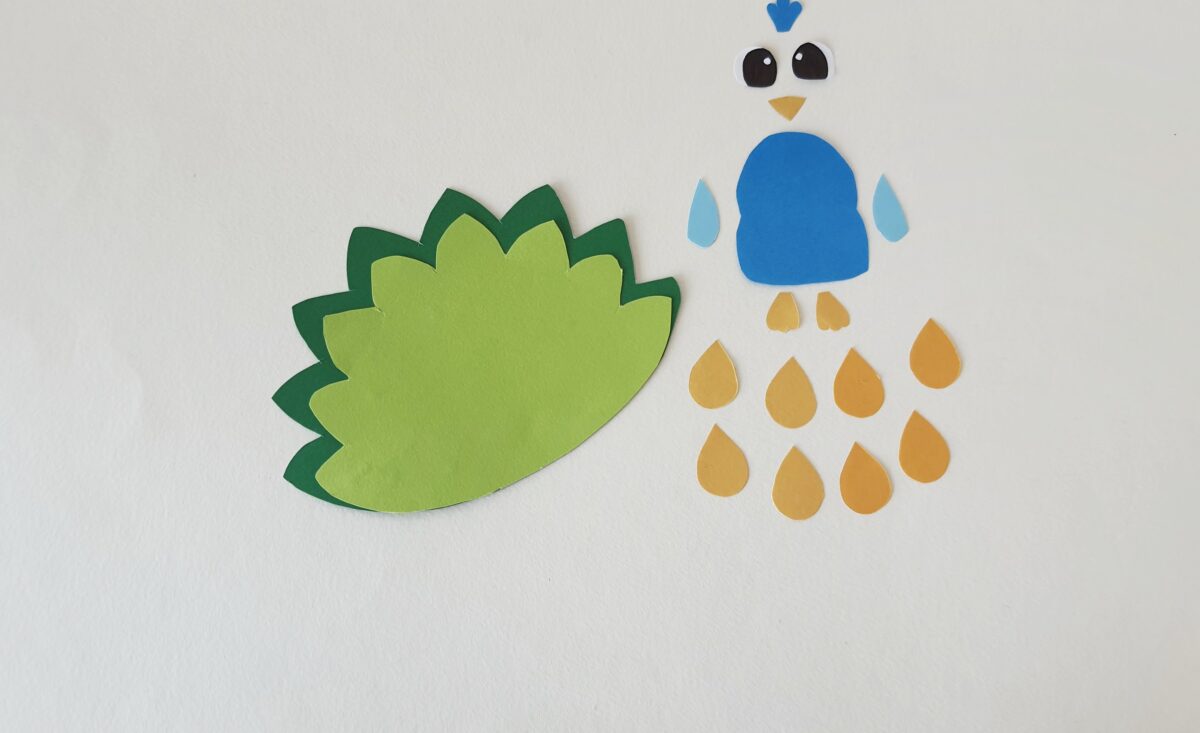
Select 2 different shades of green colored craft papers, 2 different shades of blue and 2 different shades of yellow colored craft papers for the peacock craft. Trace the template patterns on the selected craft papers with a pencil and cut them out nicely using scissors.
Step 2:
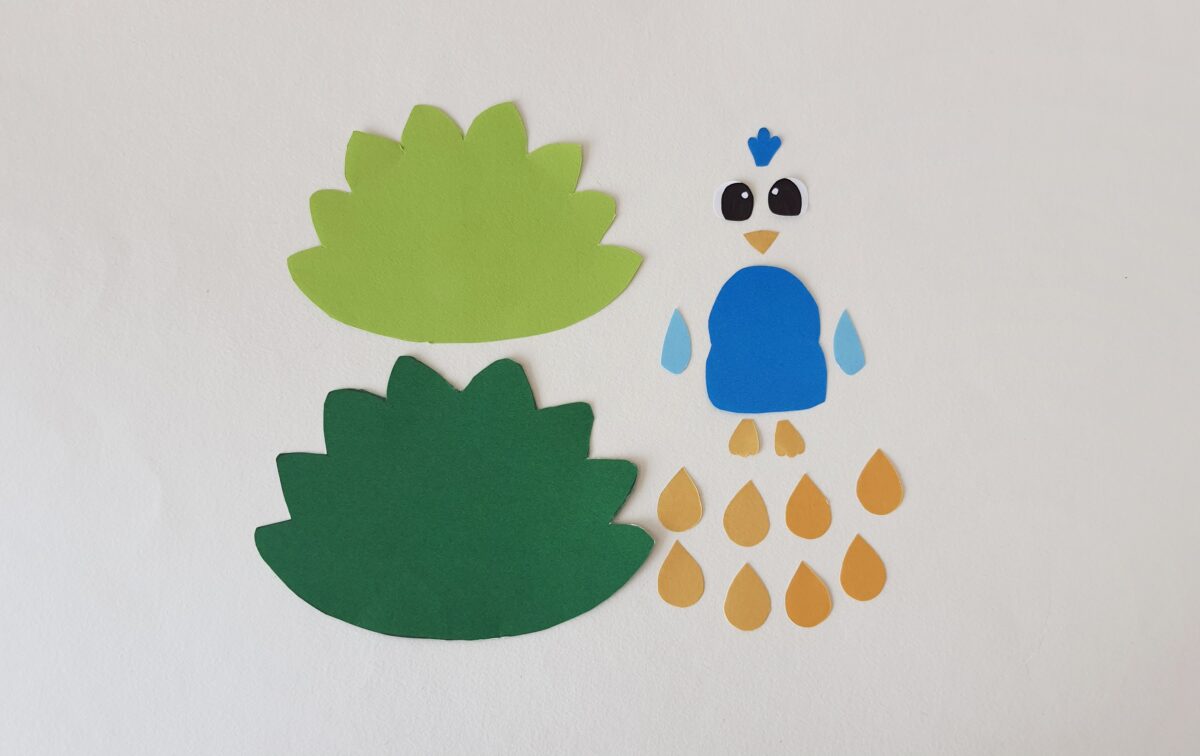
Attach the small tail feather base on the big tail feather base.
Step 3:
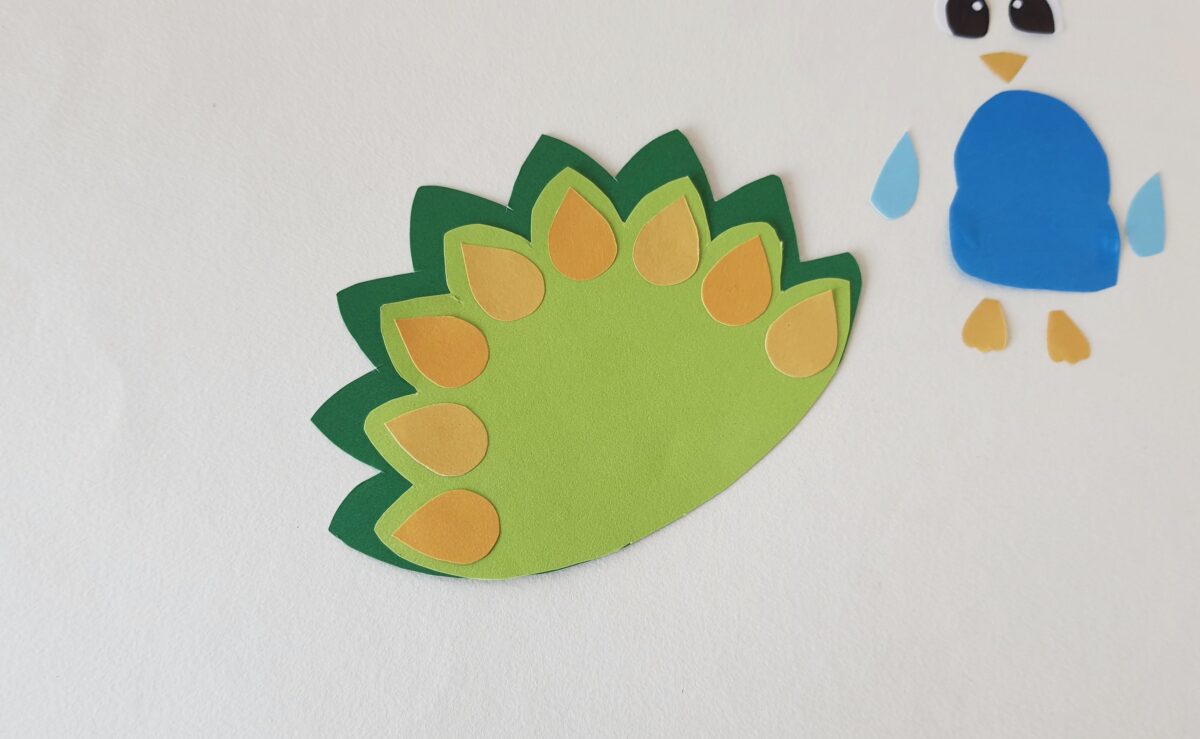
Attach the teardrop cutouts on the small tail base, with their pointy ends facing outwards.

Step 4:
One by one attach all the teardrop cutouts on the tail base.
Step 5:
Attach the wing cutouts on both sides of the peacock body base cutout.
Step 6:
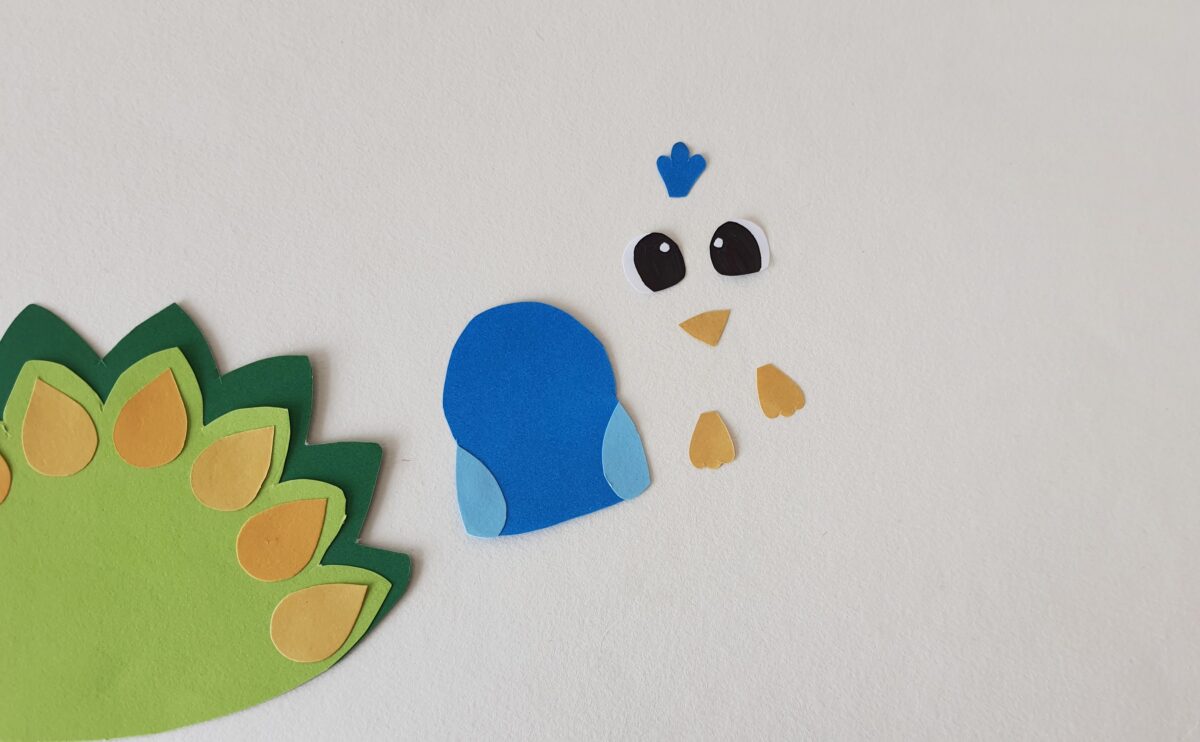
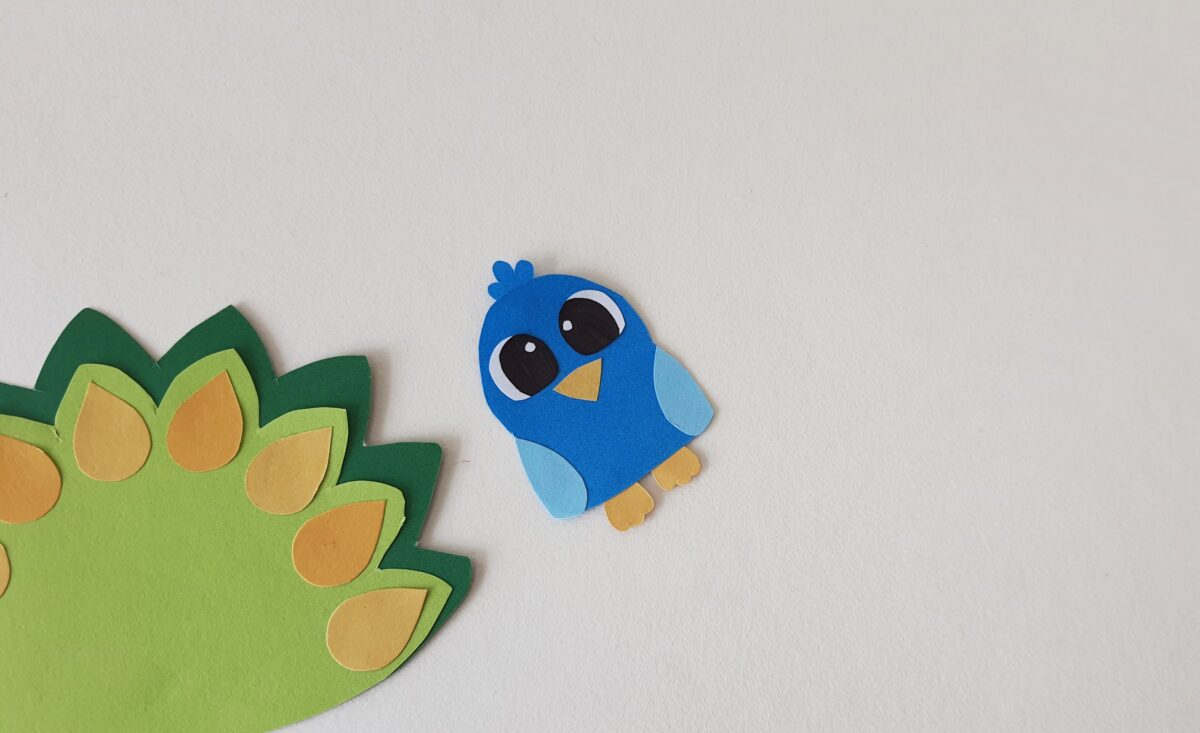
Attach the crest cutout on the top side of the head part and attach the feet cutouts on the bottom side of the body base.
Step 7:
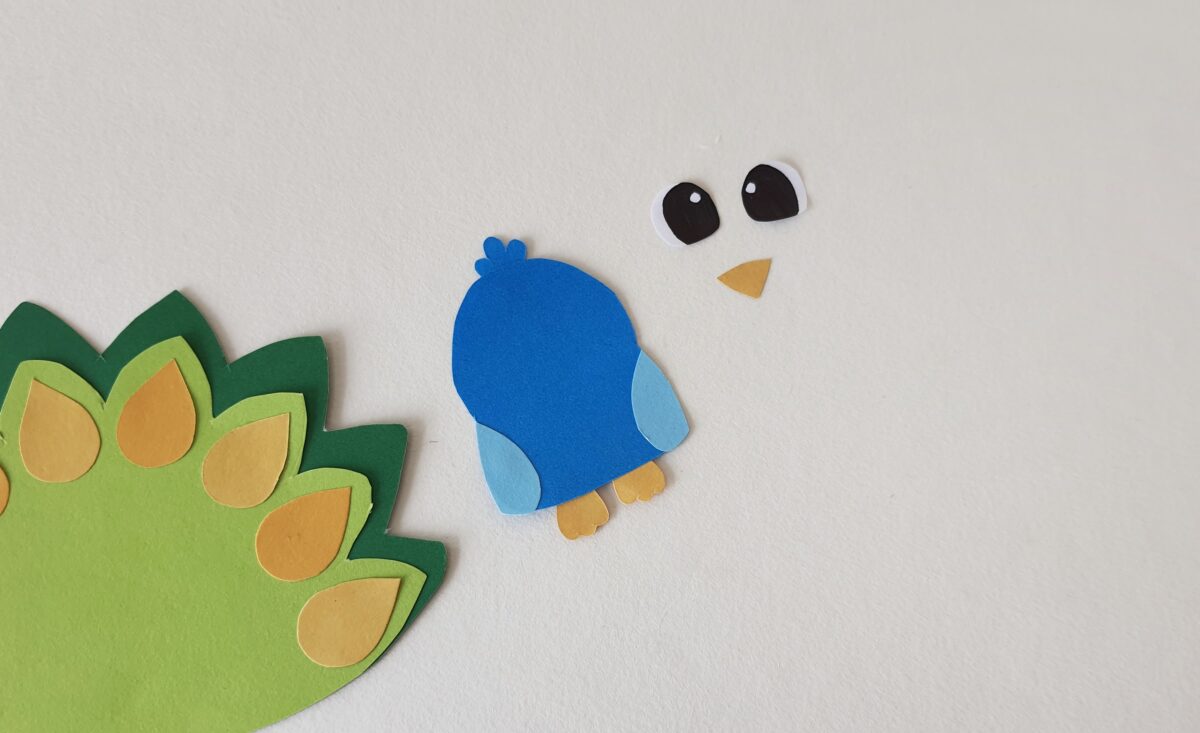
Attach the eye and the beak cutouts on the head part of the peacock base.
Step 8:
Now, attach the peacock body base on the tail feather base to complete the craft.